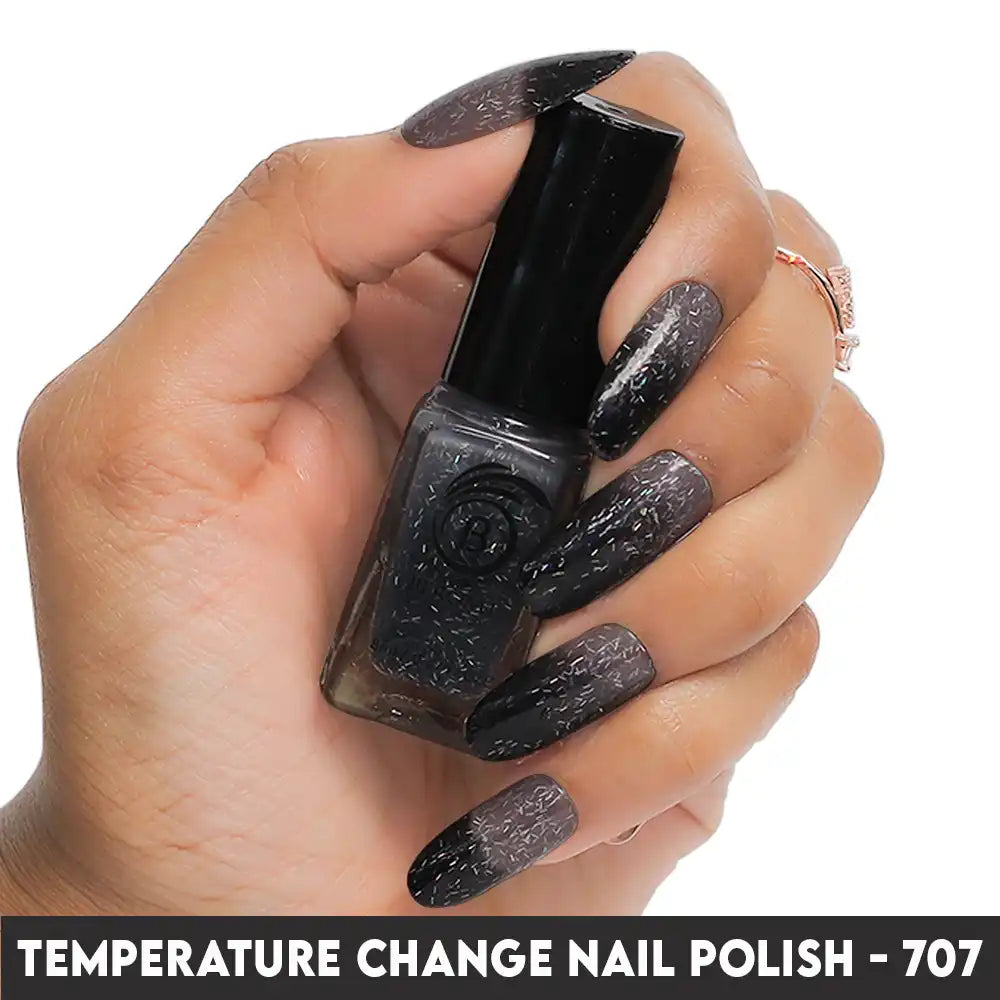
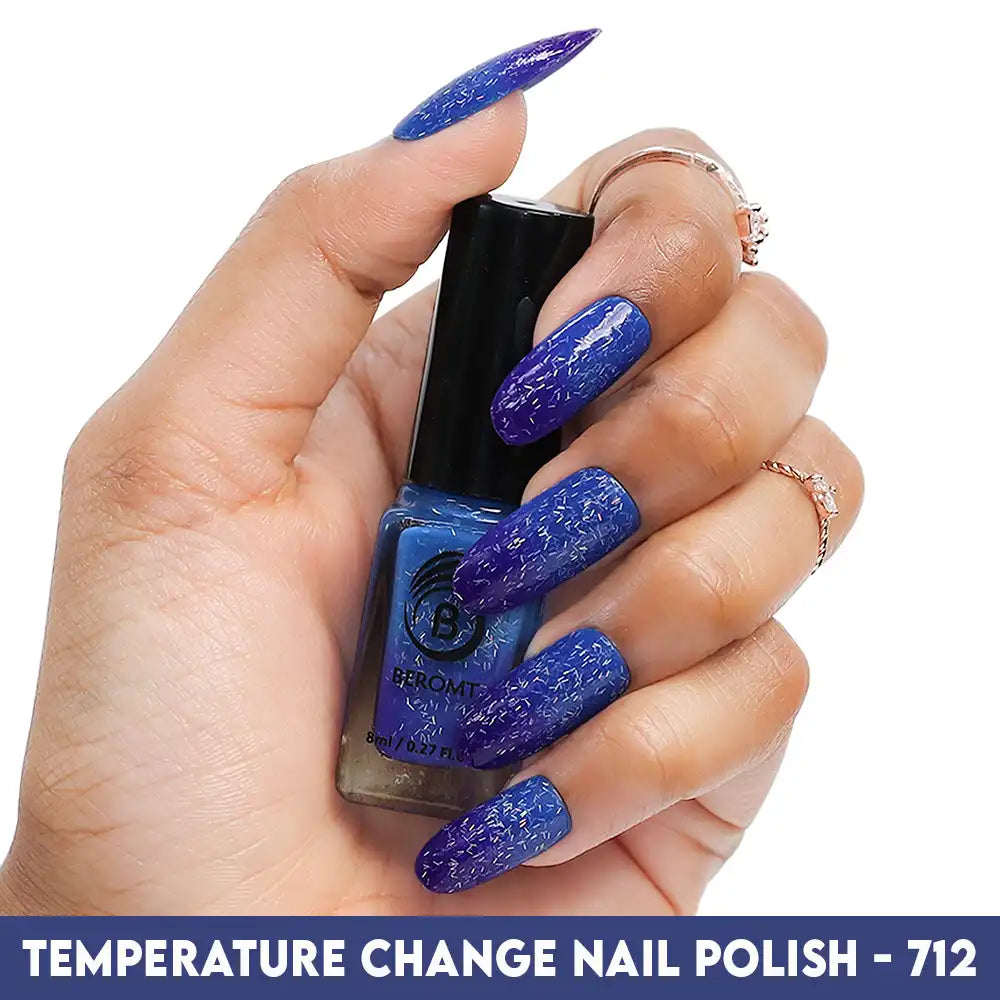
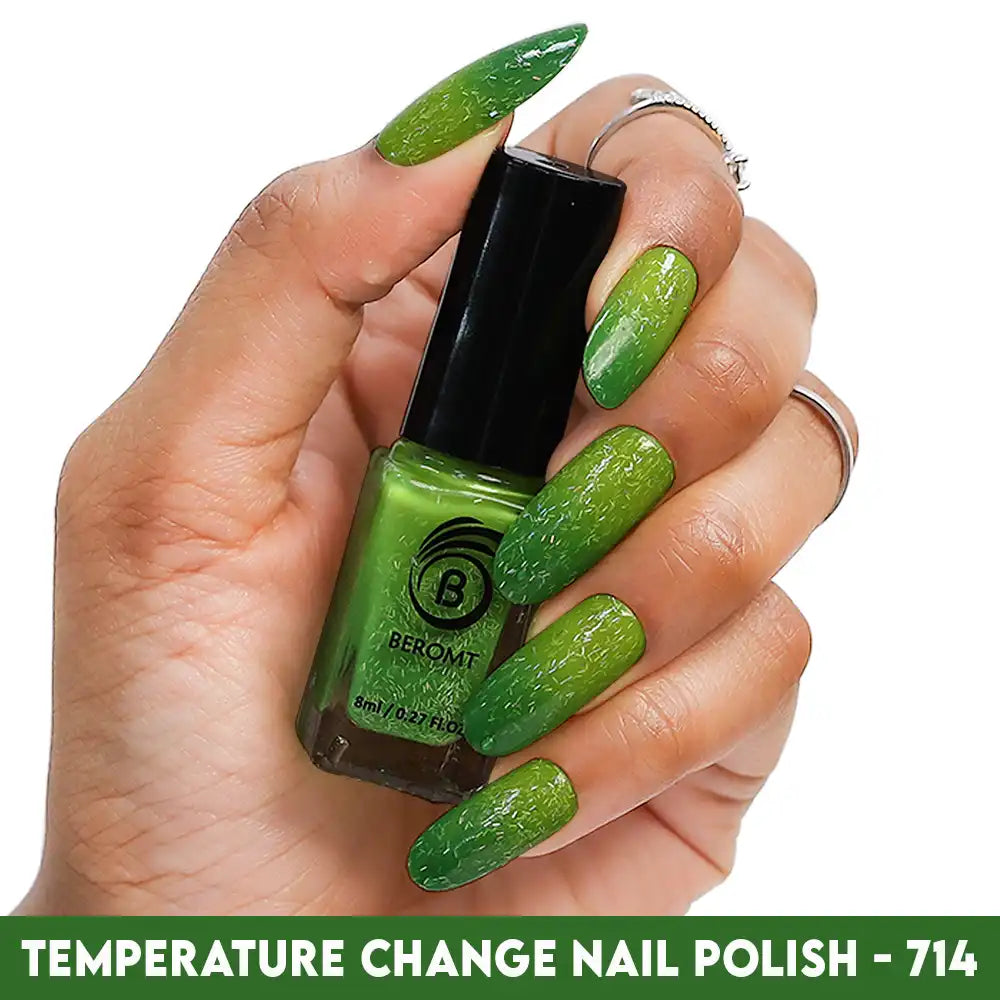
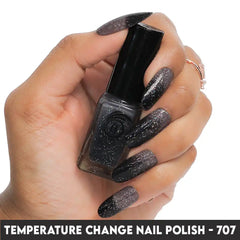
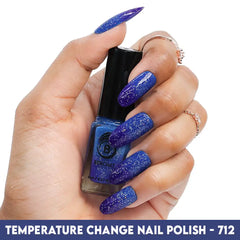
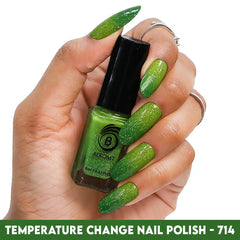
TEMPERATURE CHANGE NAIL POLISH
- ₹99.00
-
₹299.00 - ₹99.00
- Unit price
- per
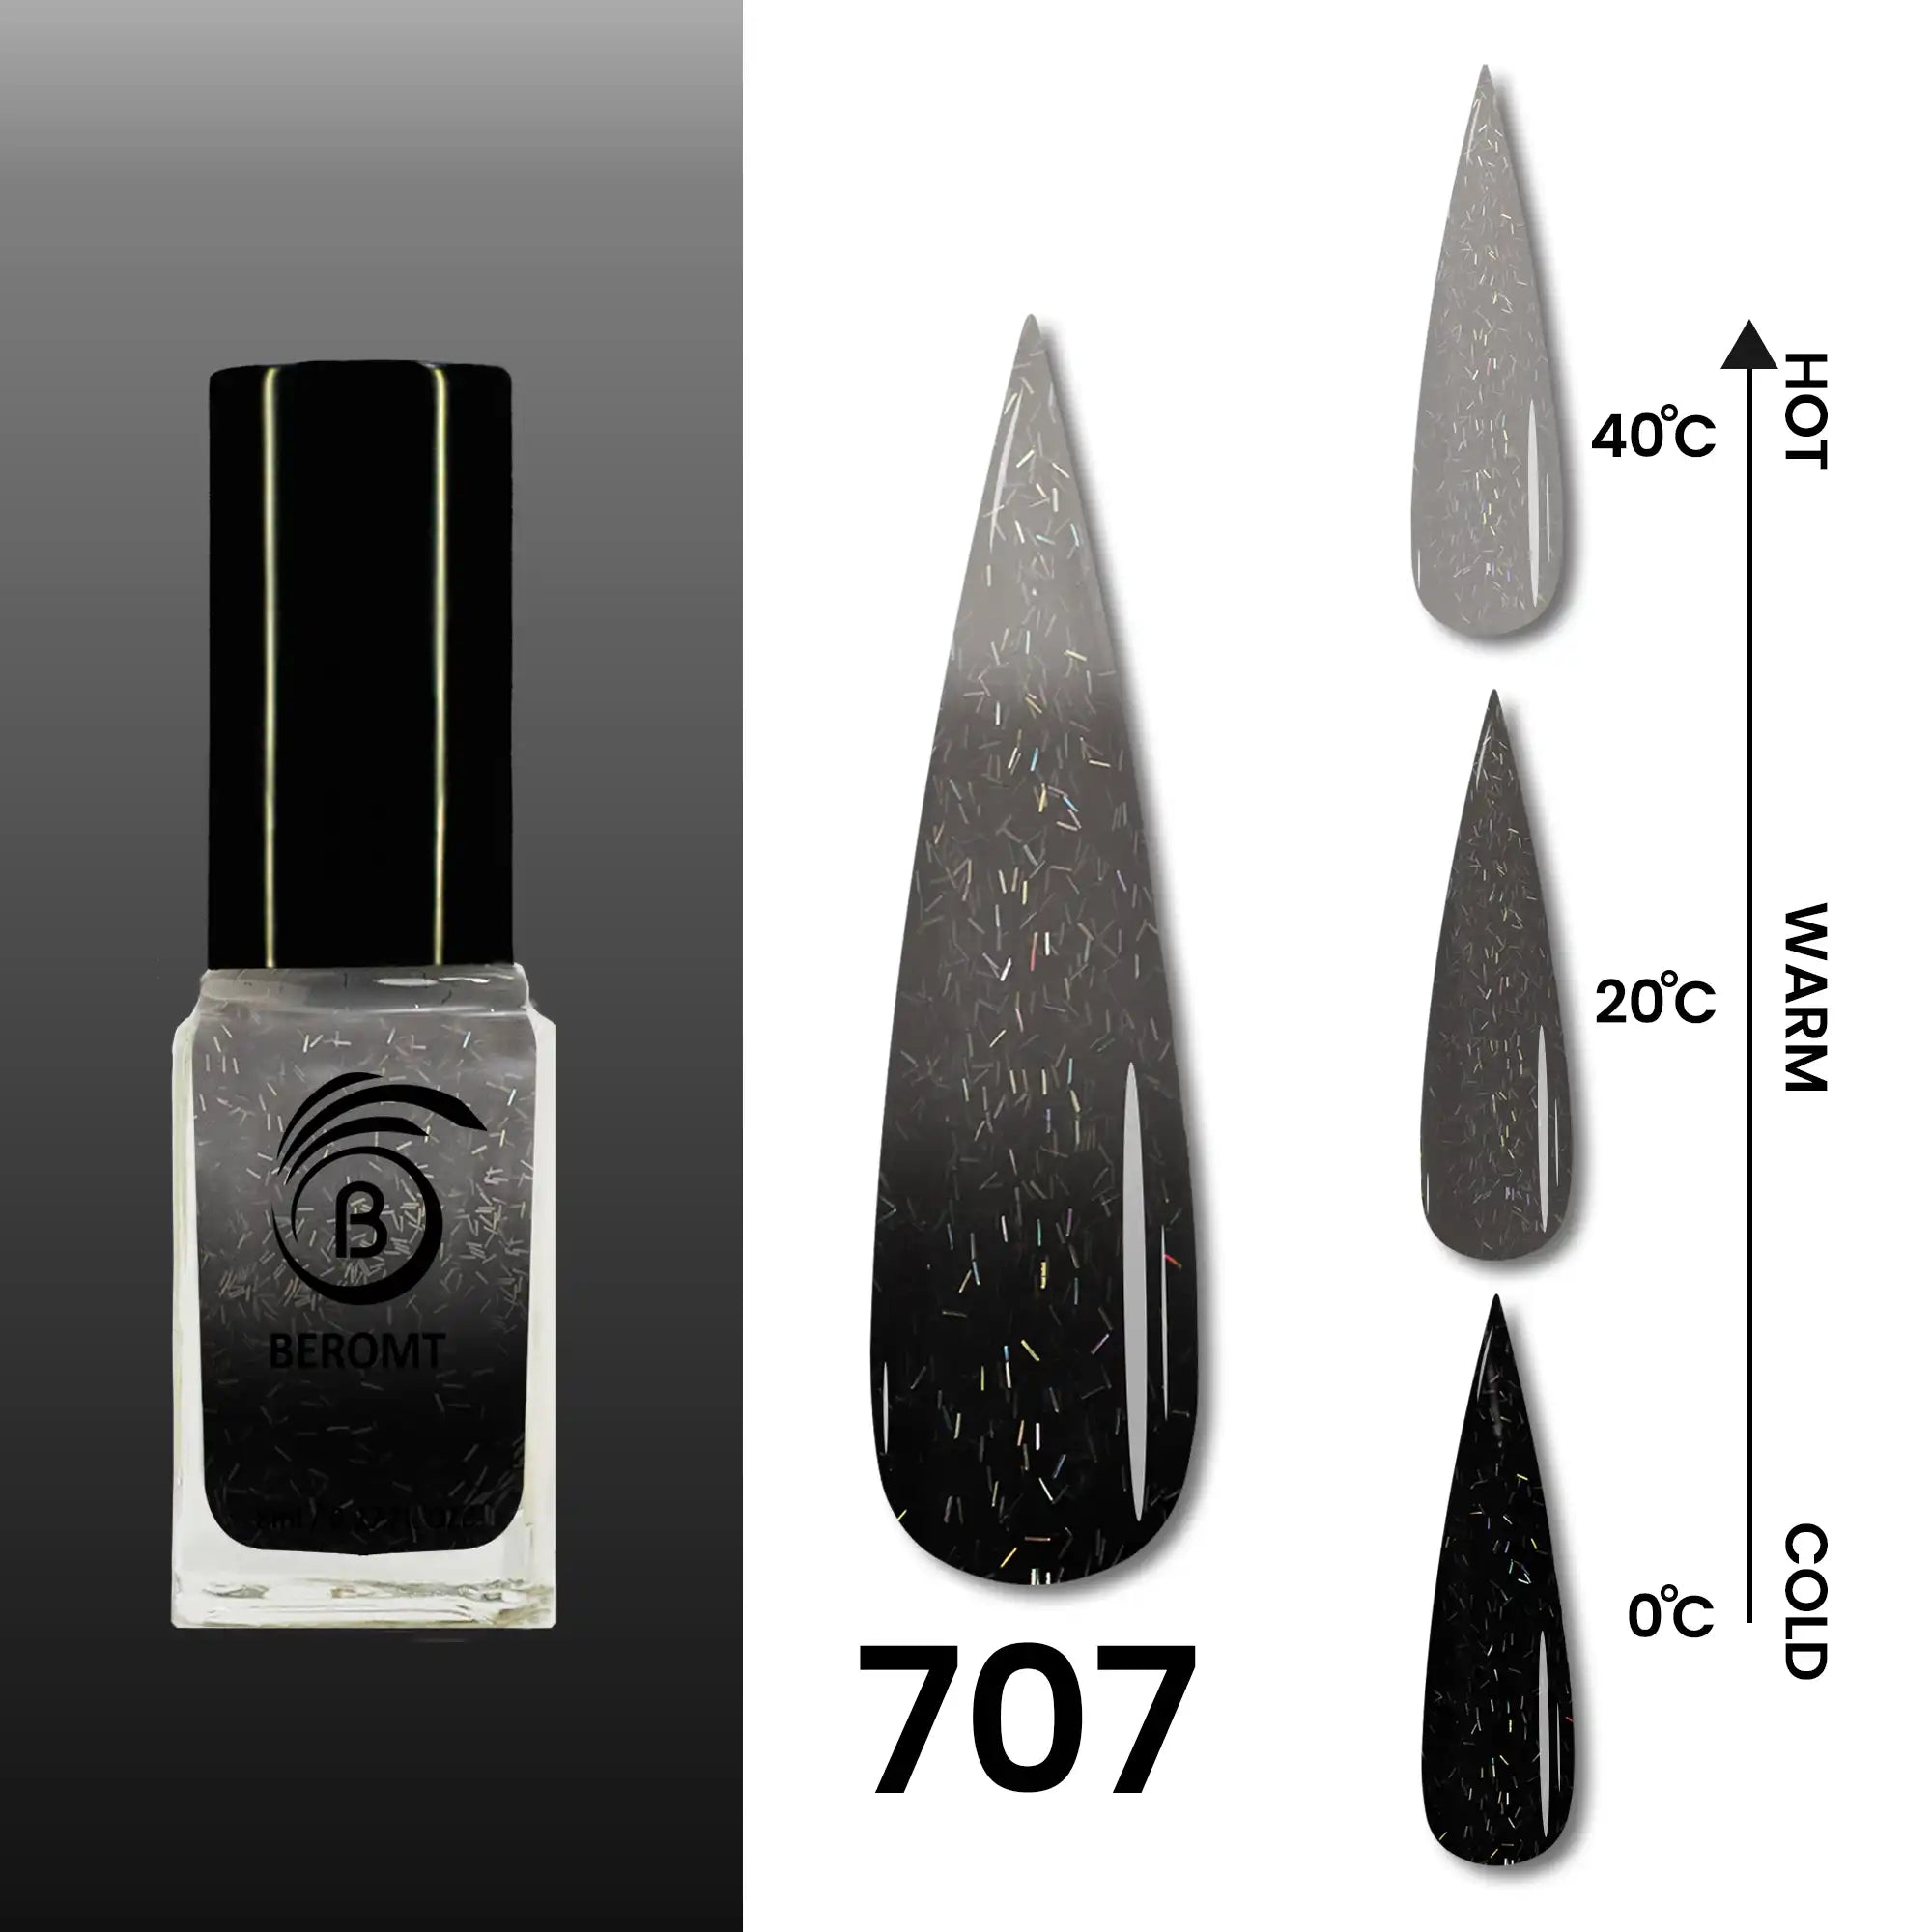
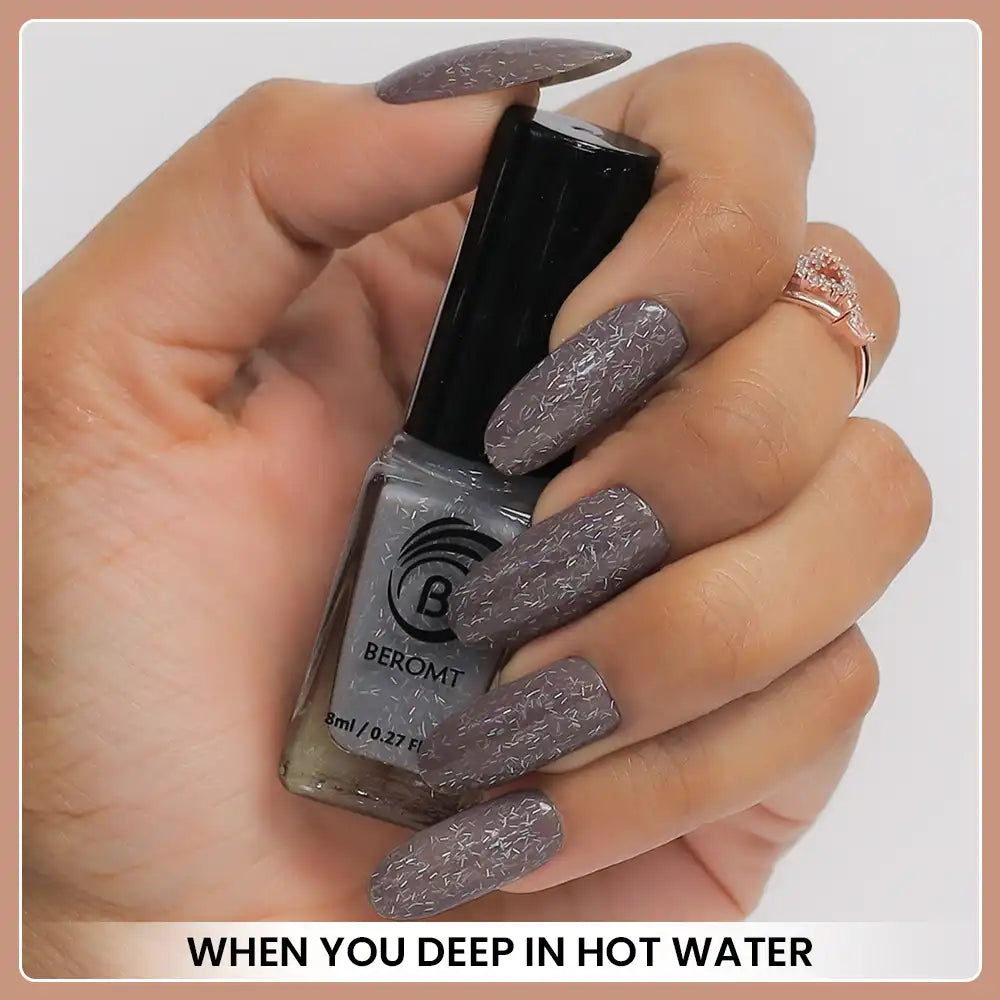
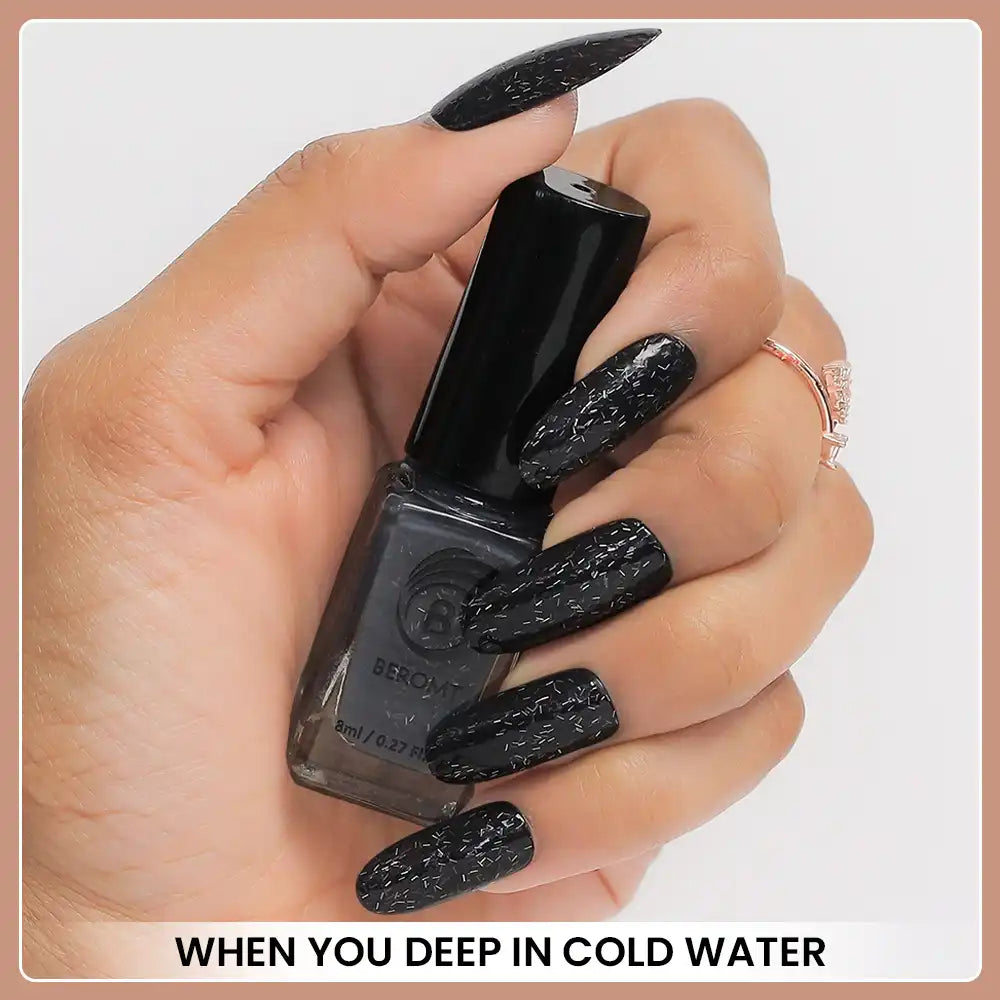
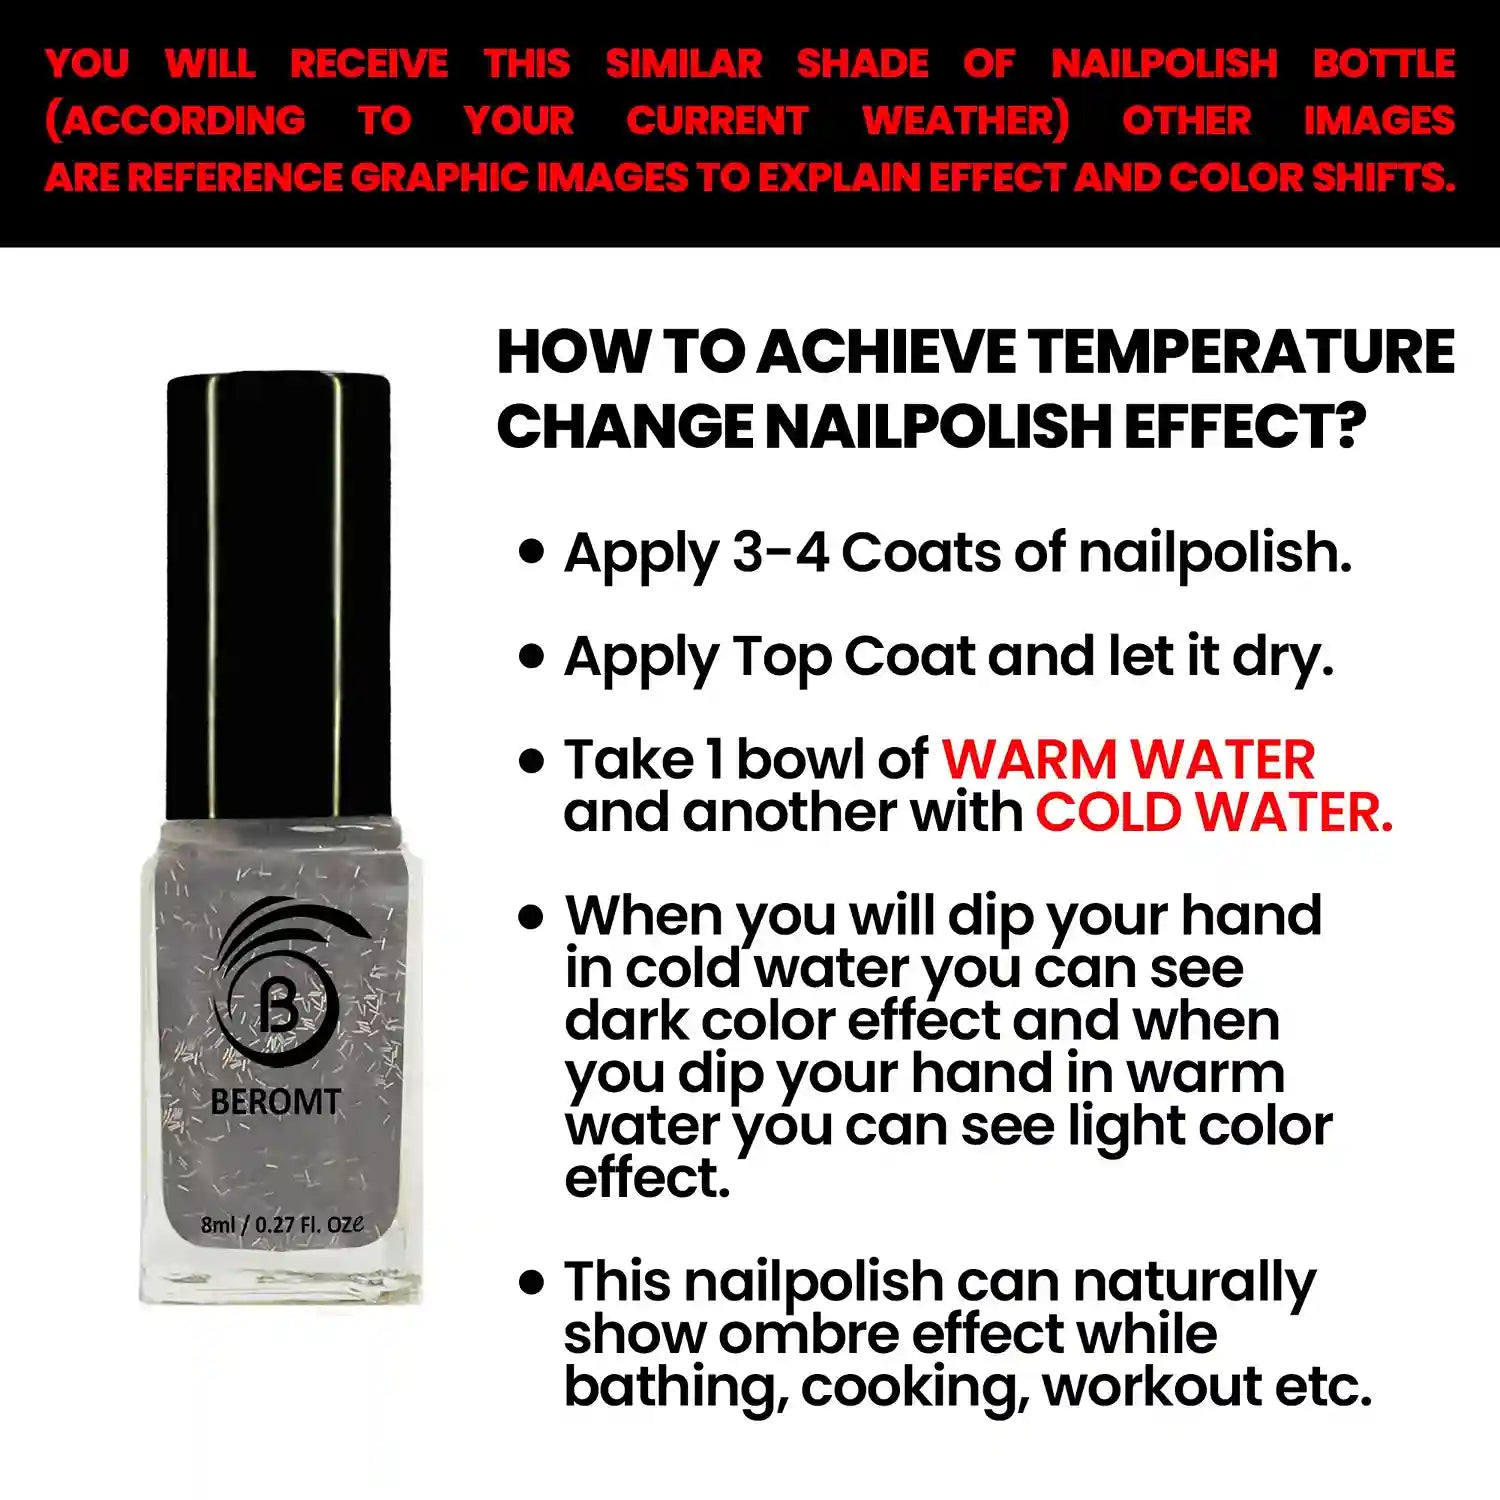
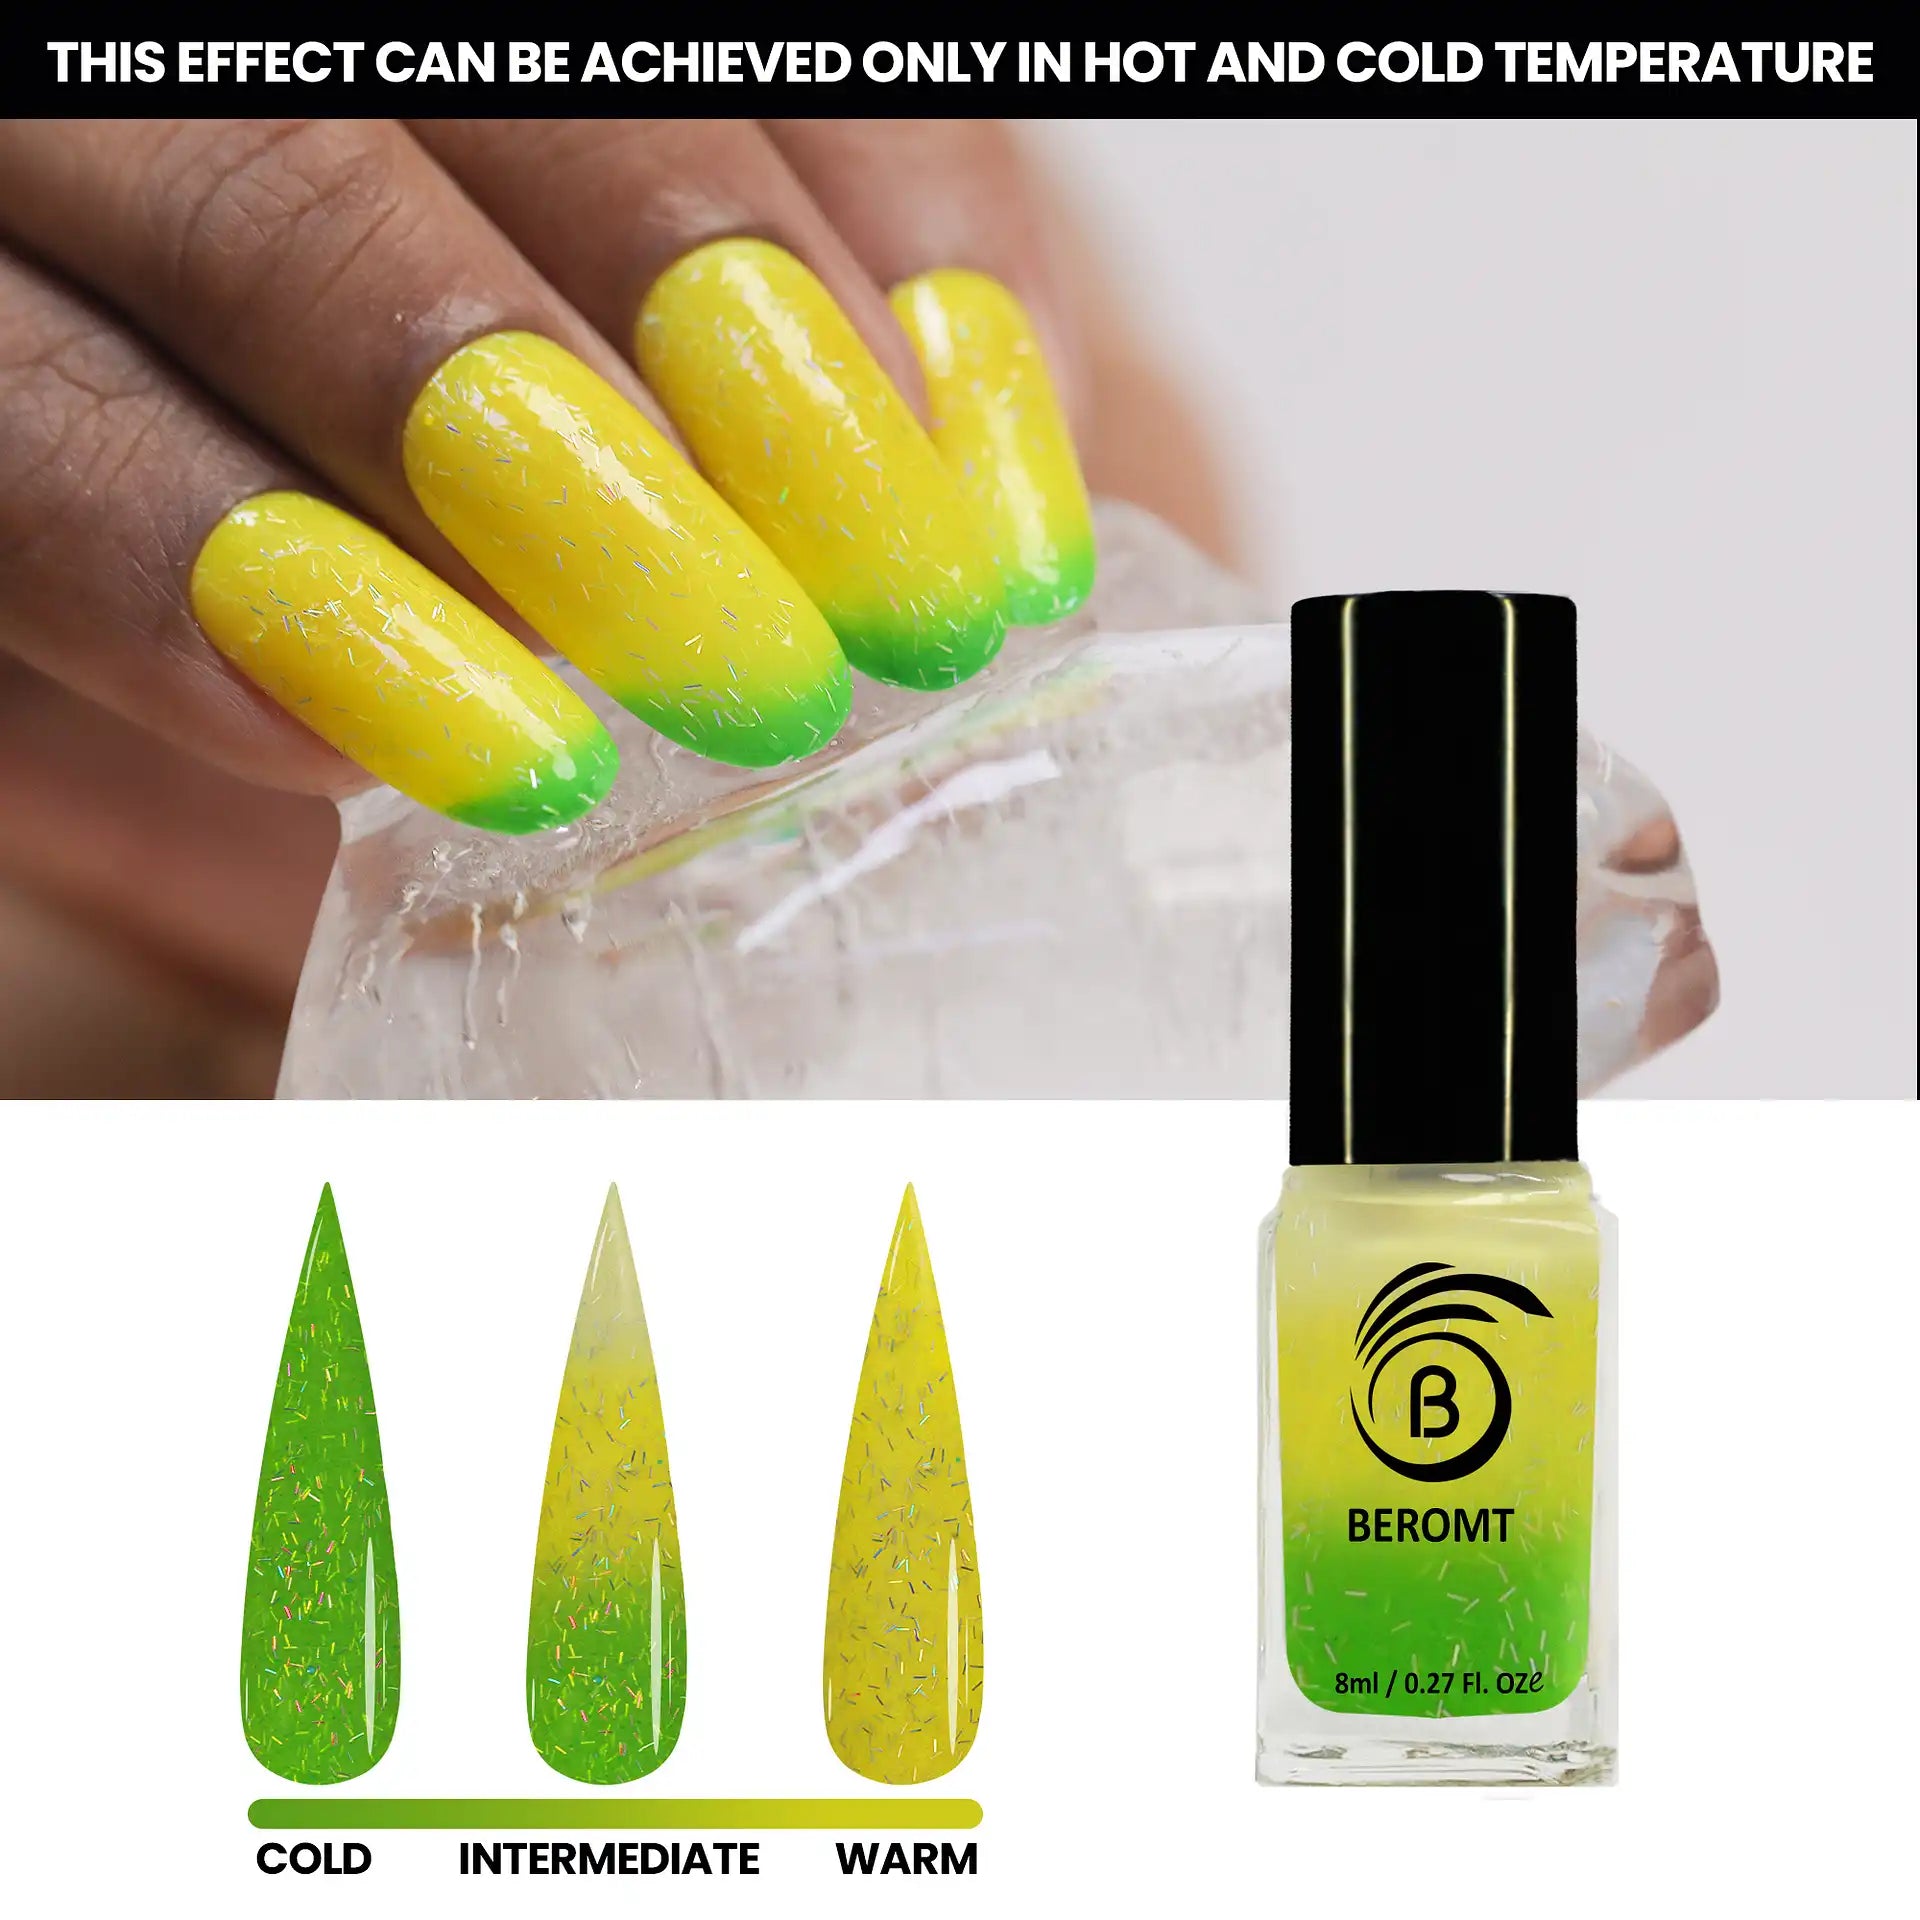
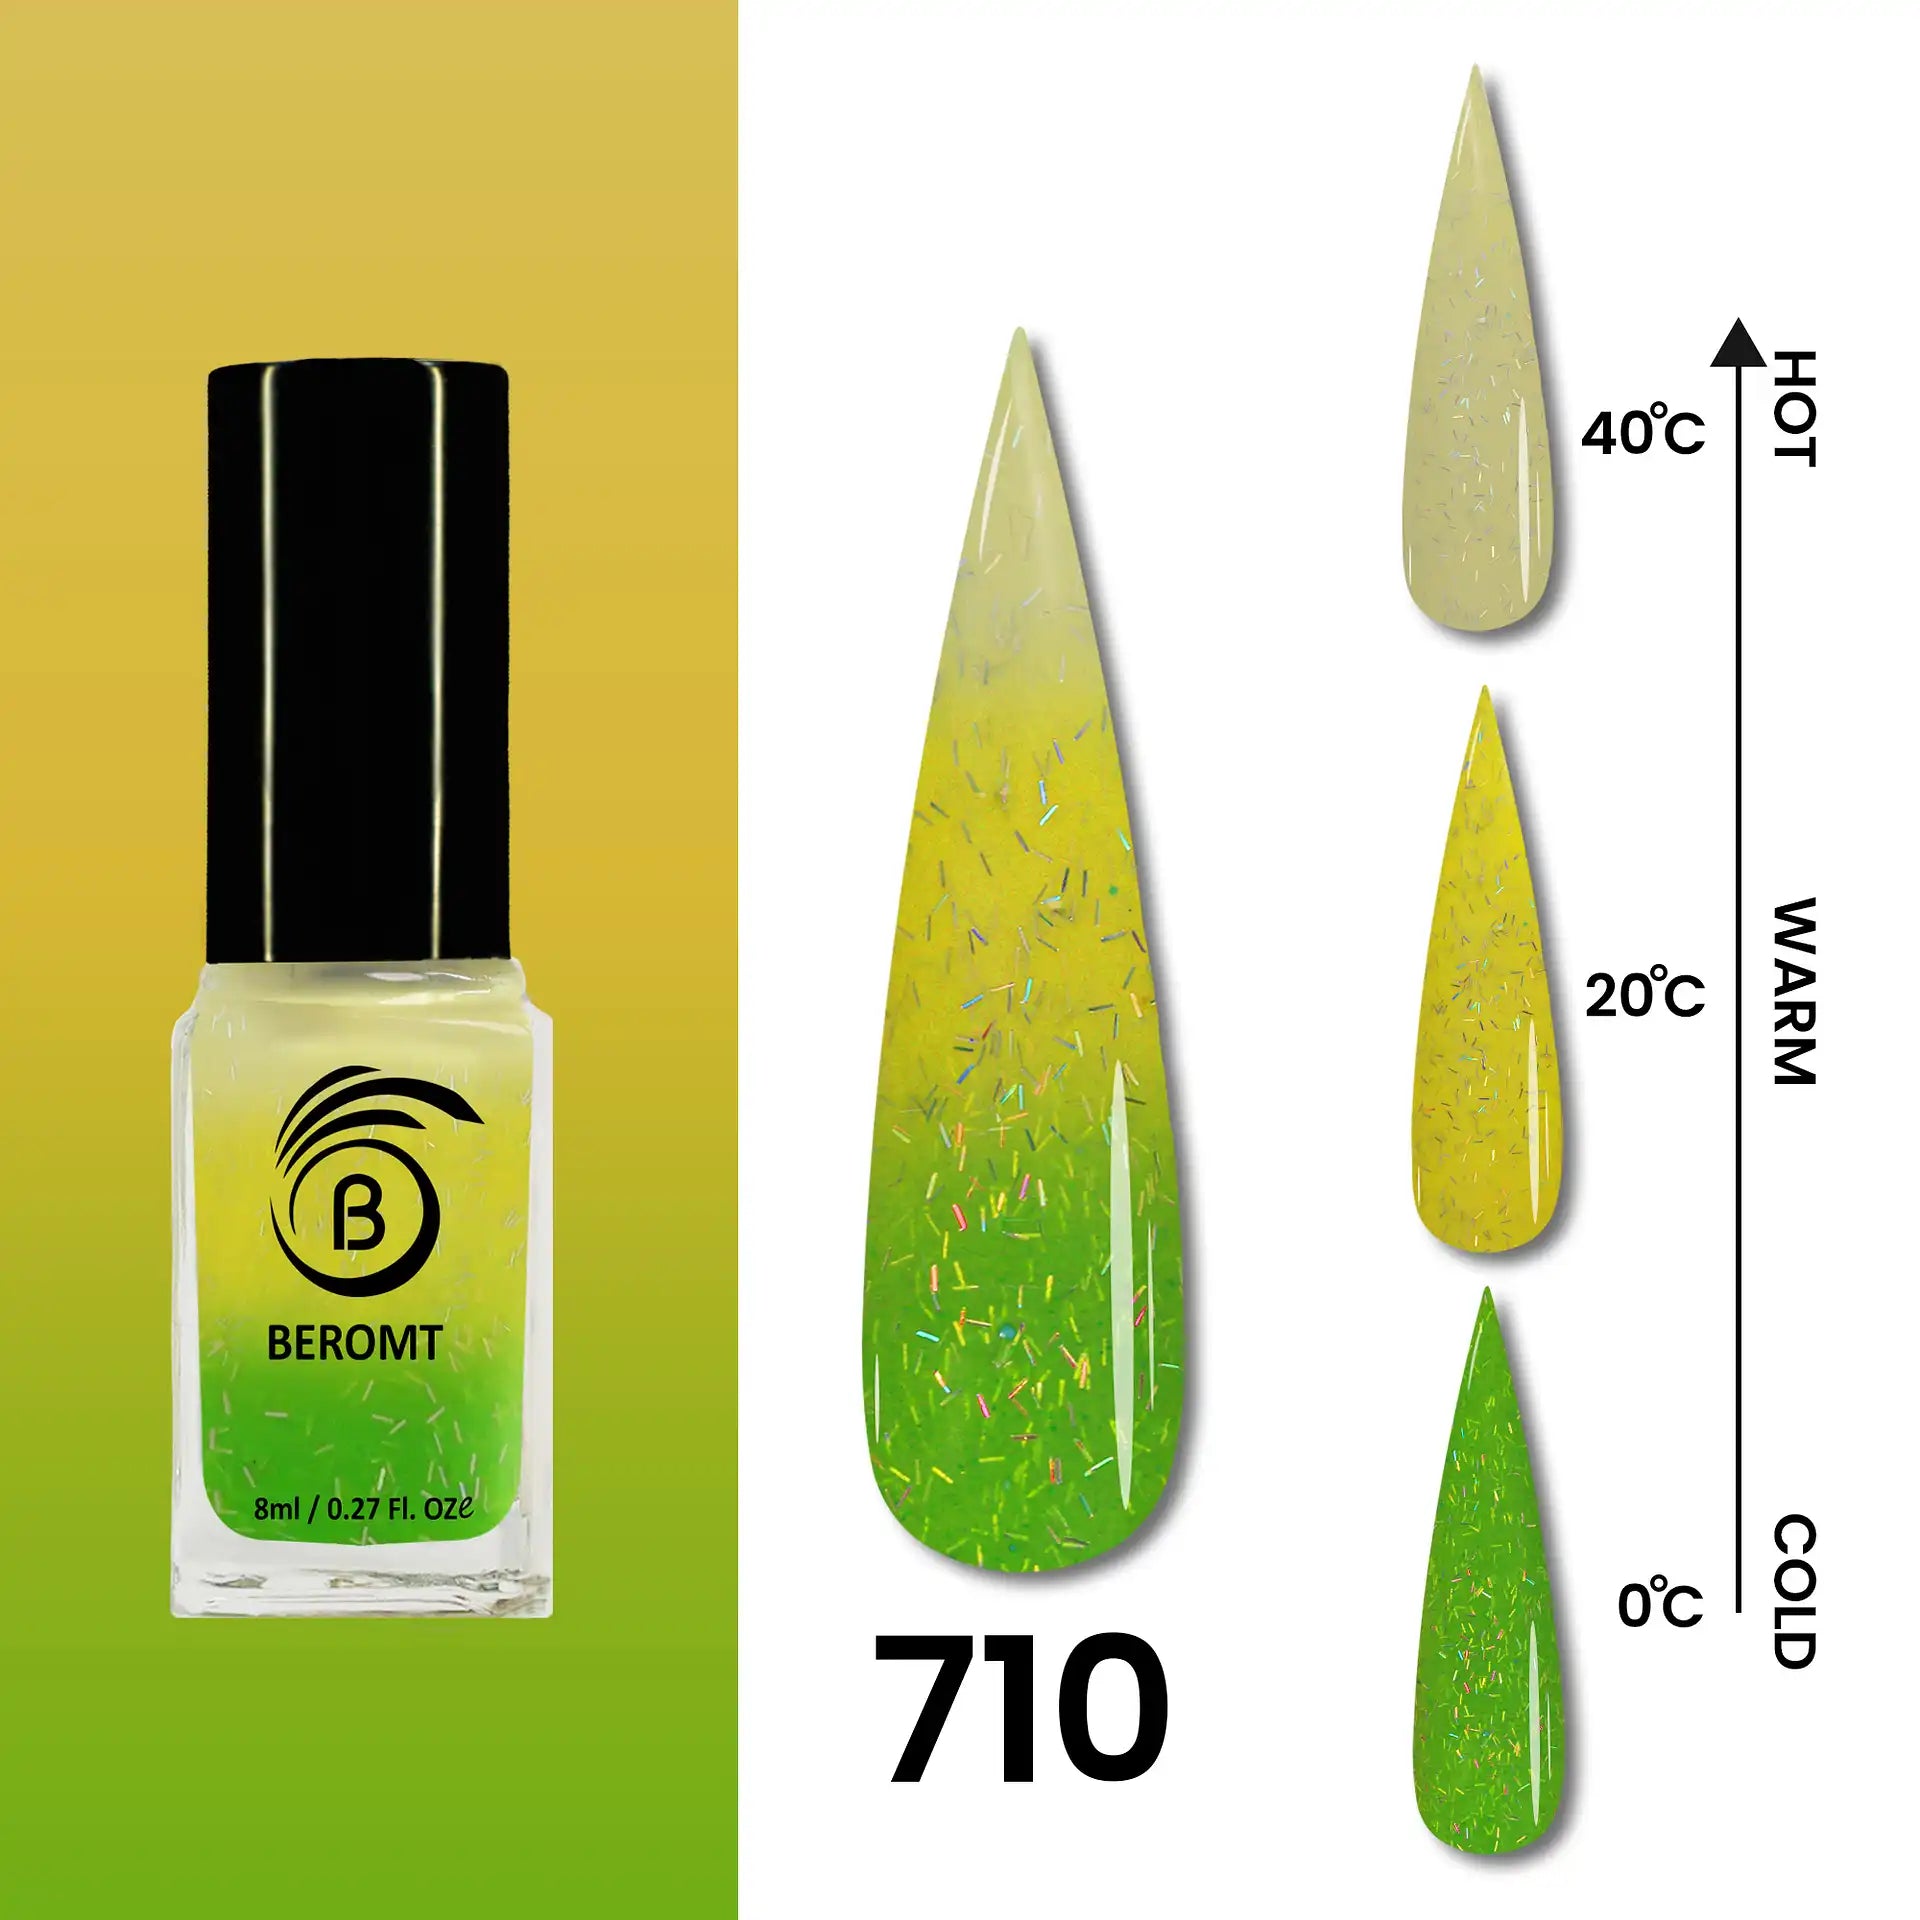
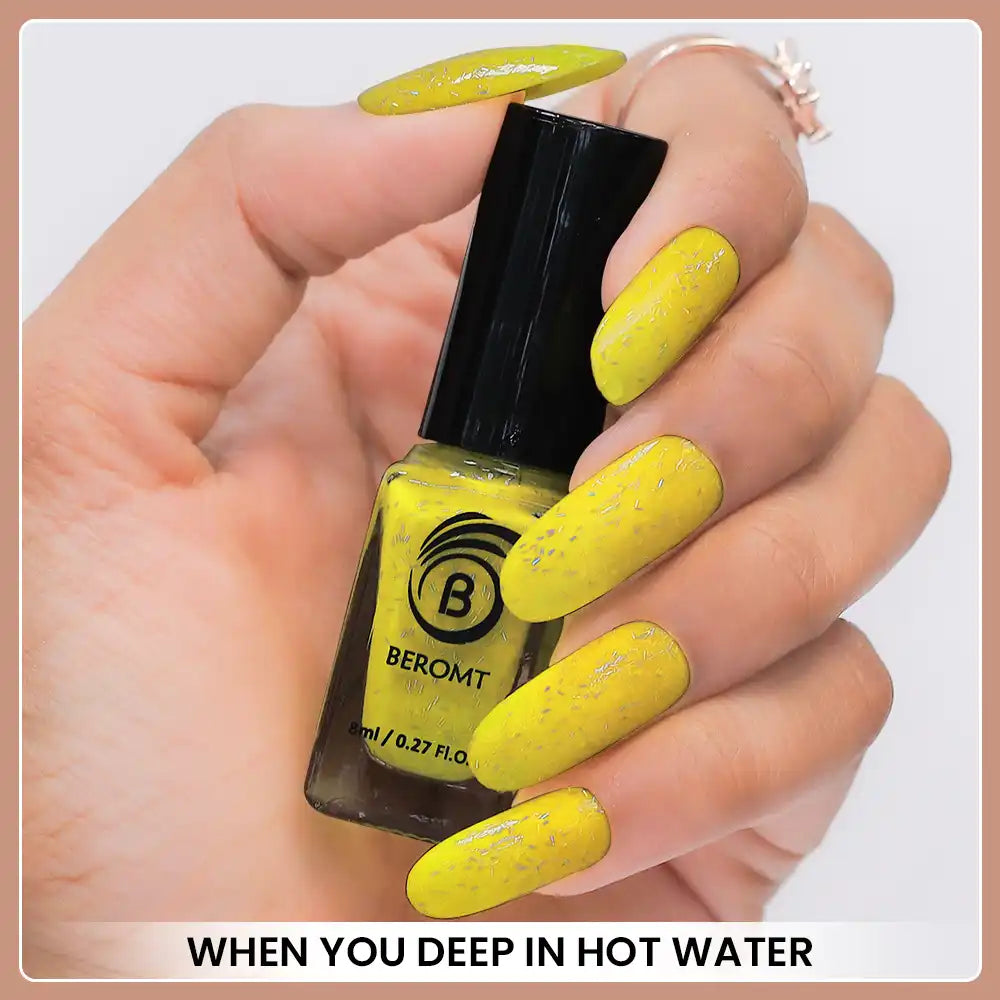
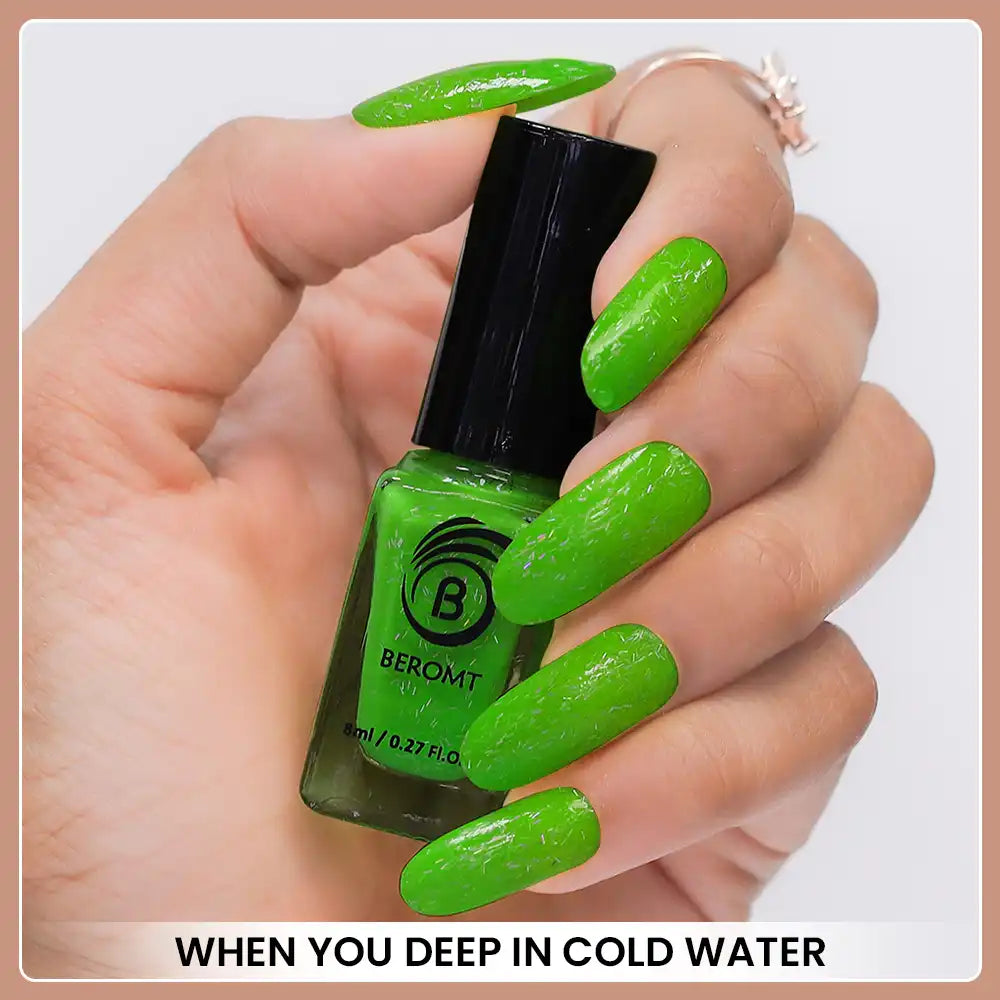
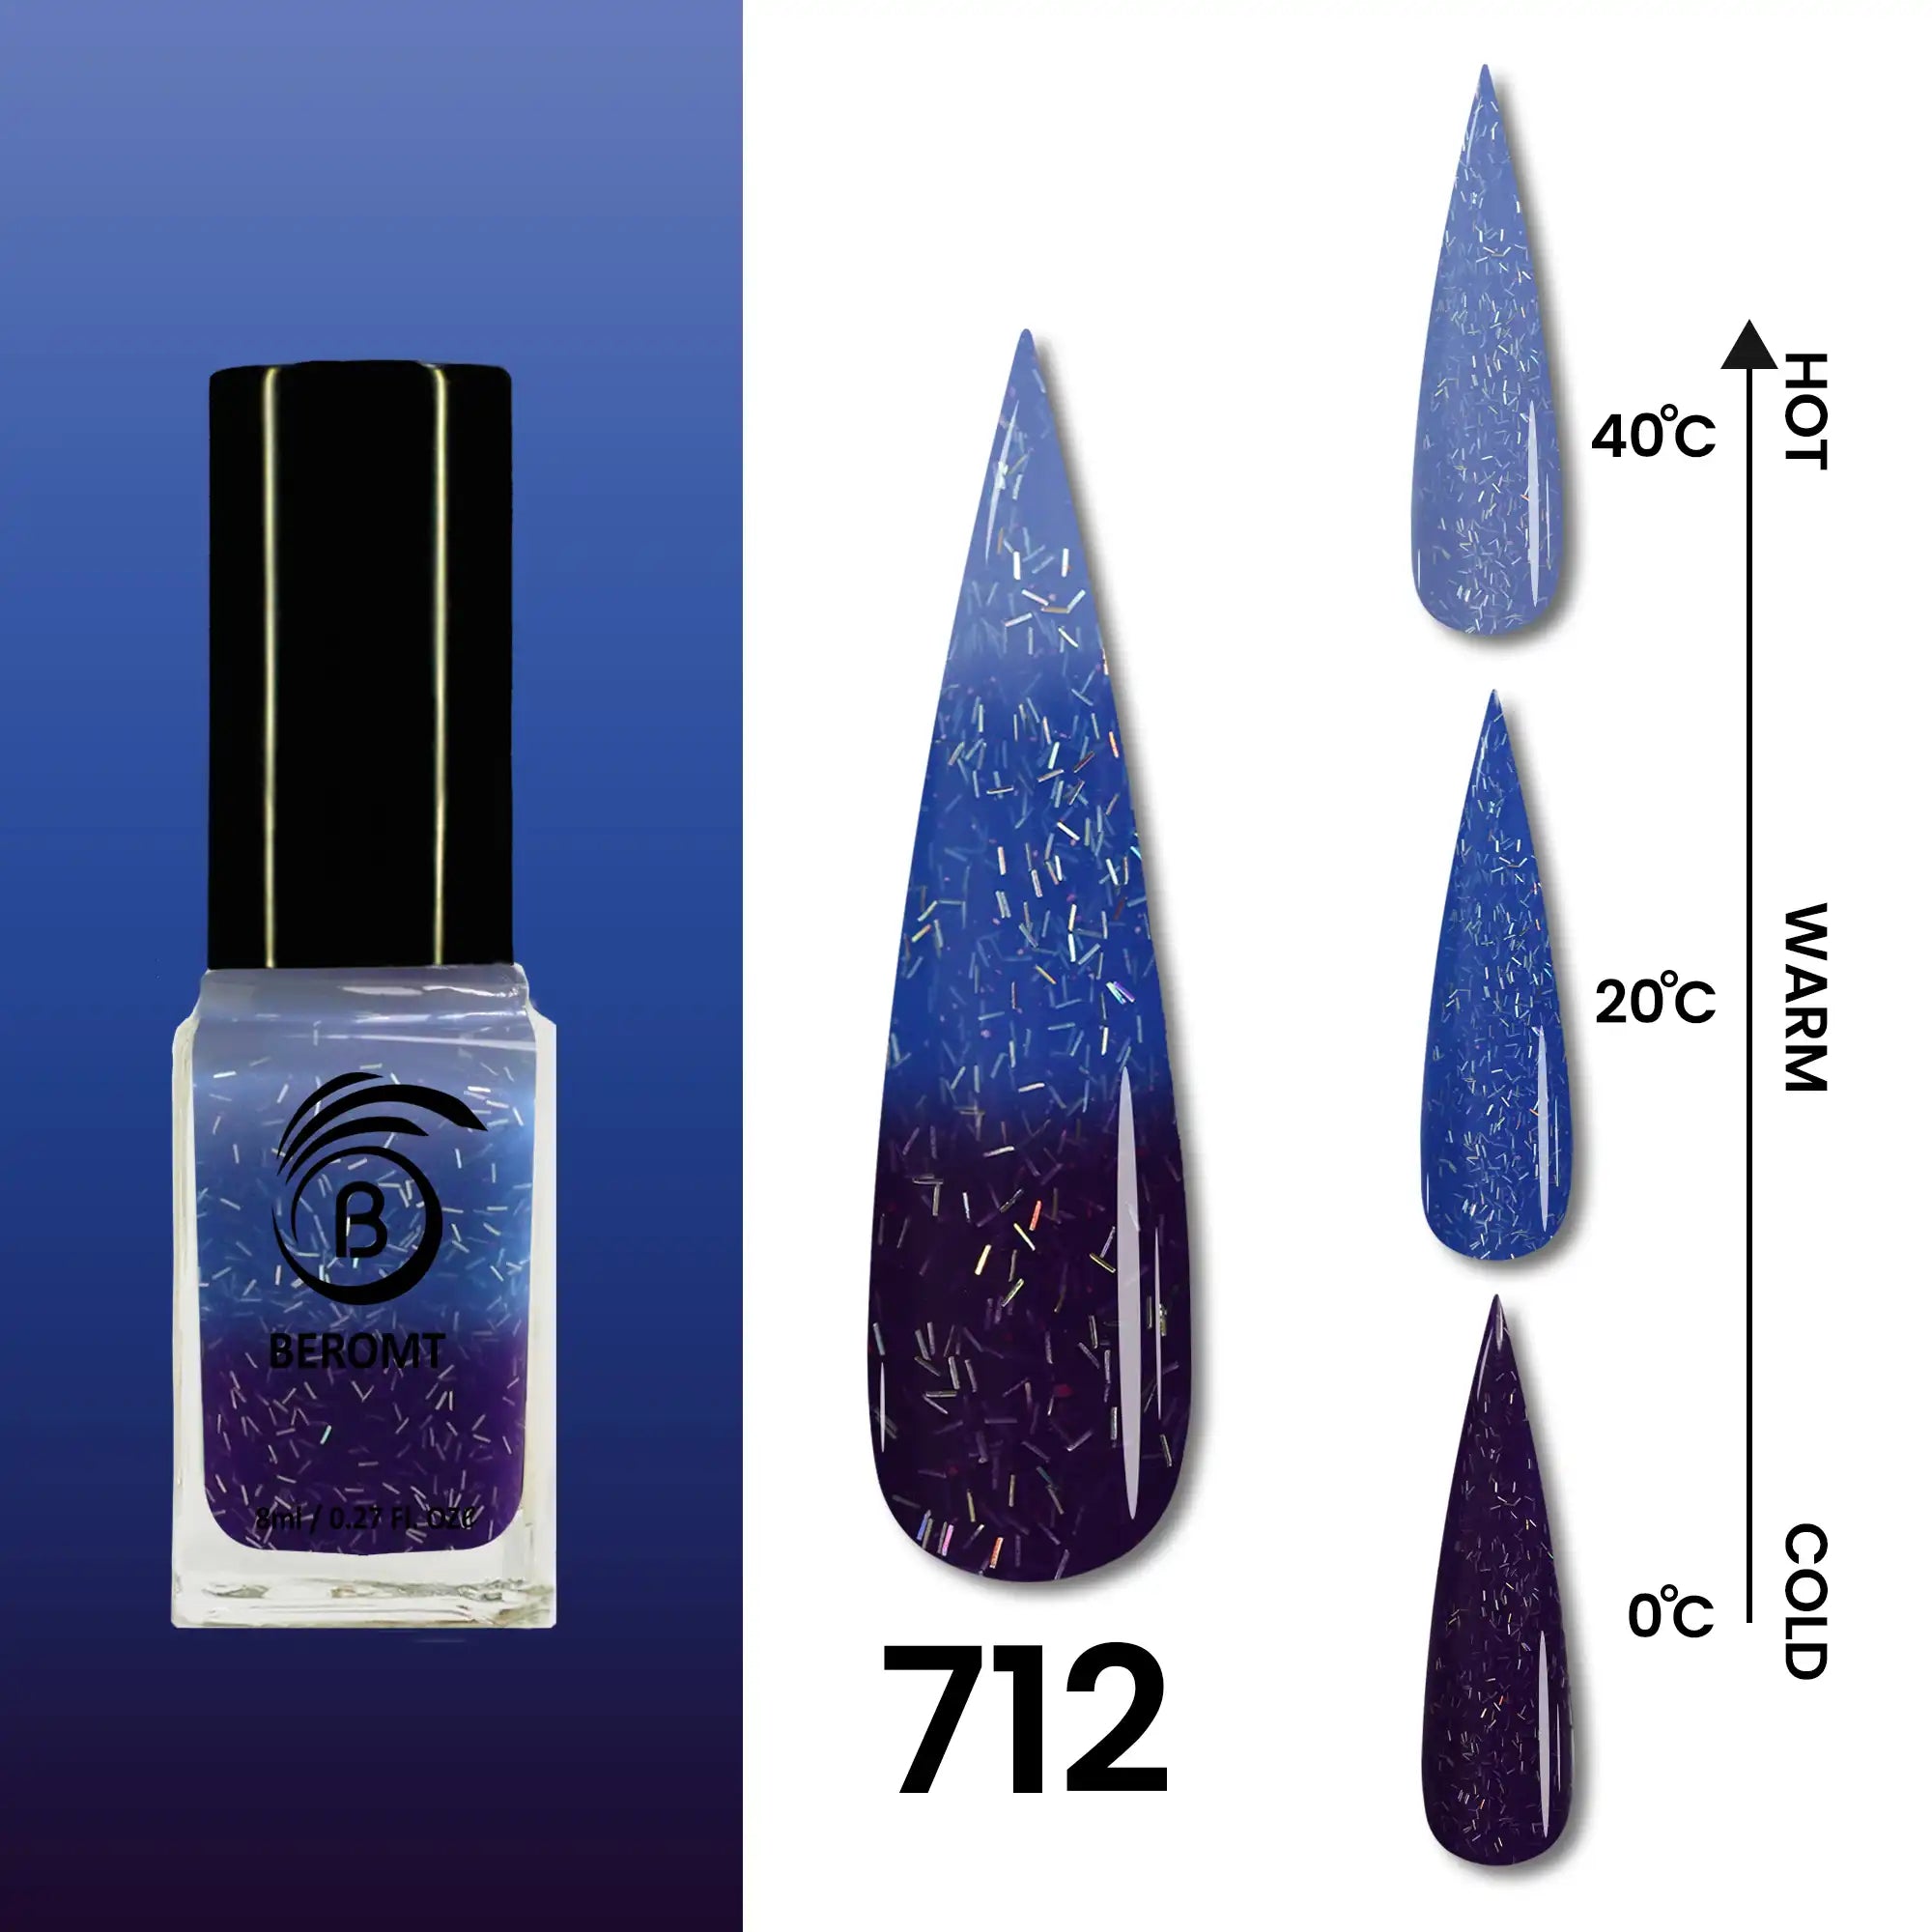
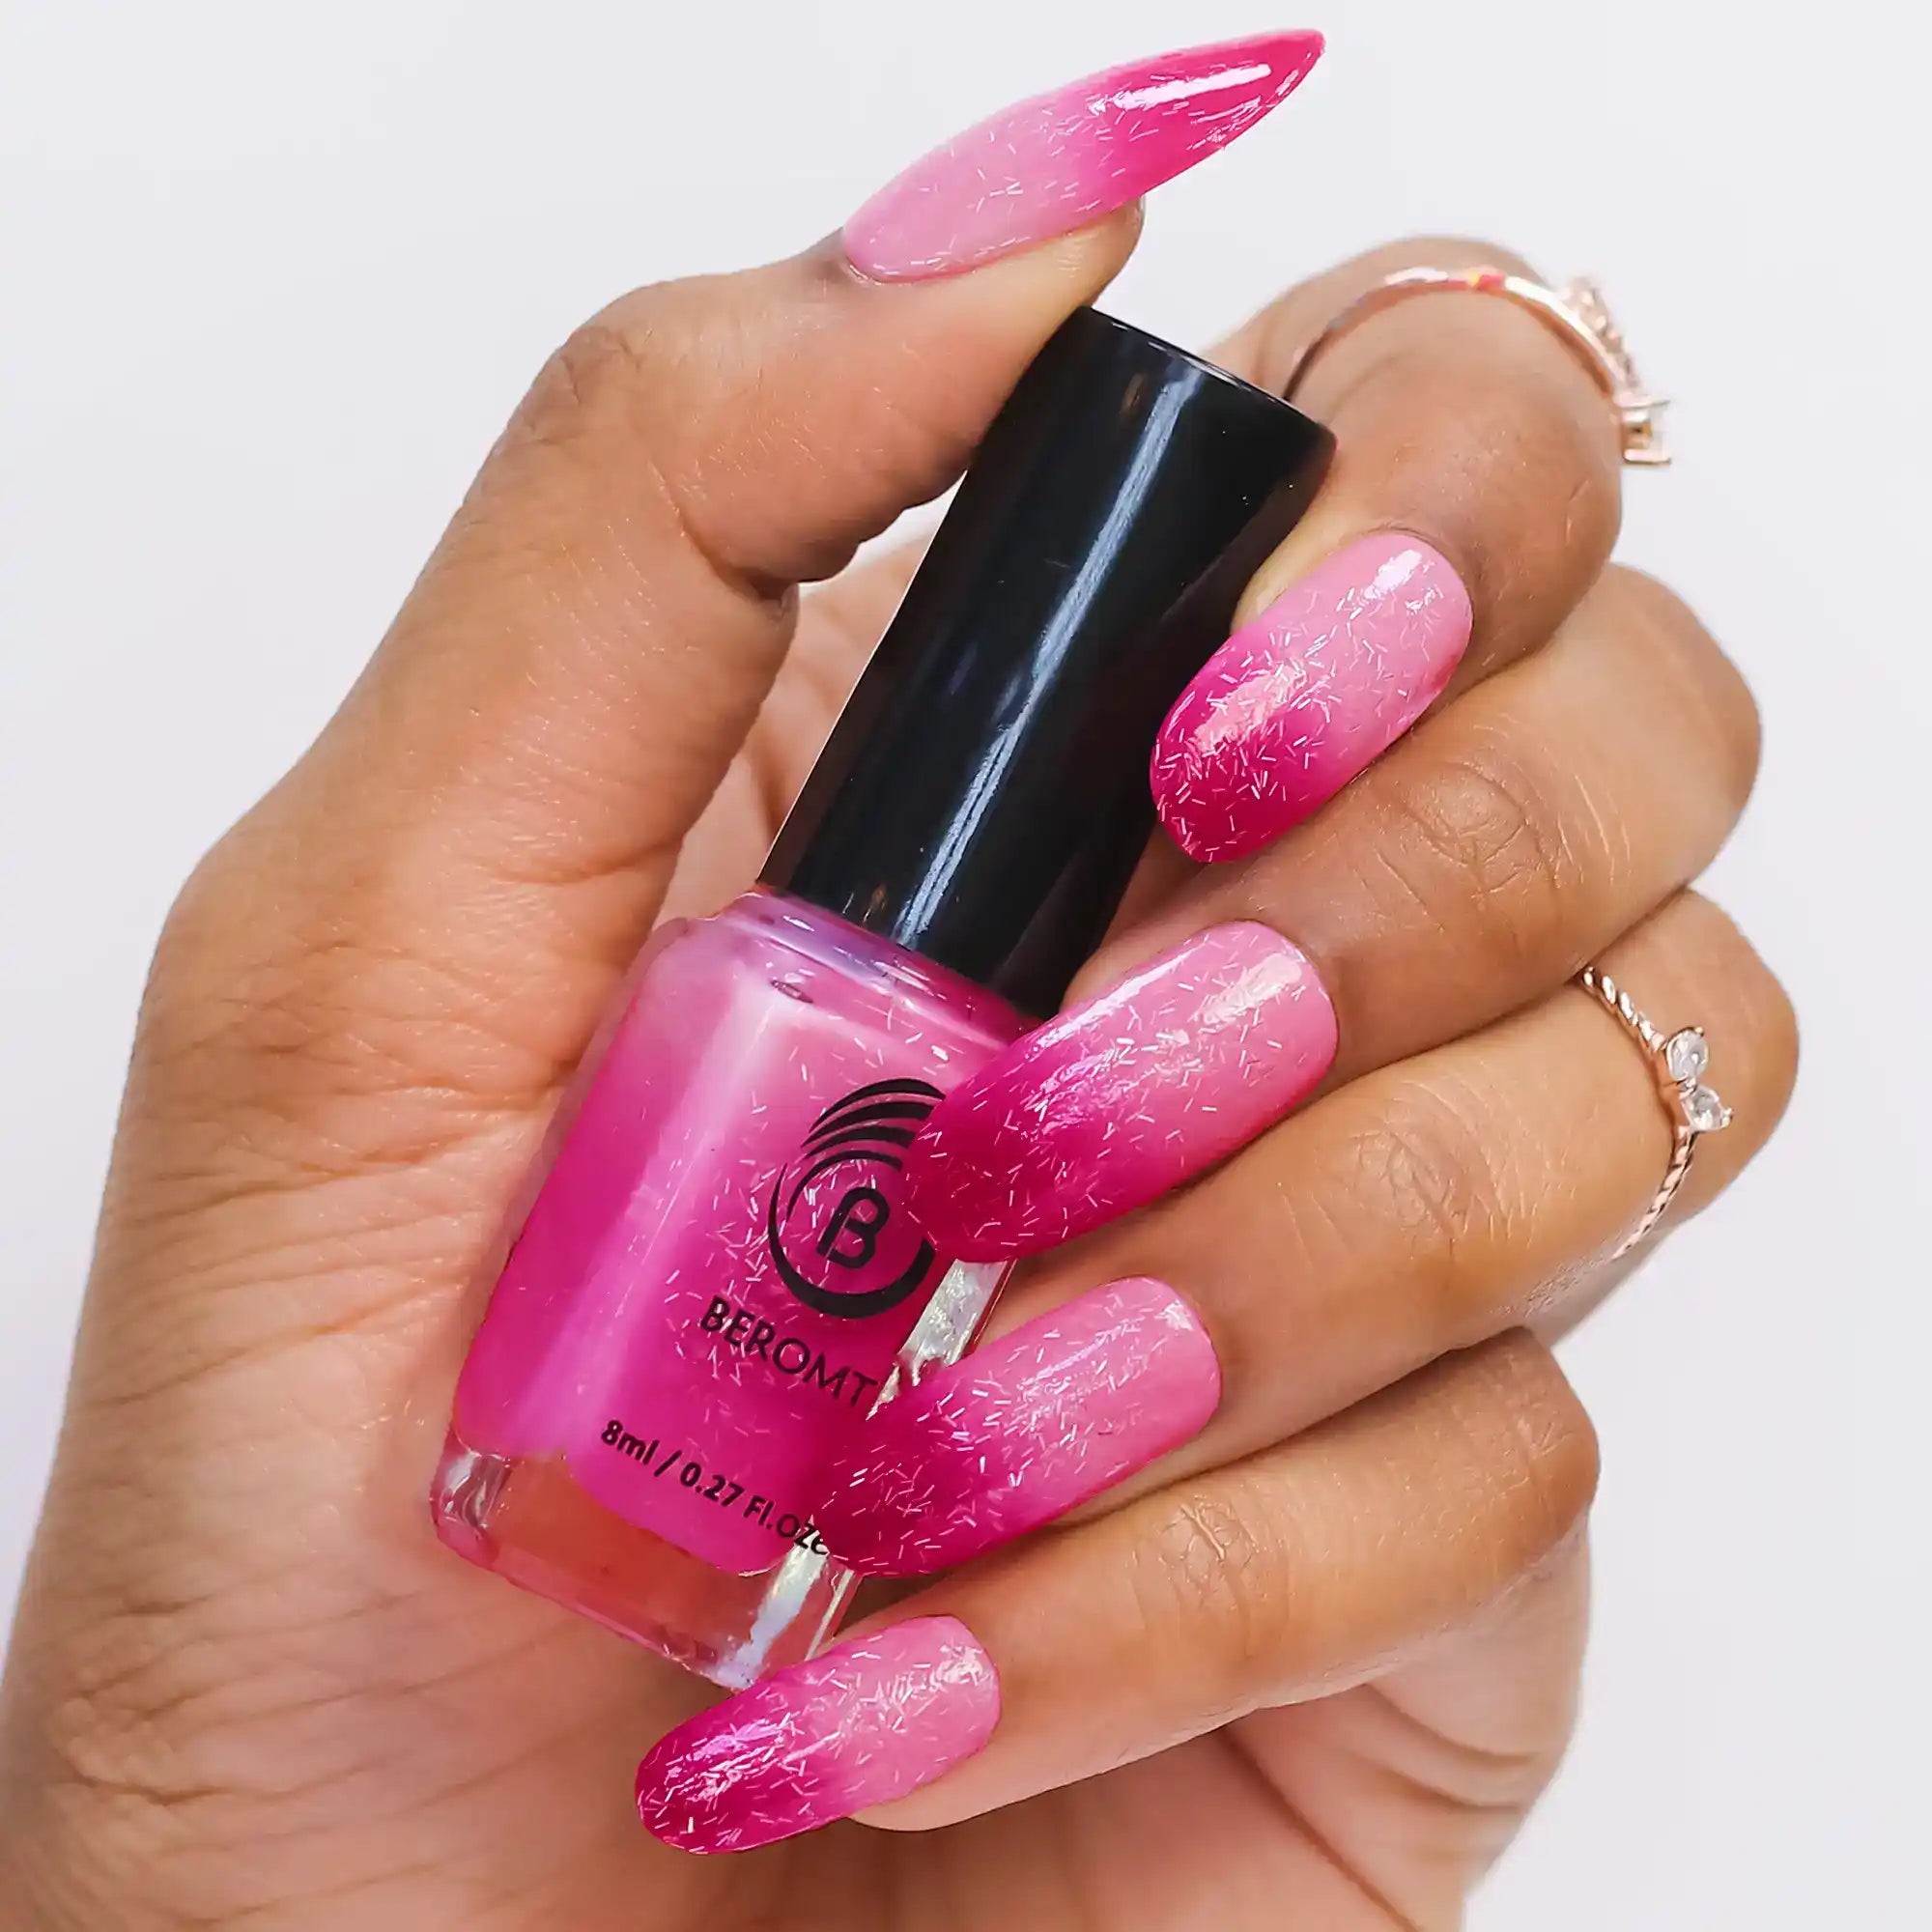
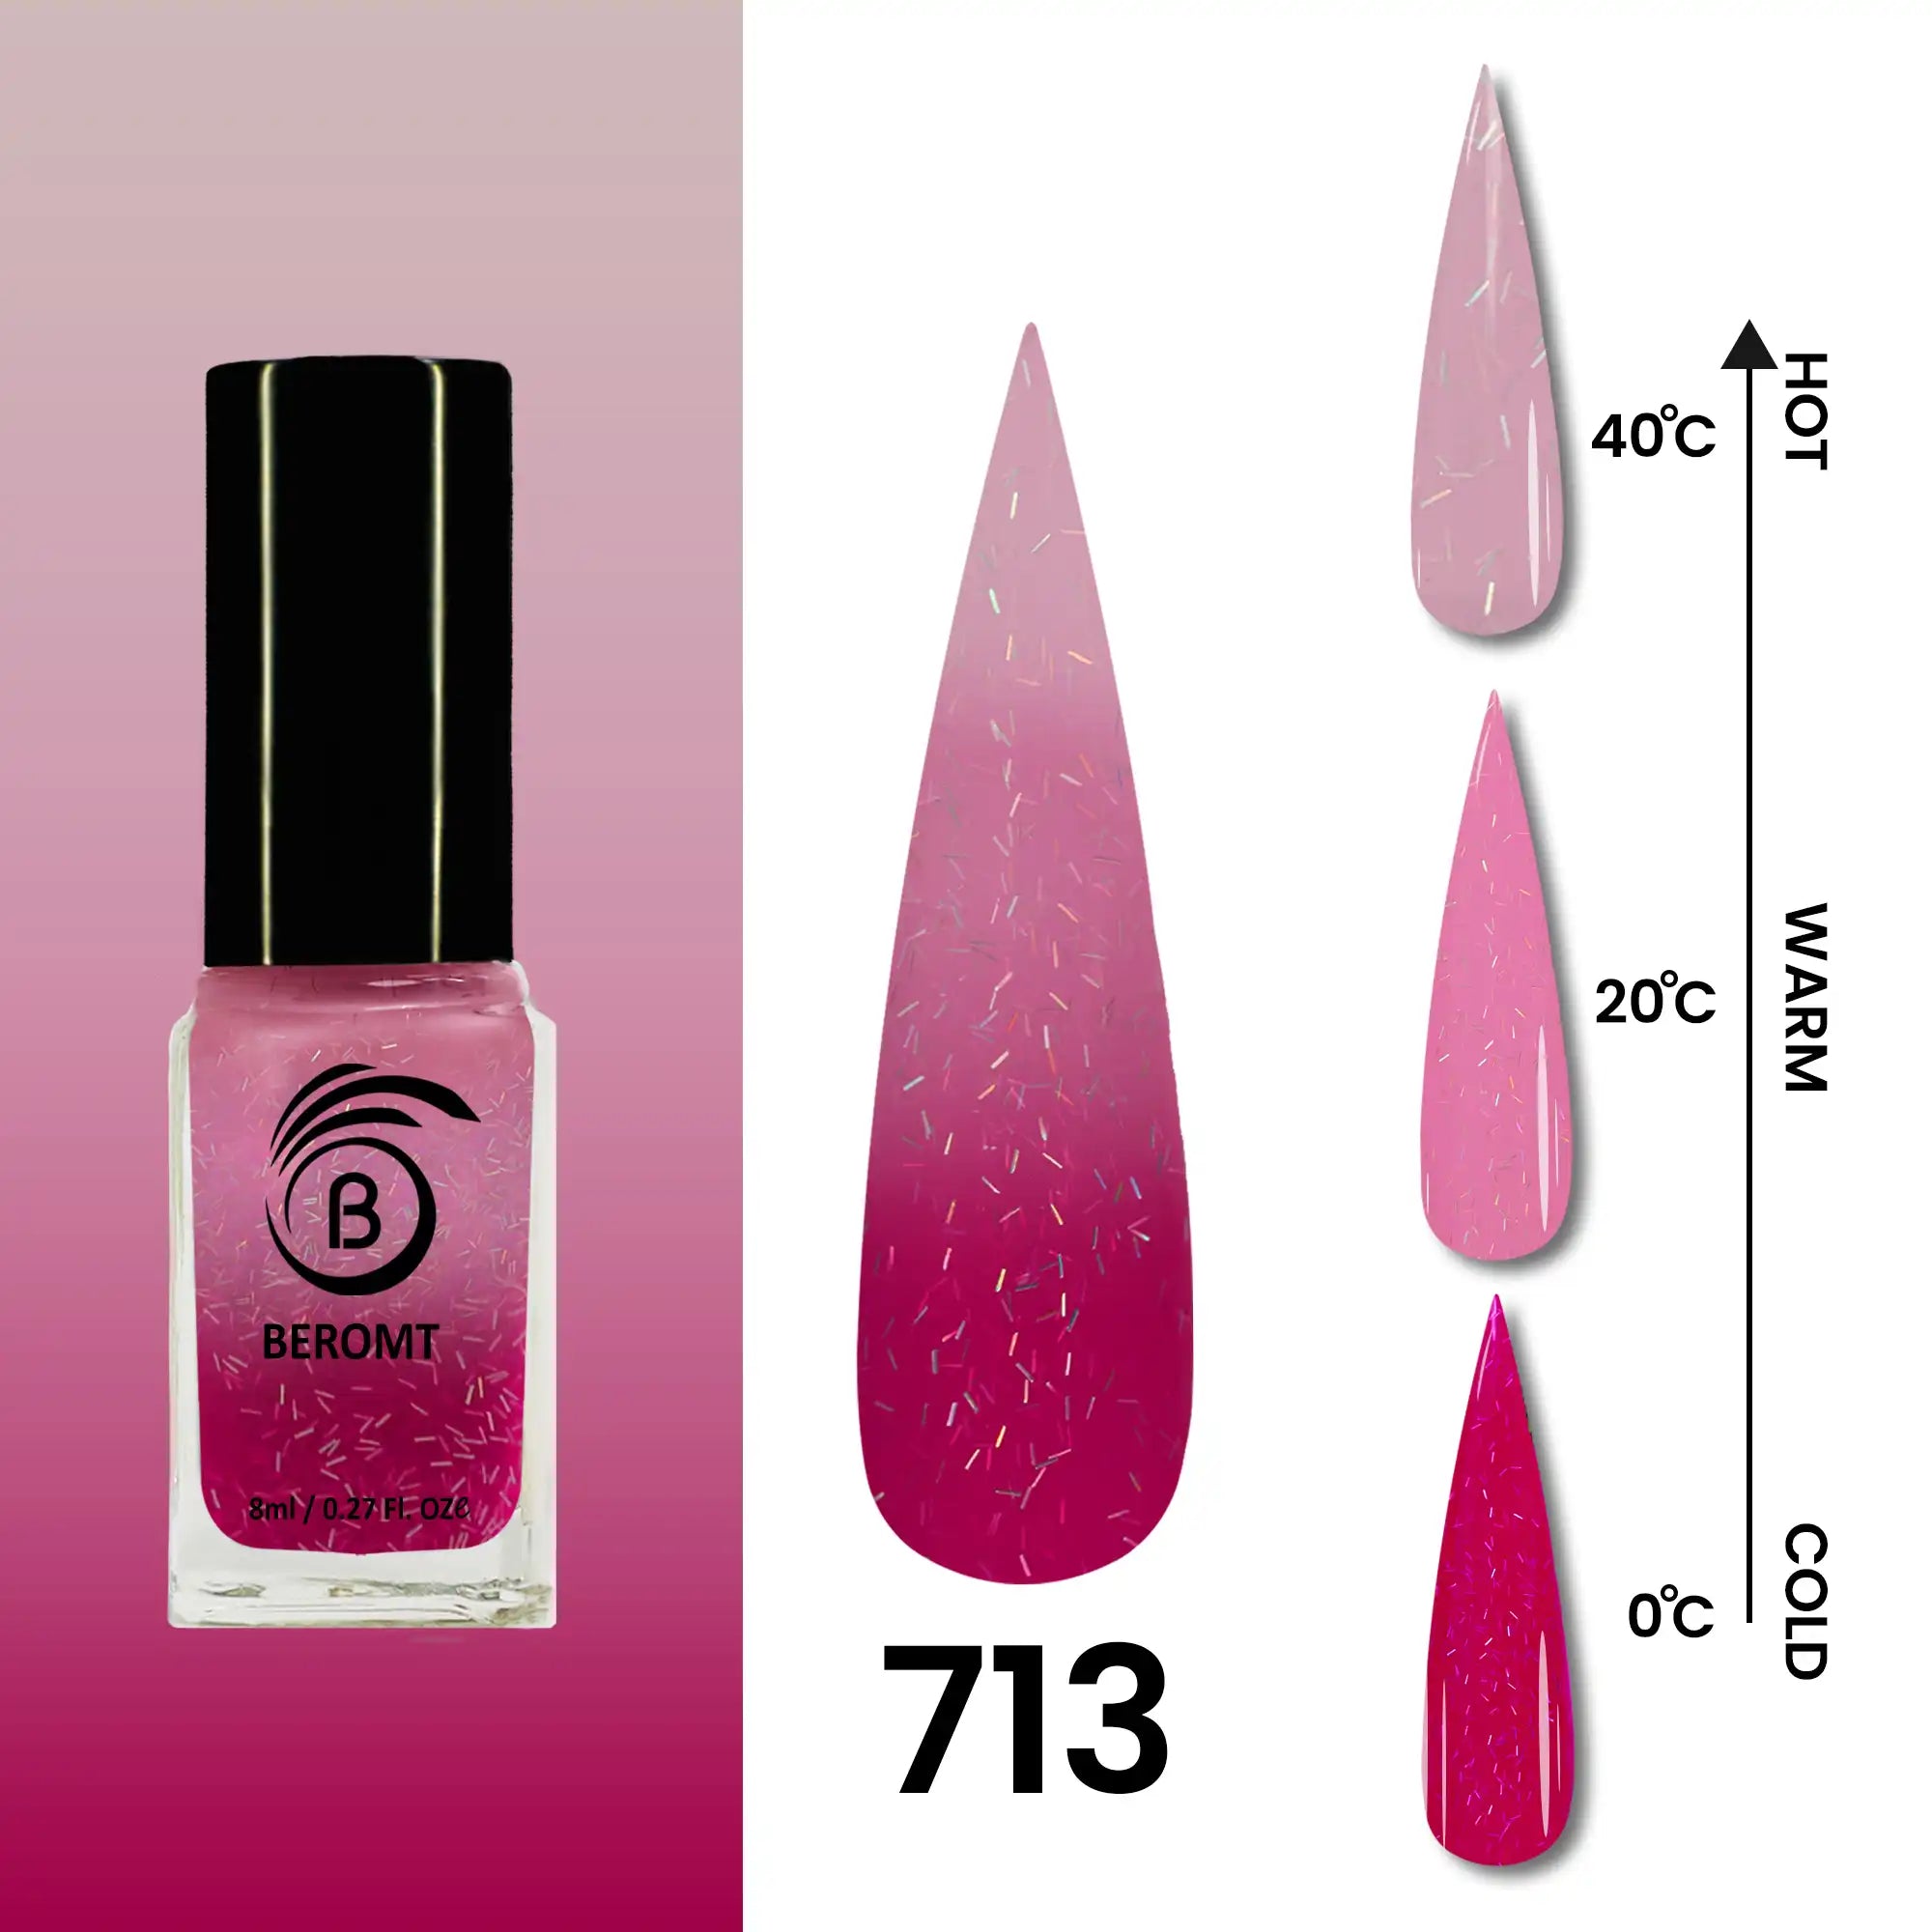
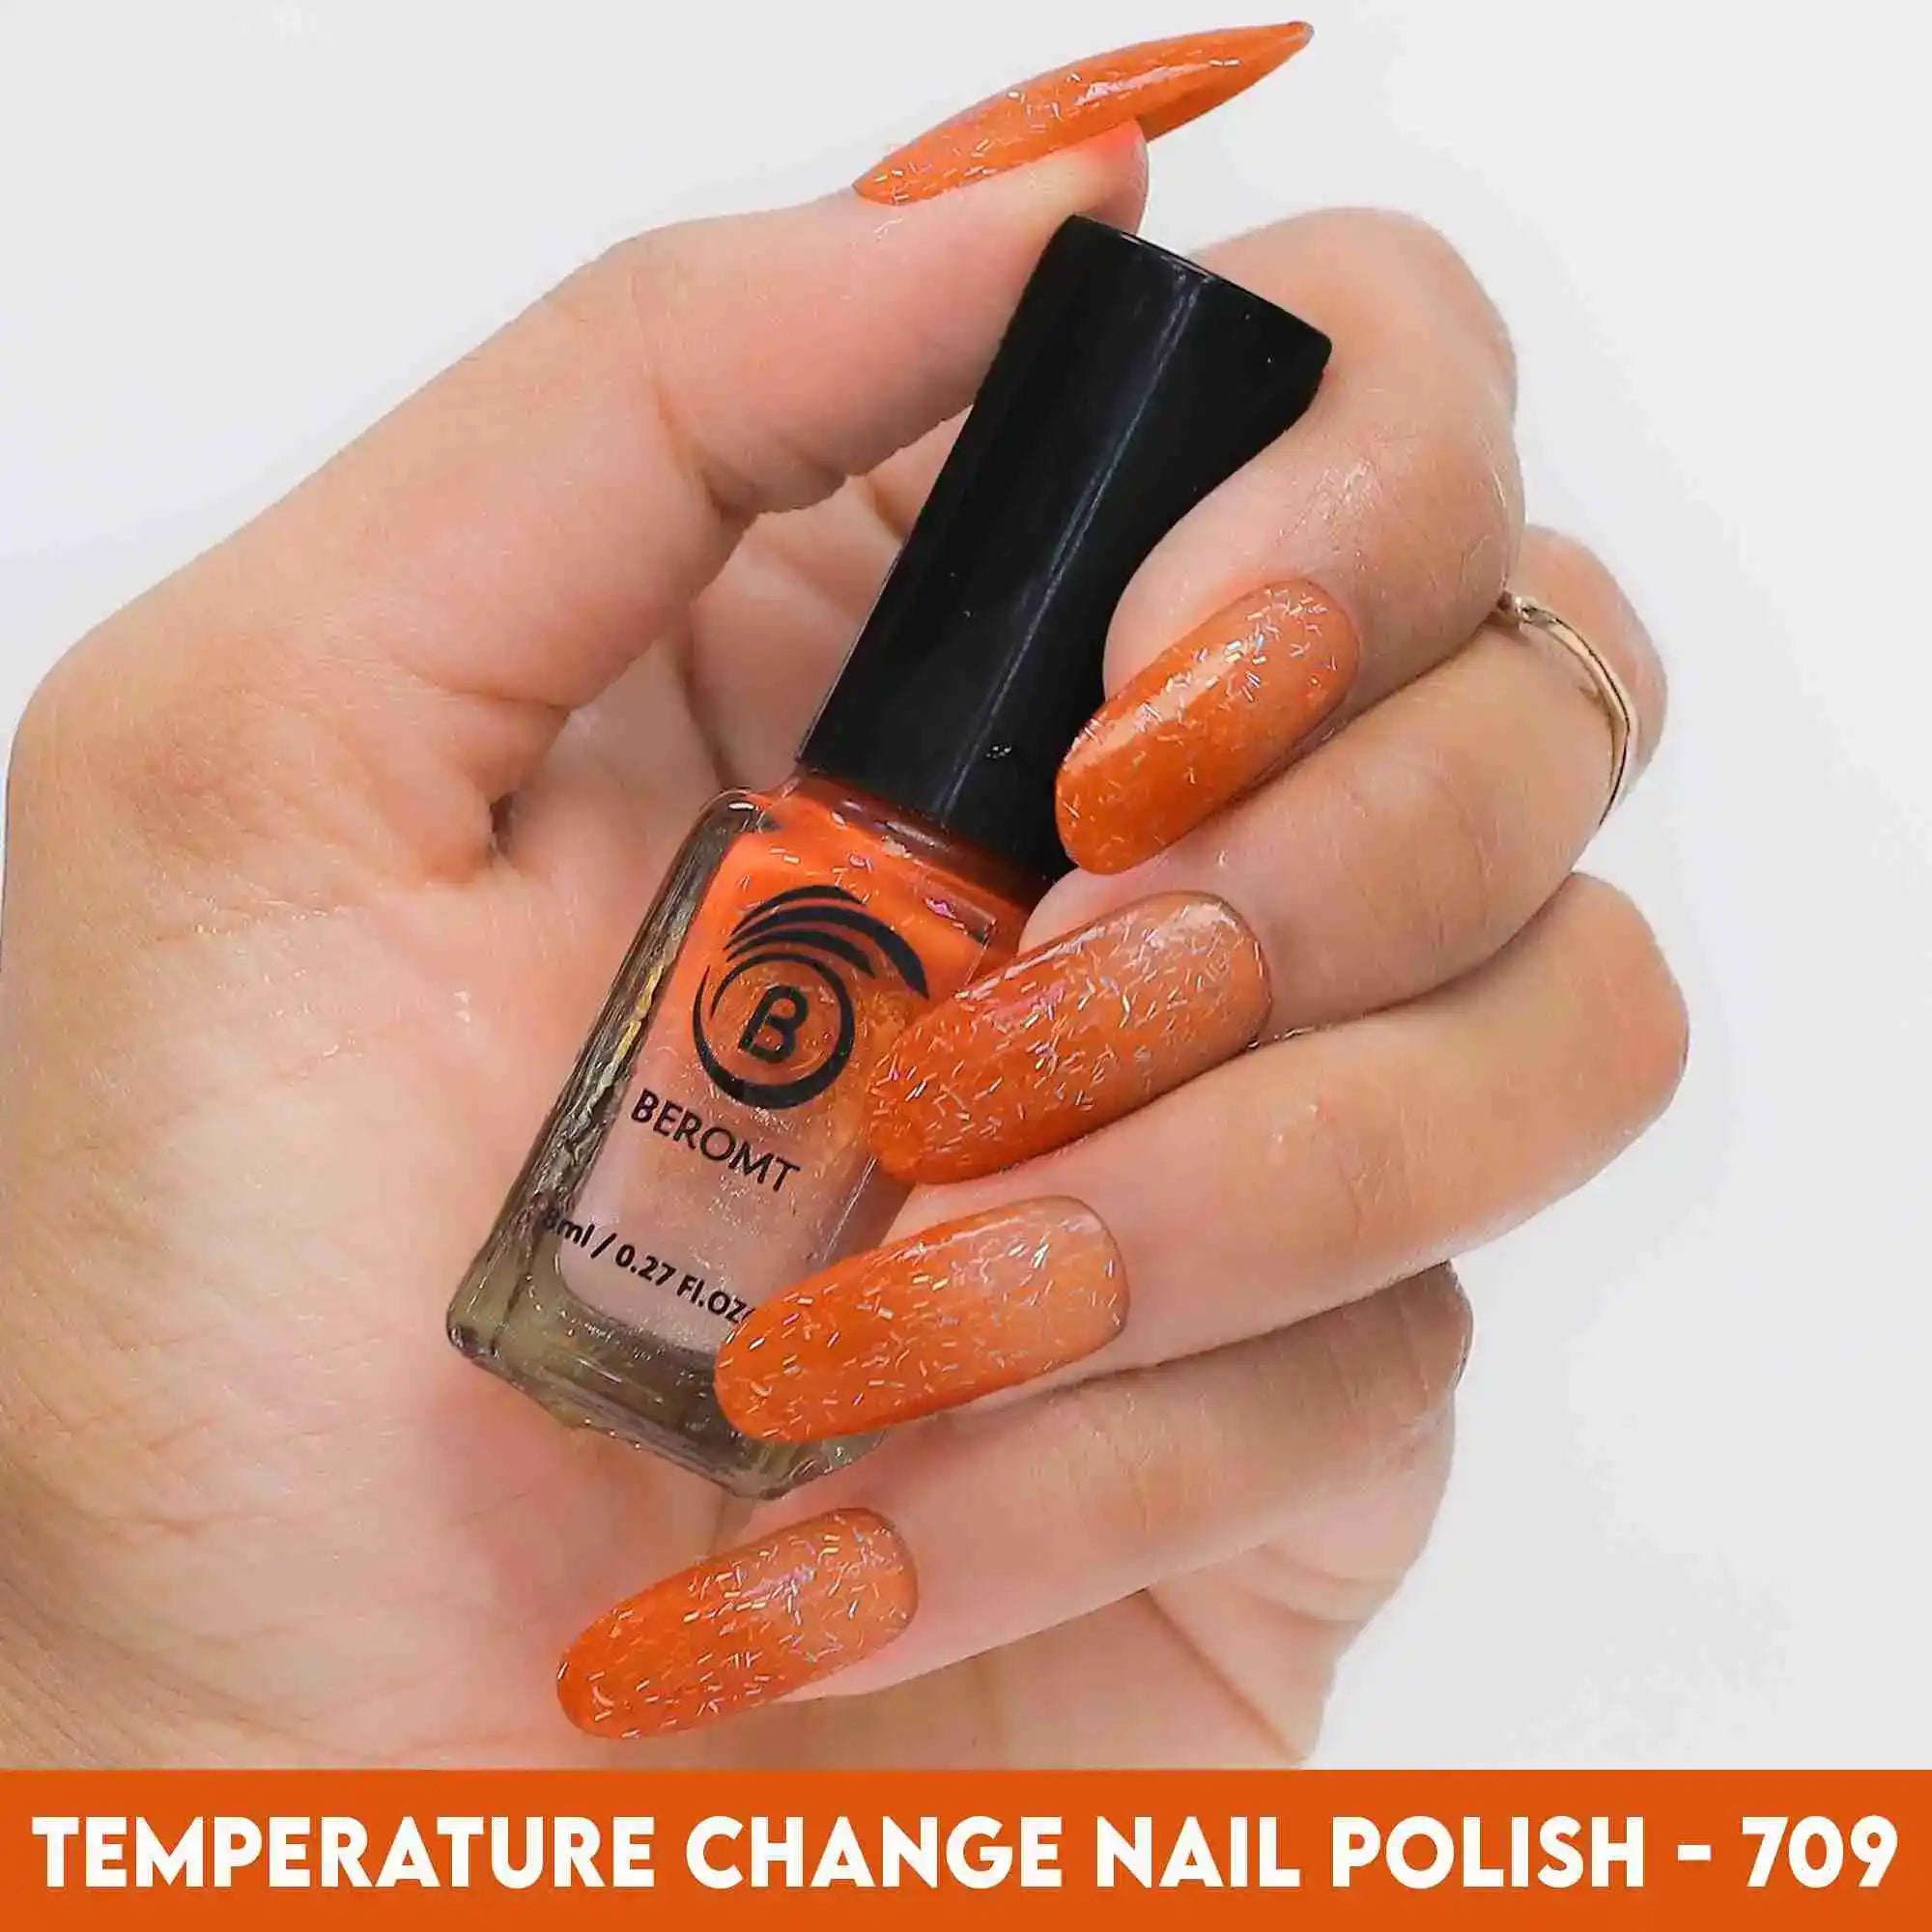
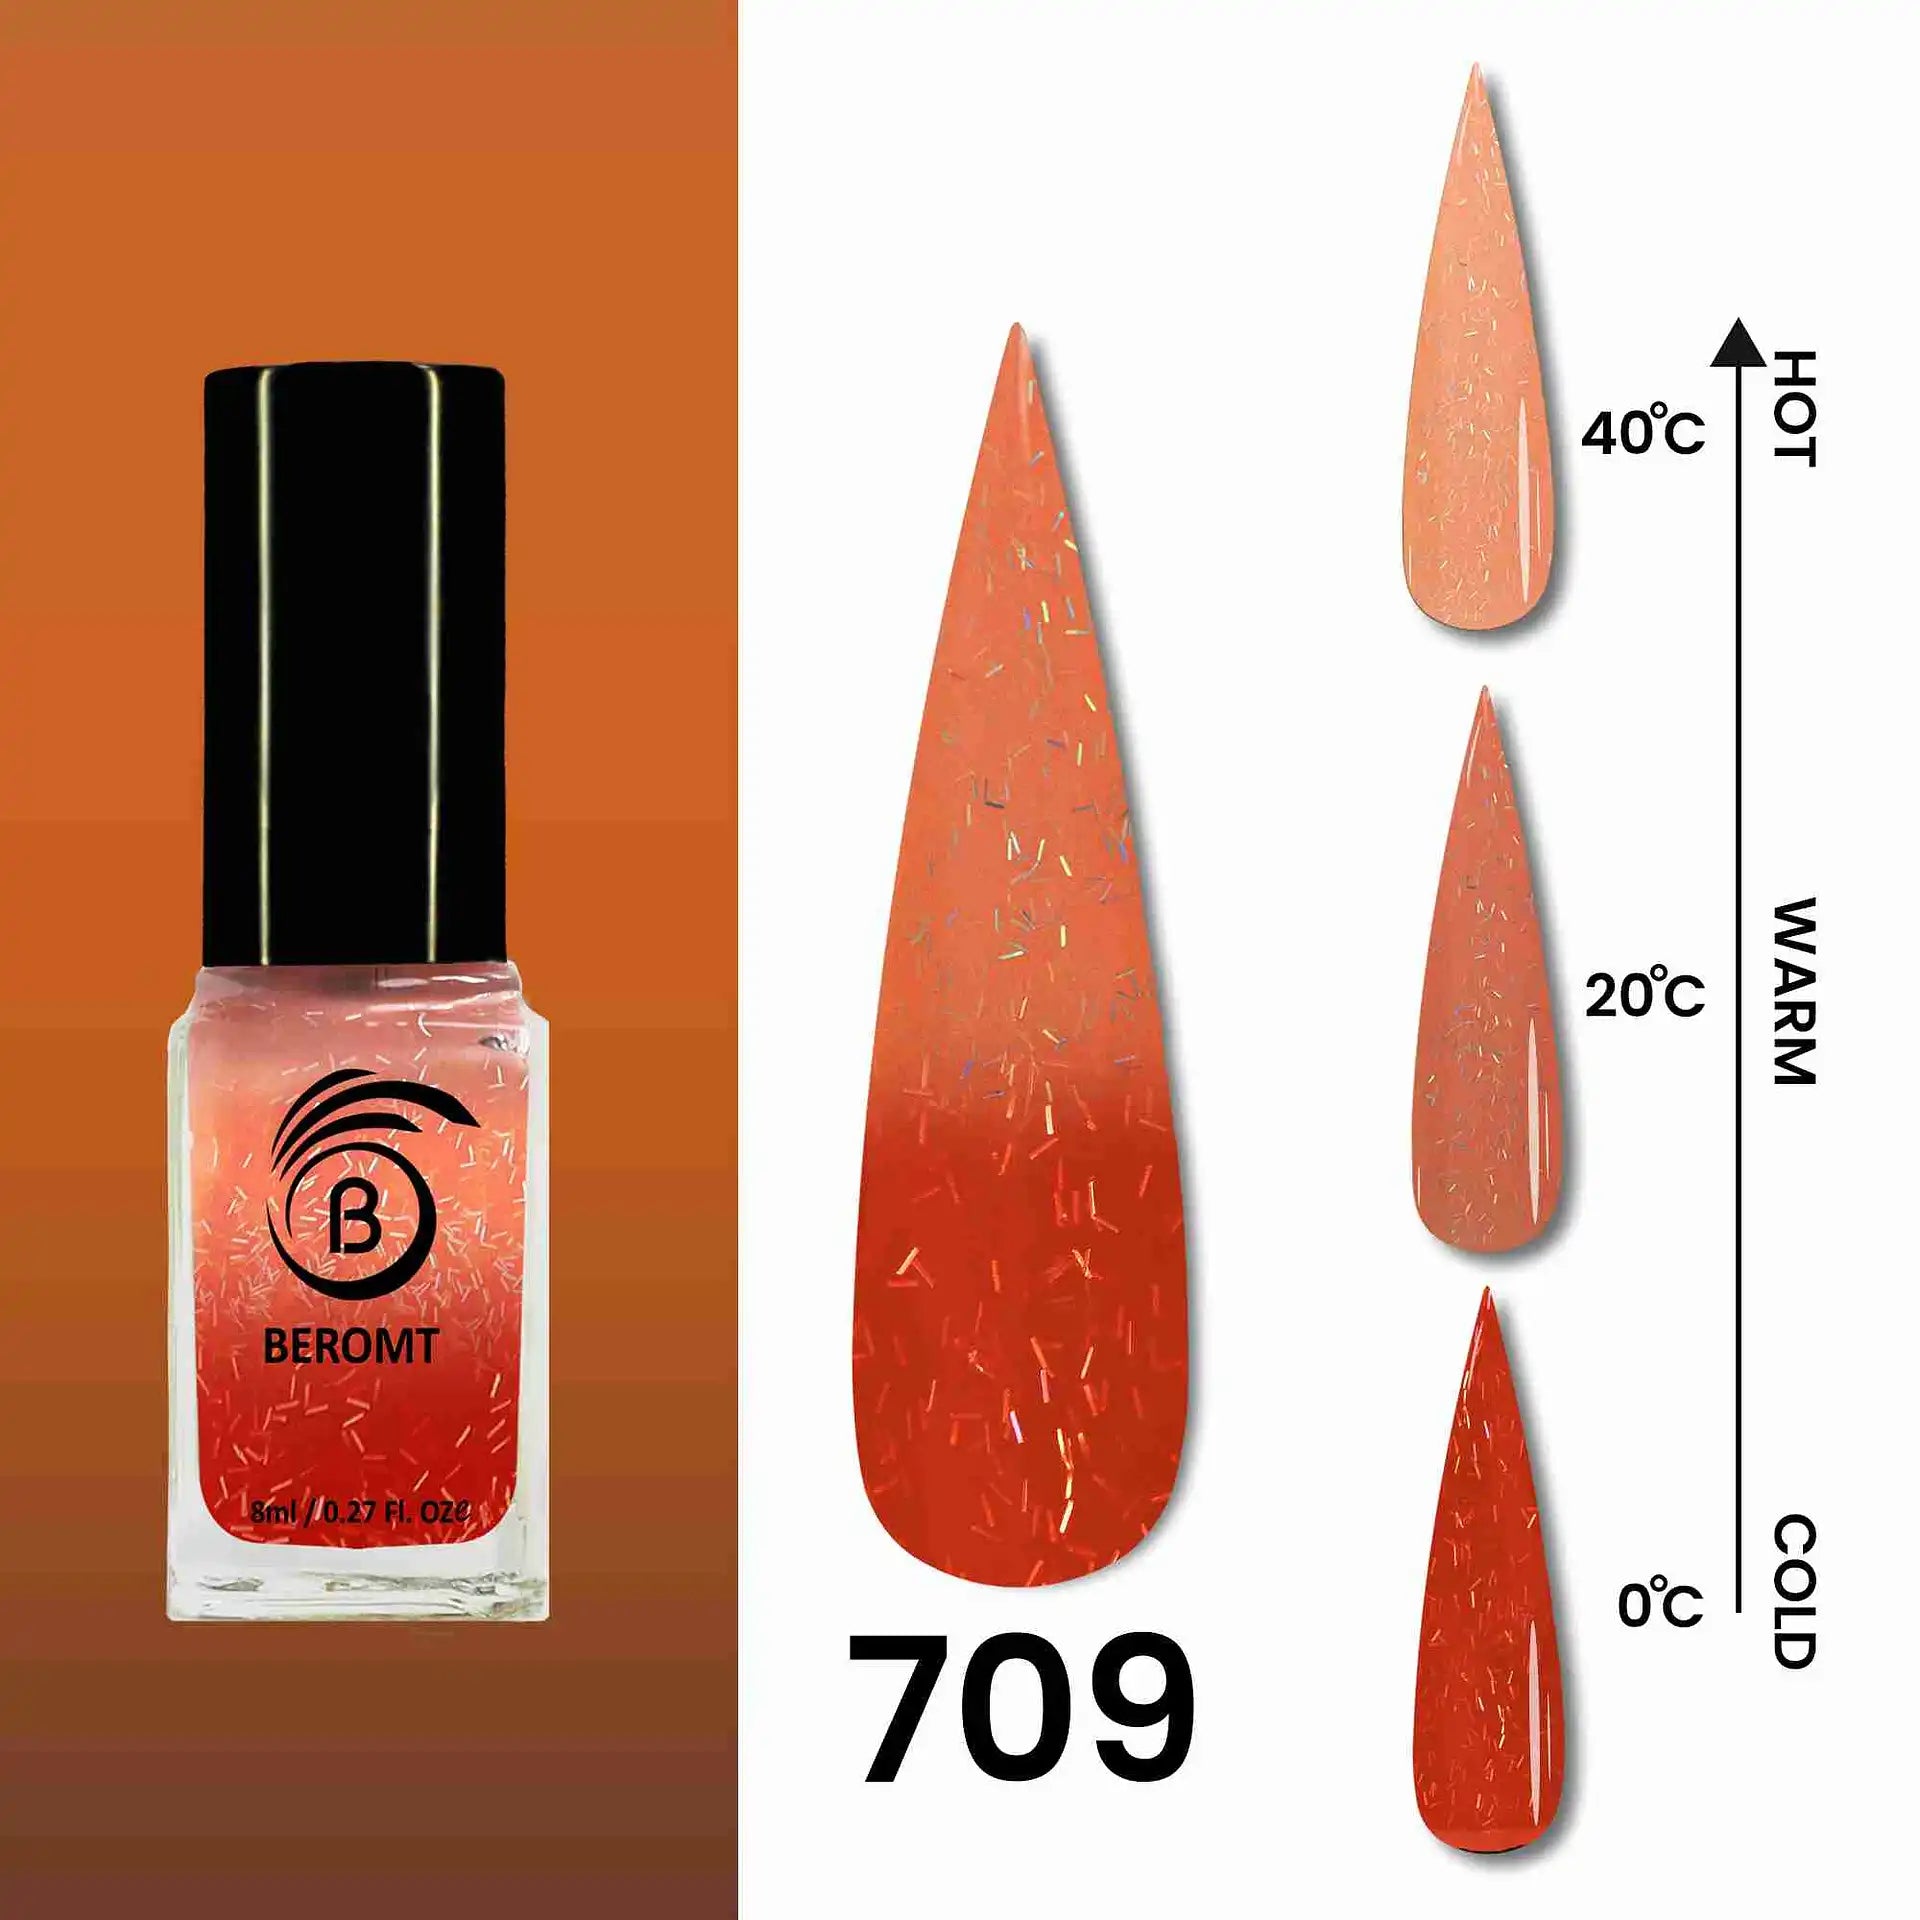
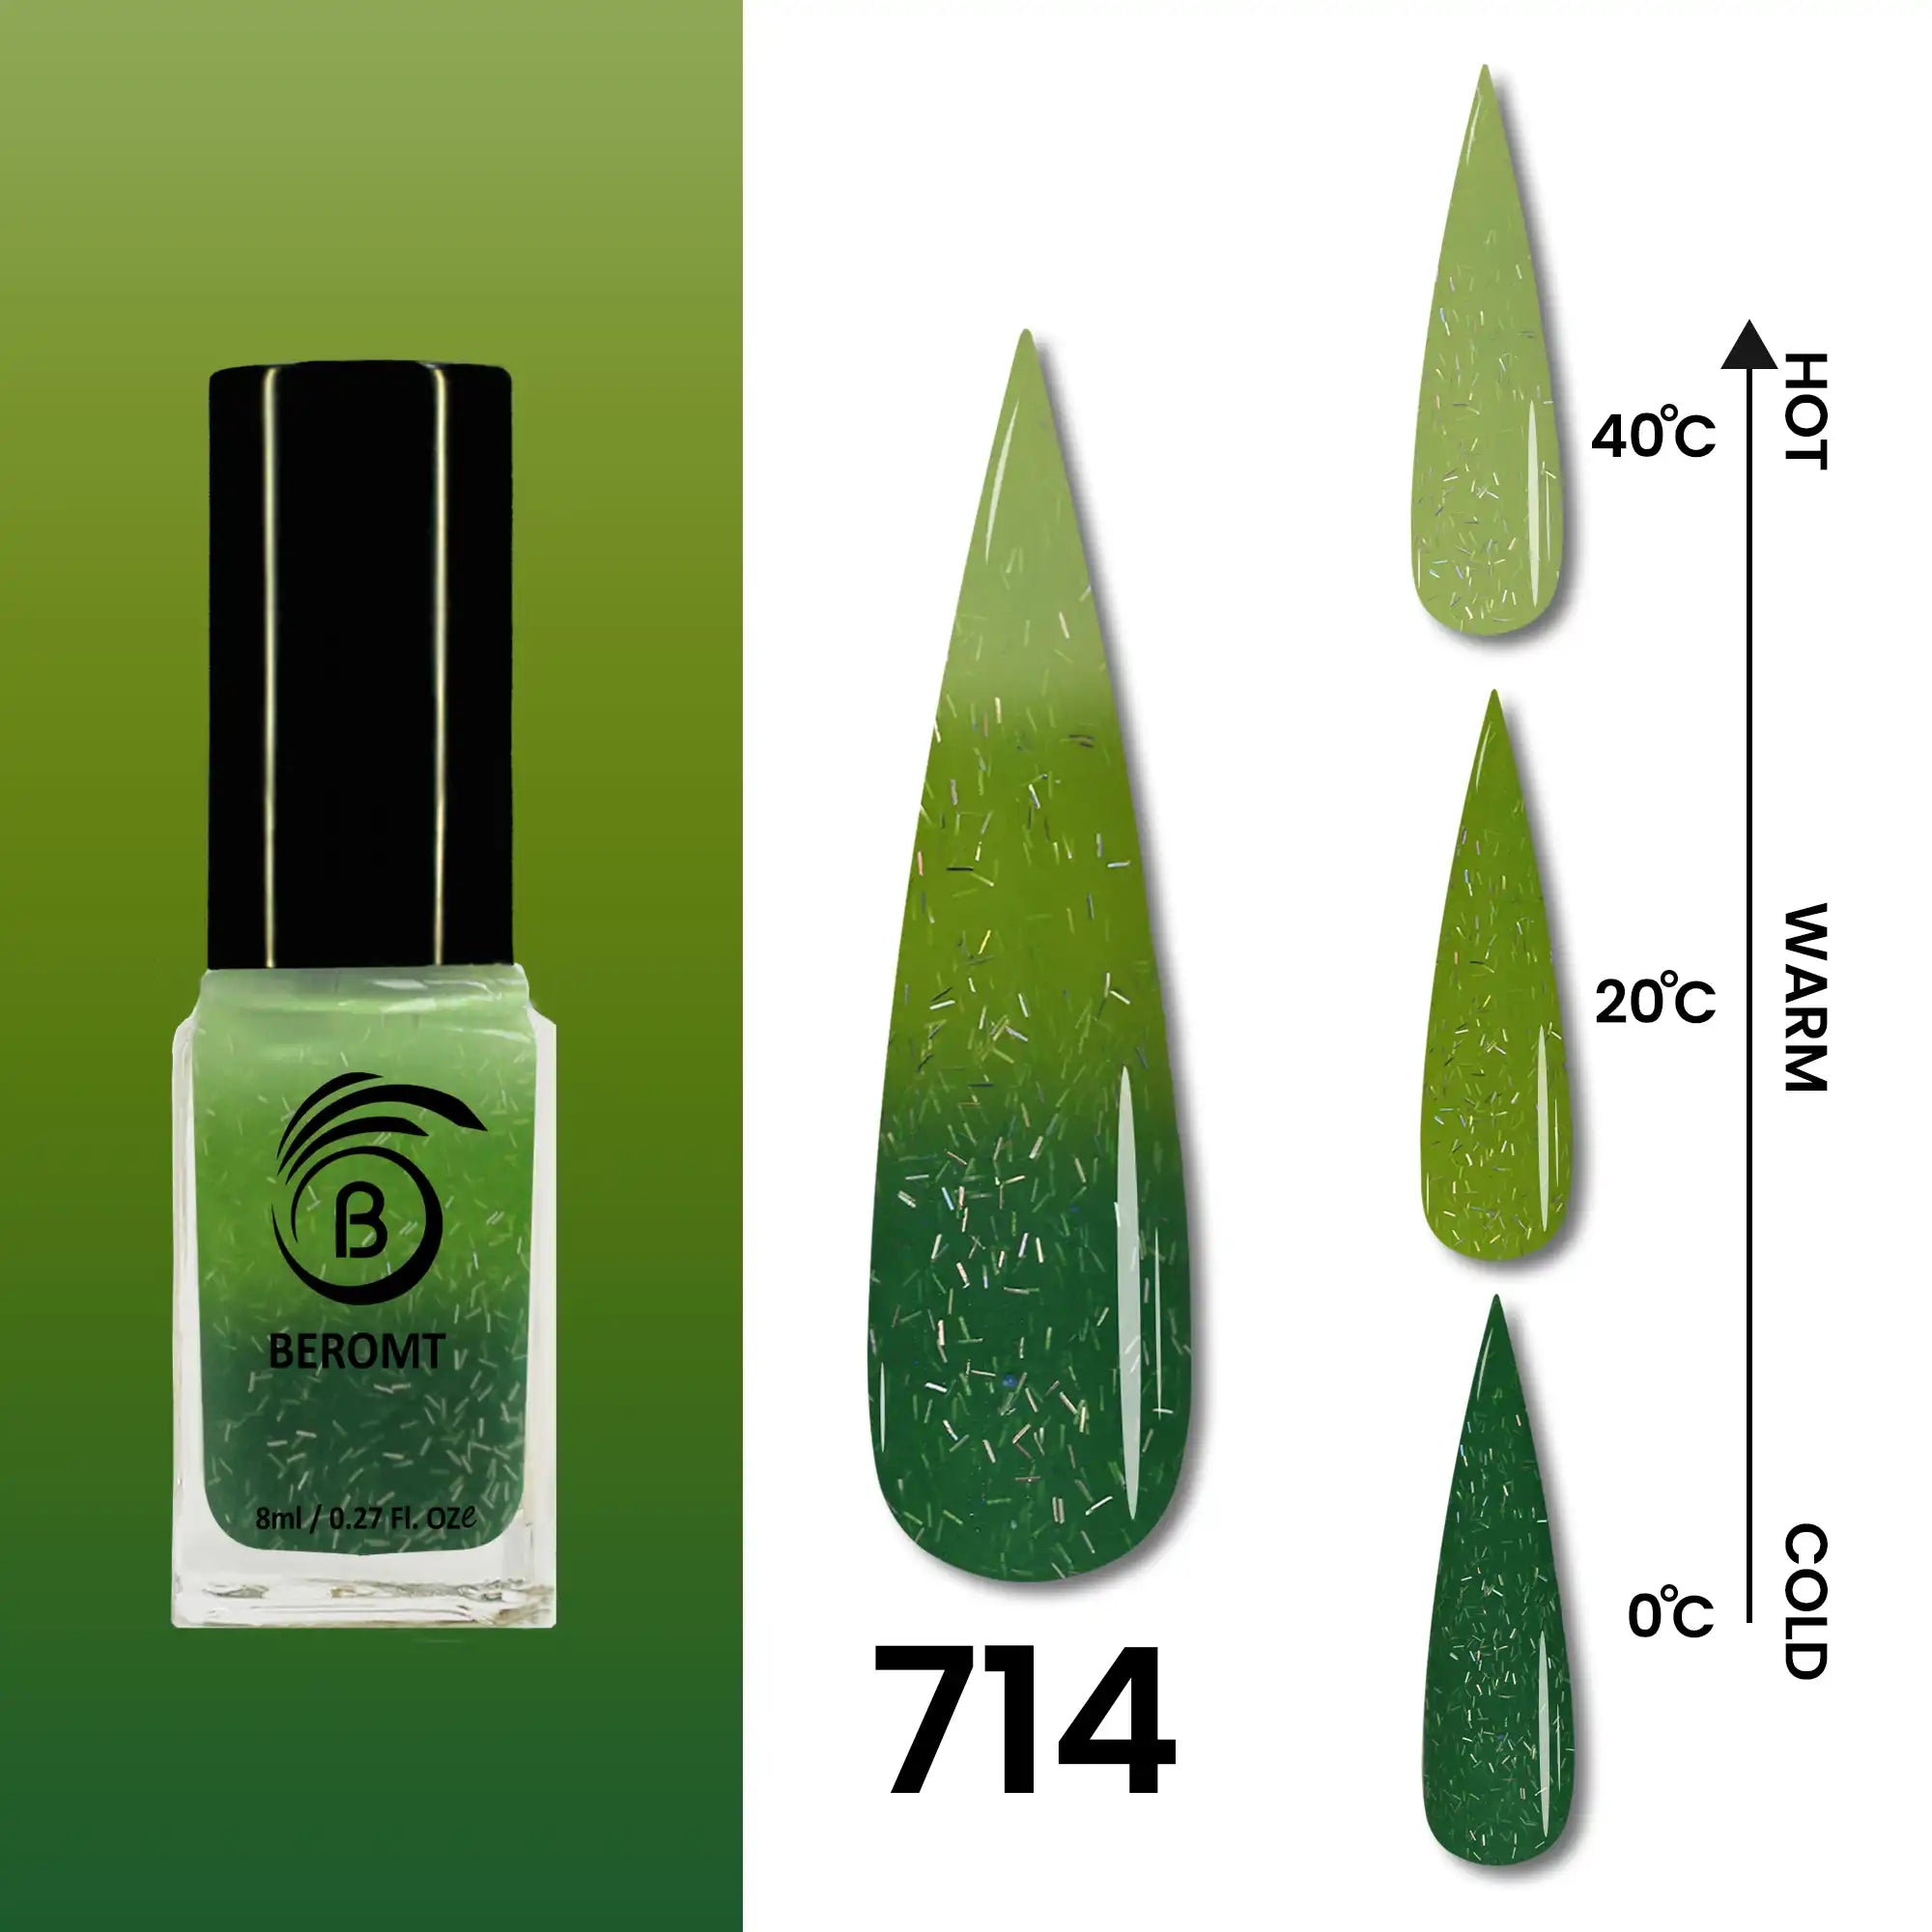
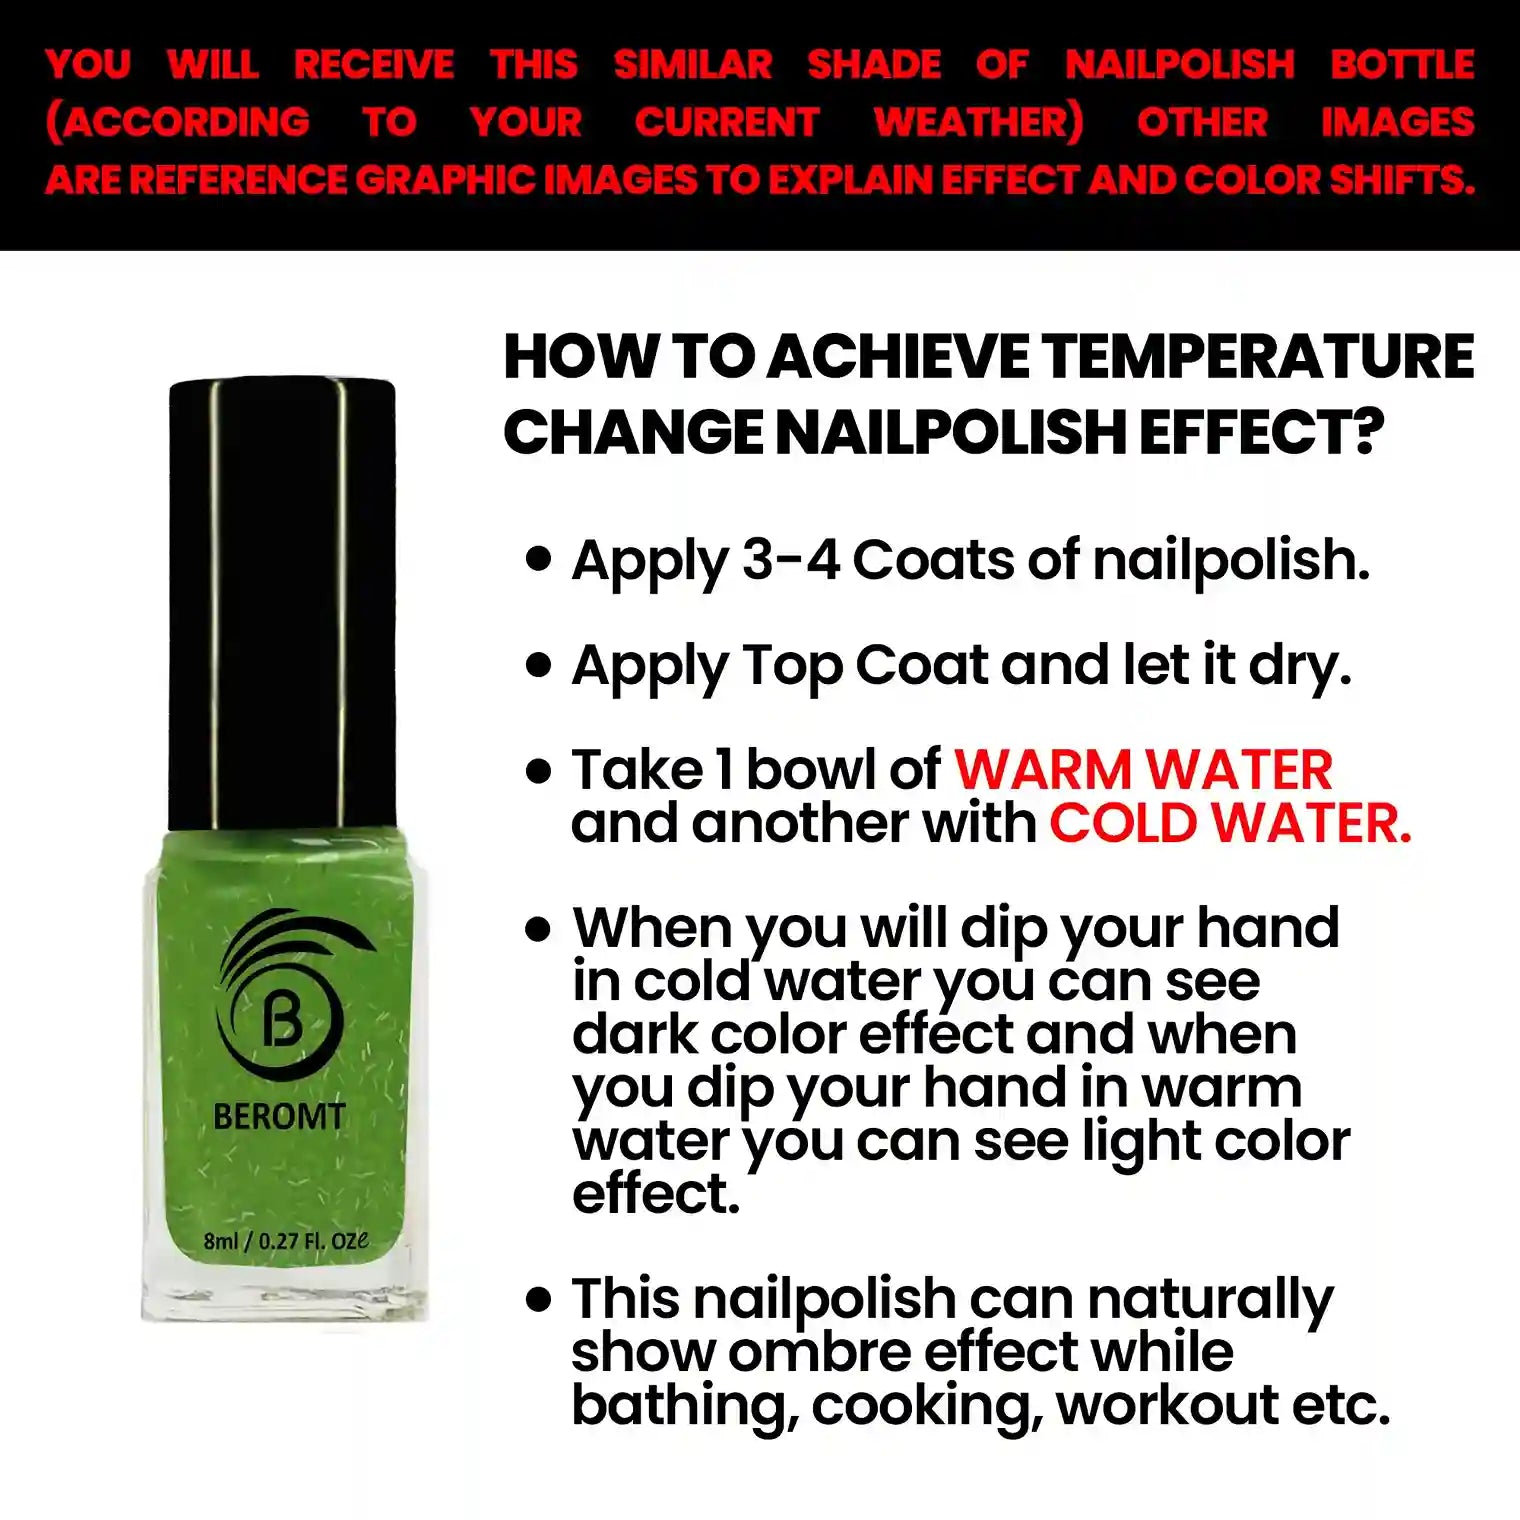
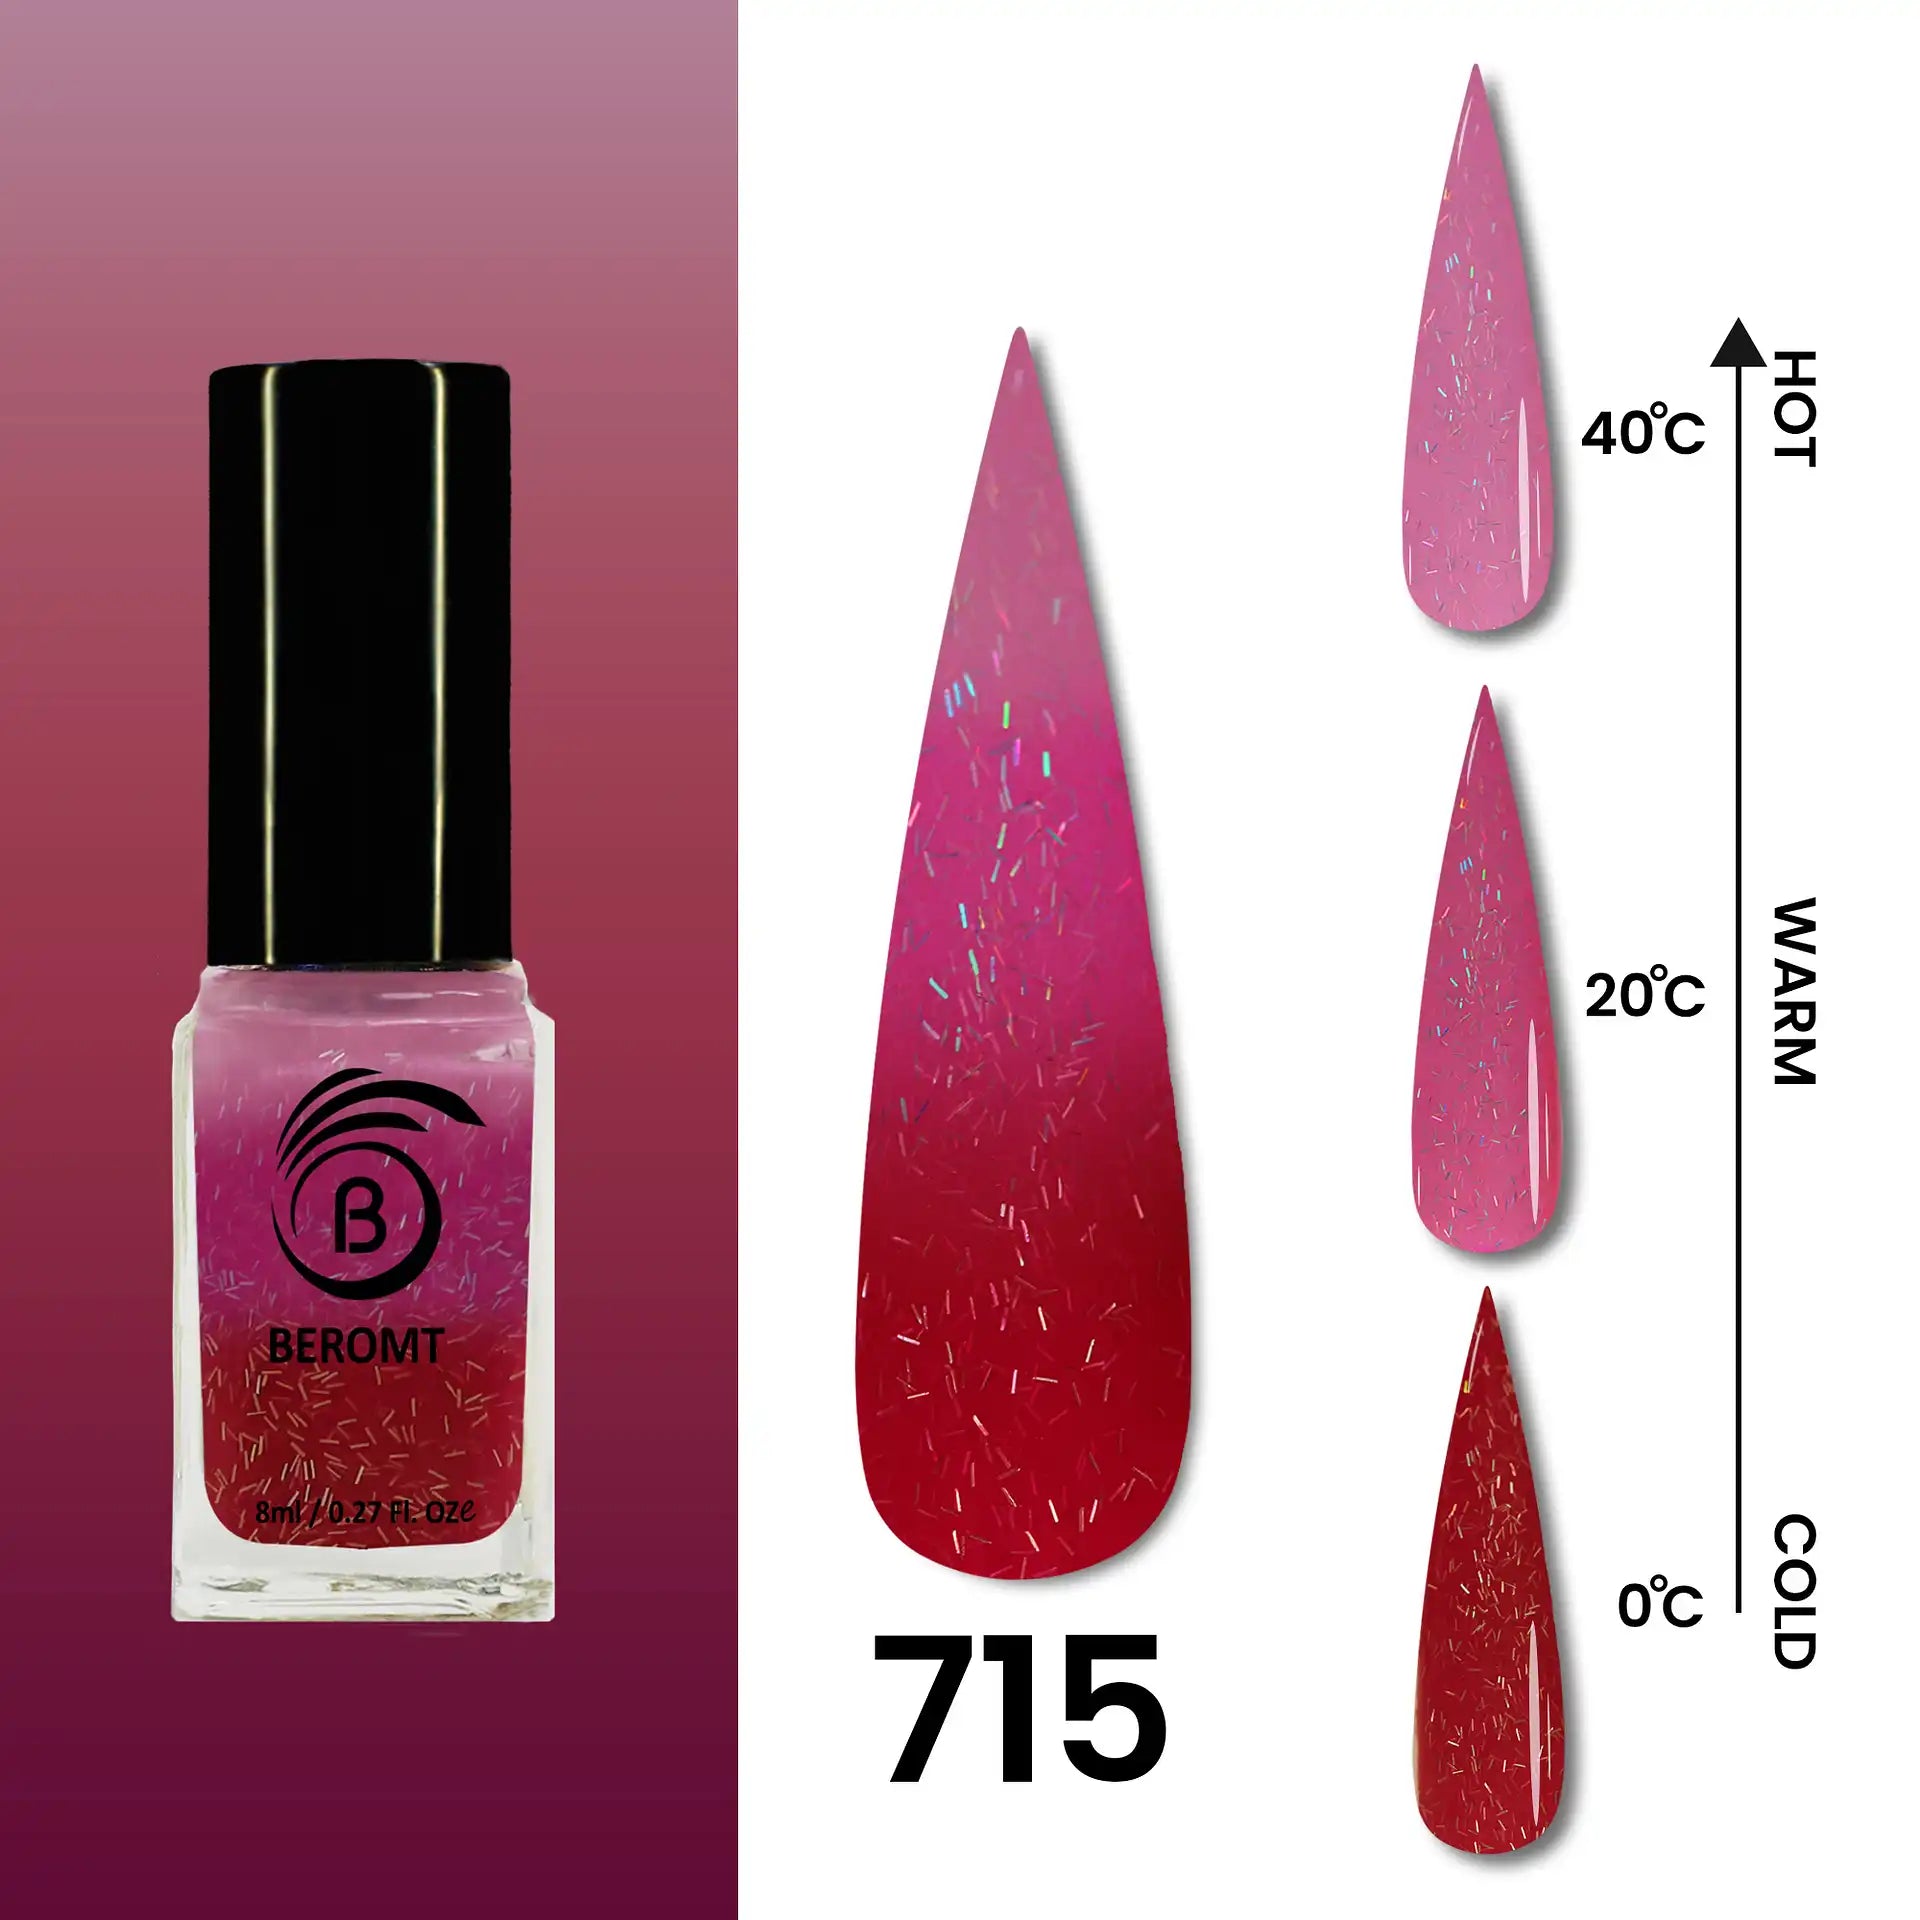
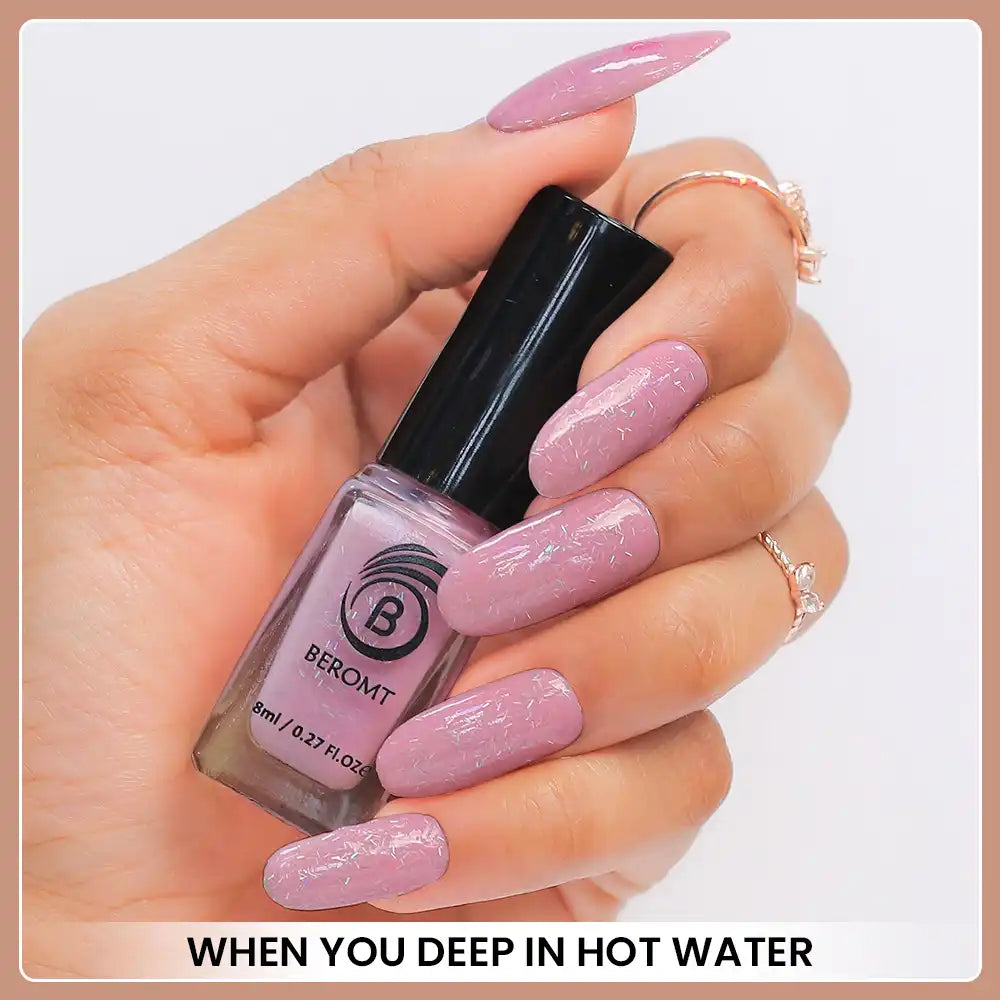
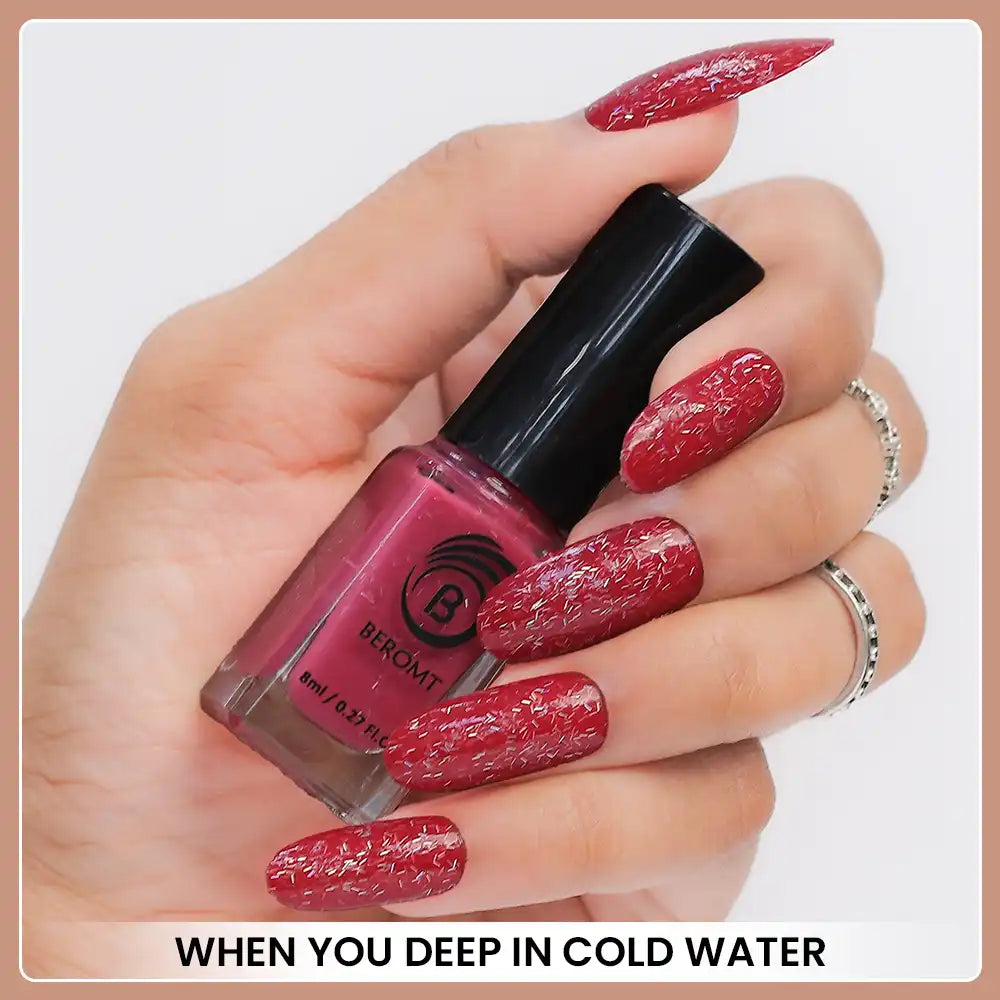
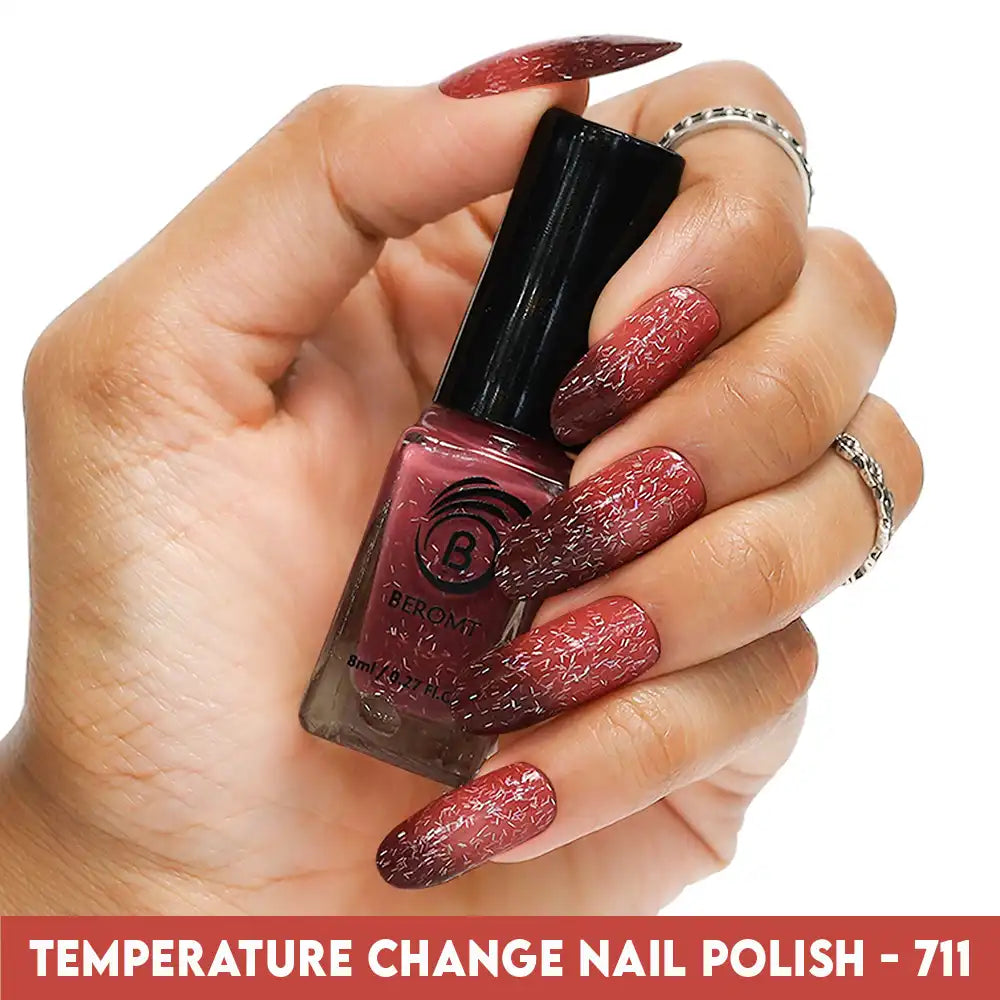
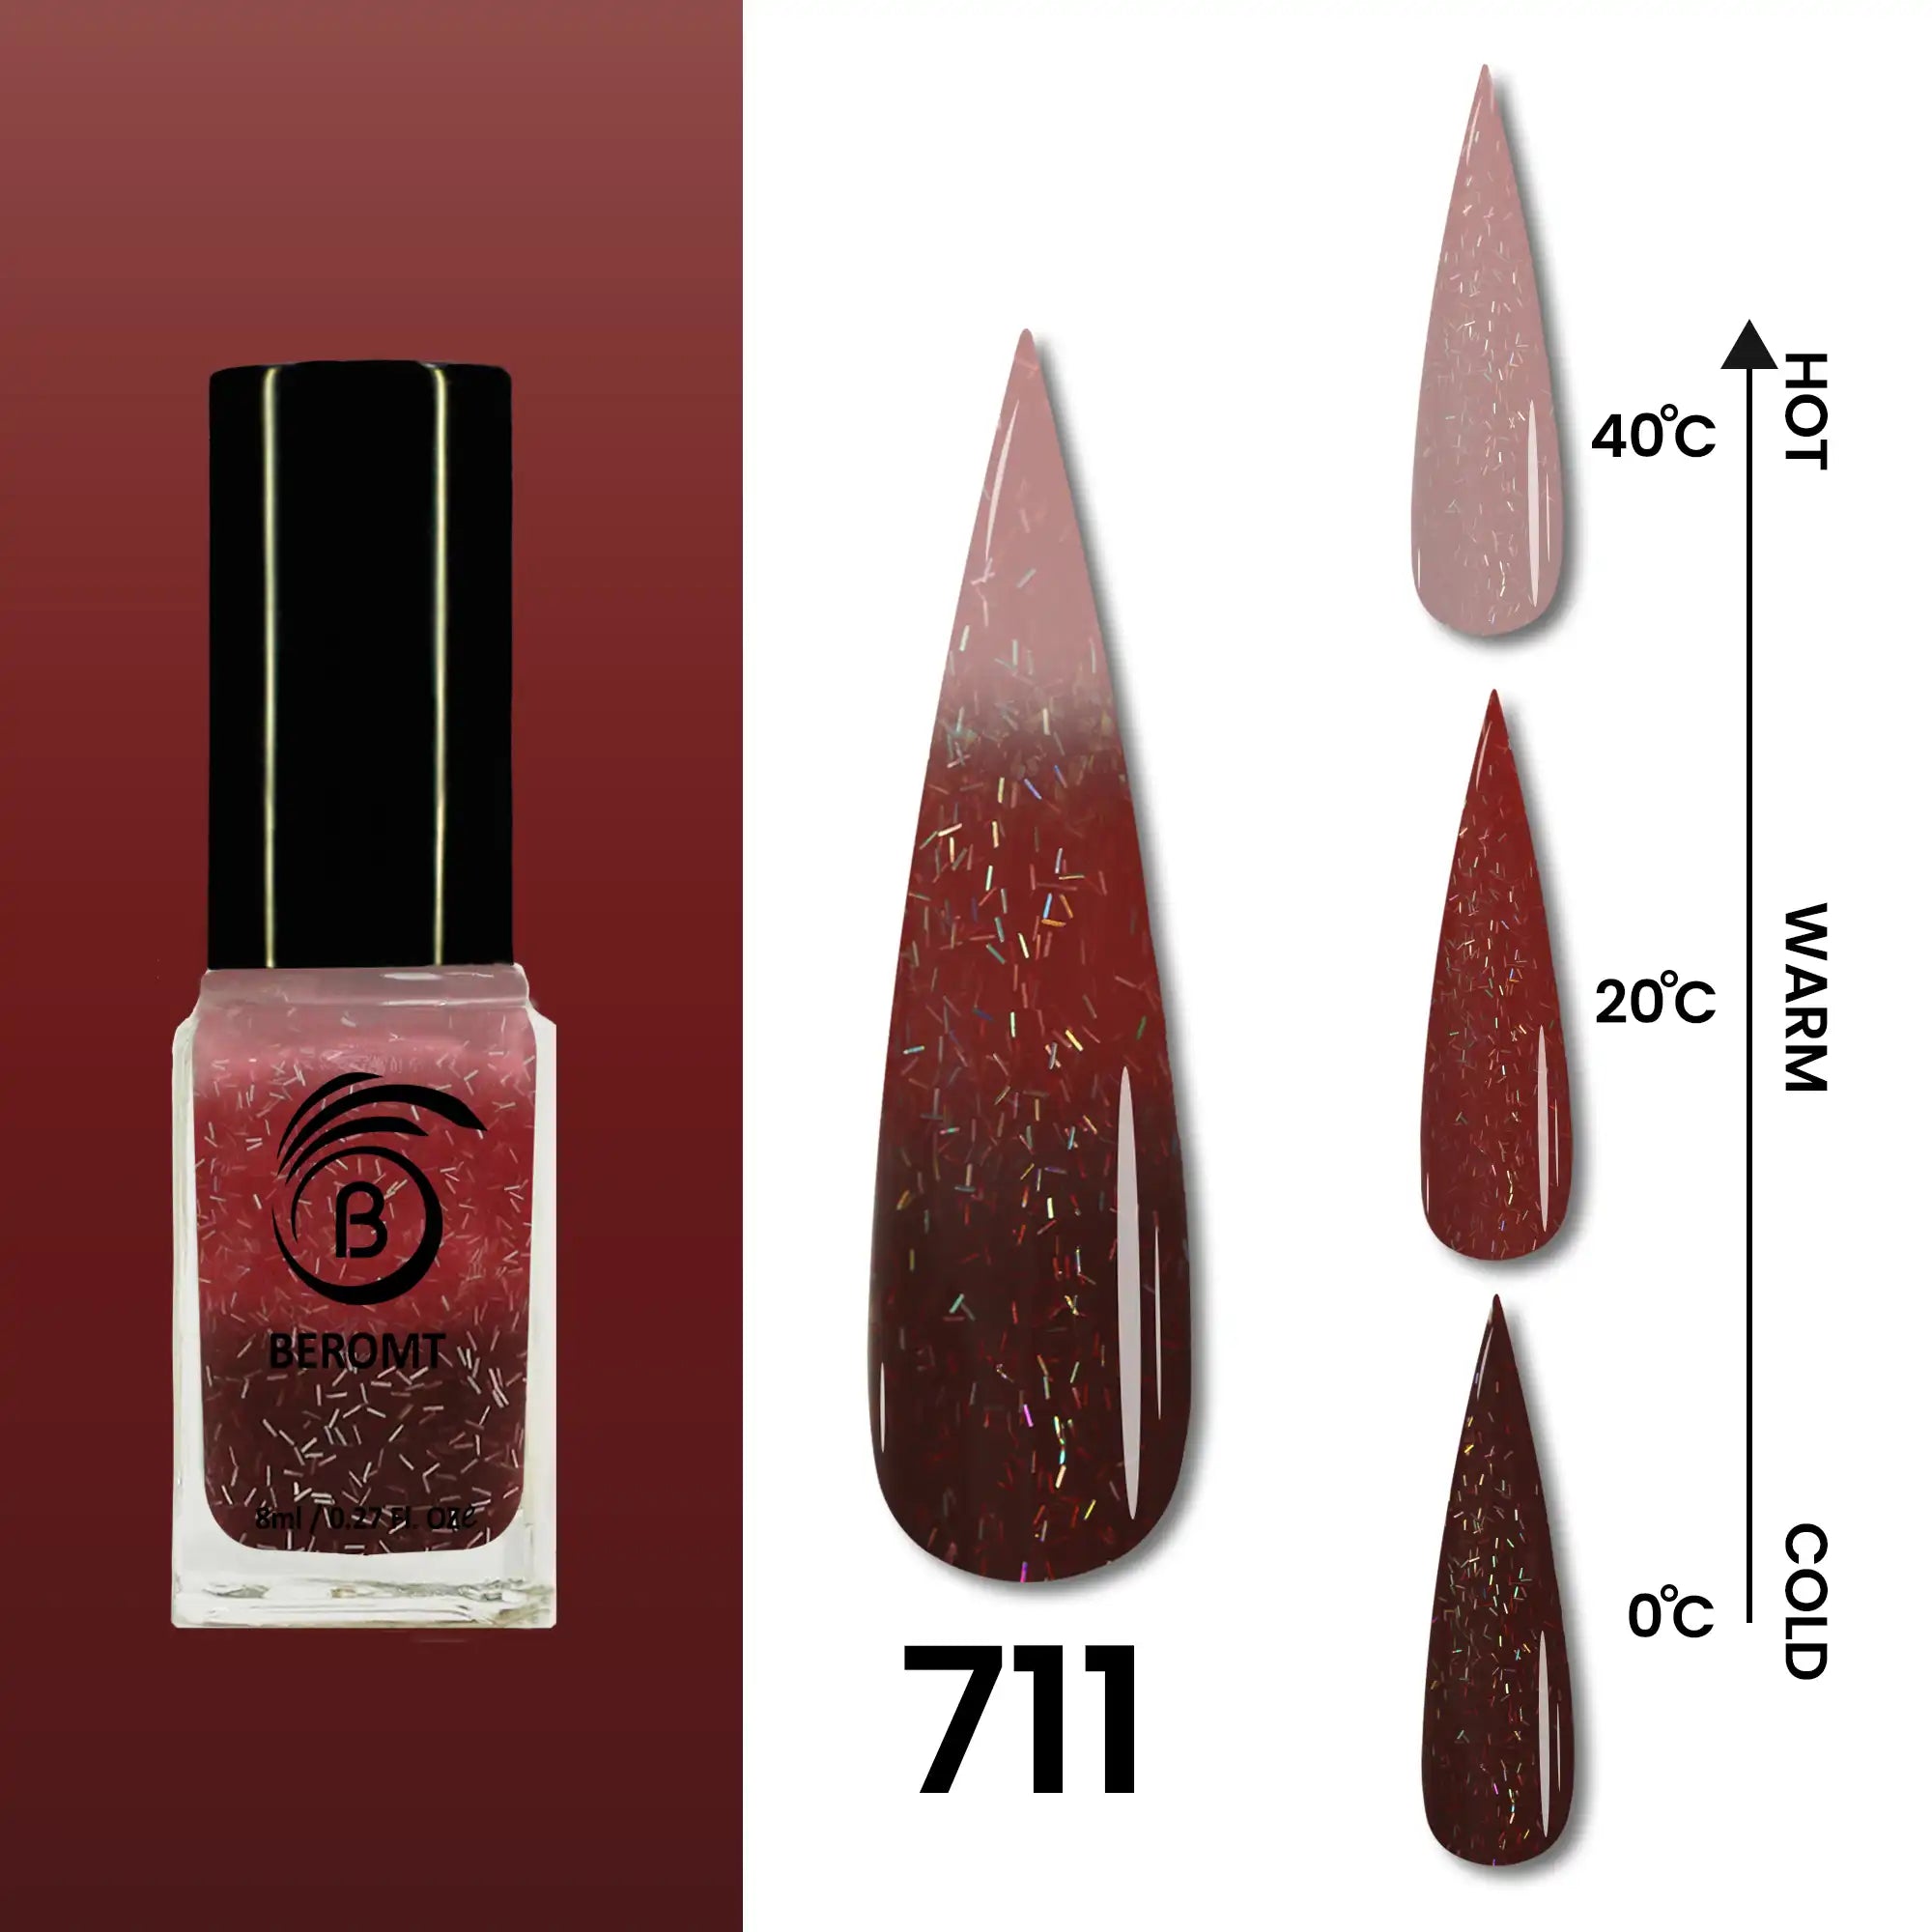
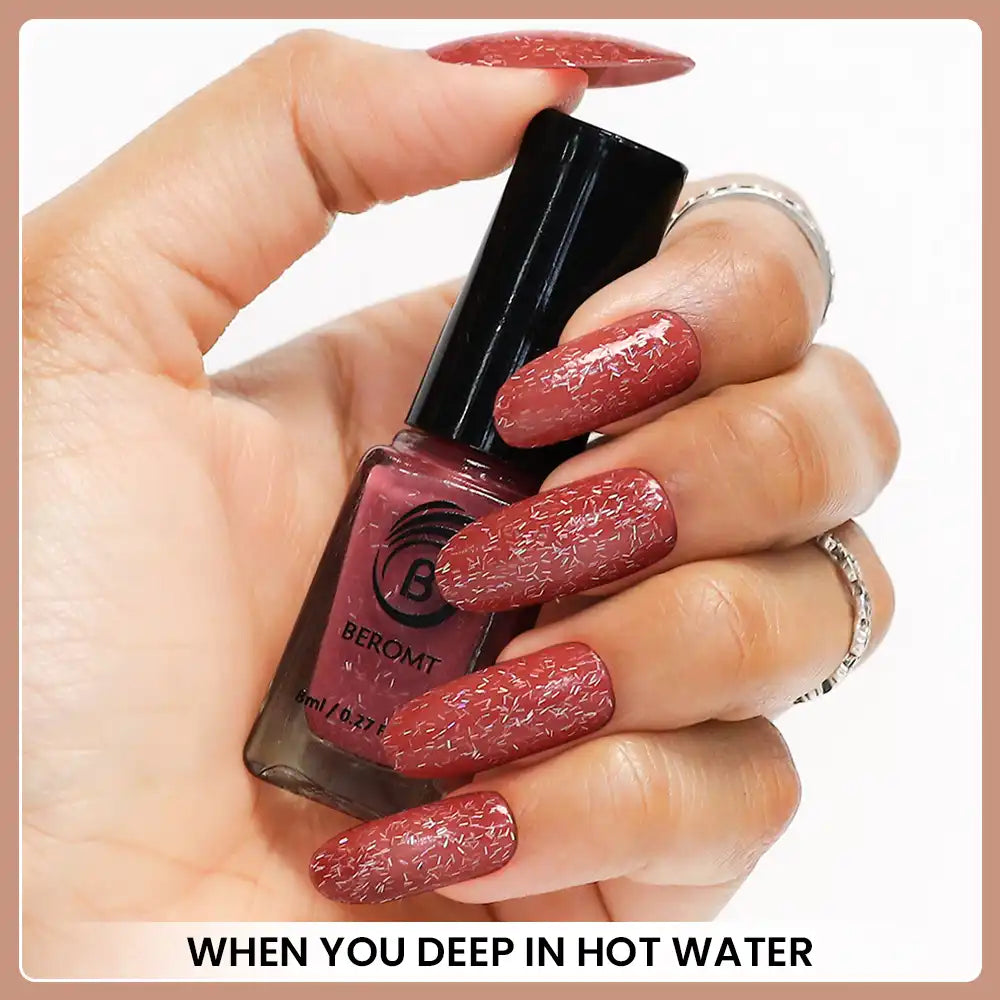
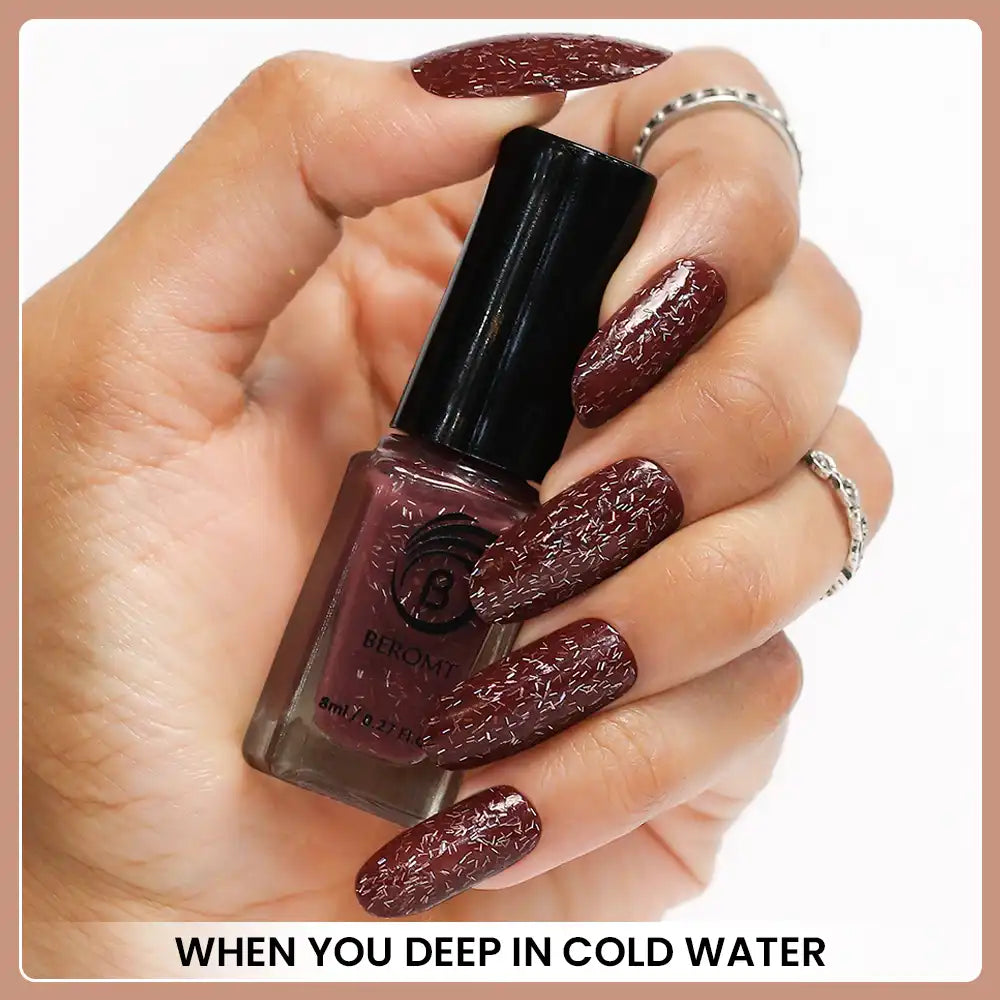
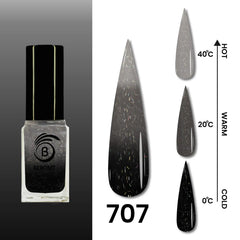
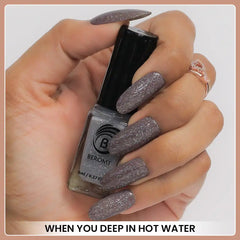
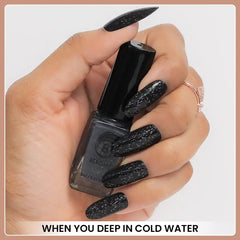
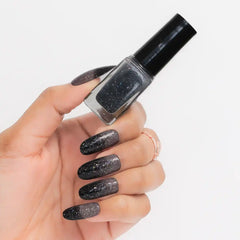
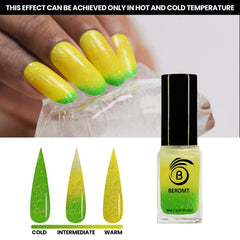
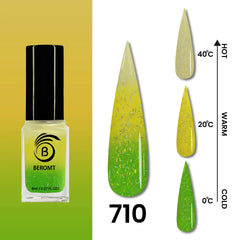
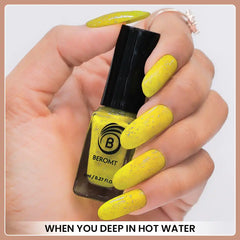
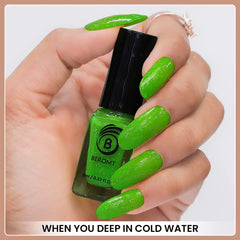
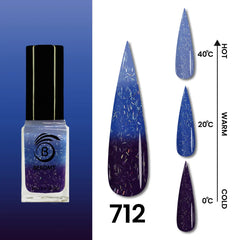
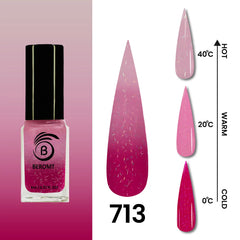
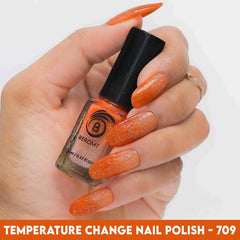
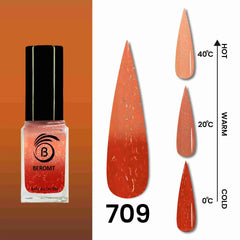
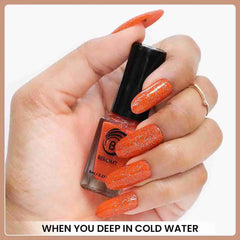
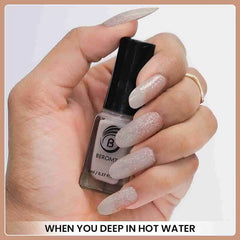
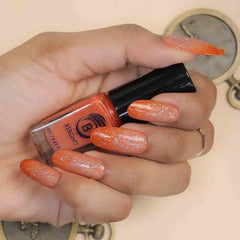
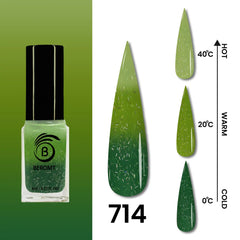
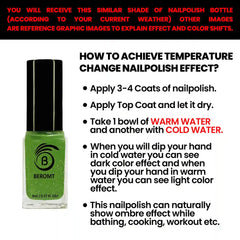
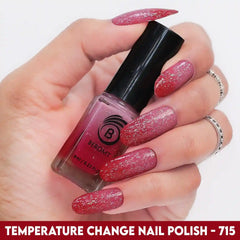
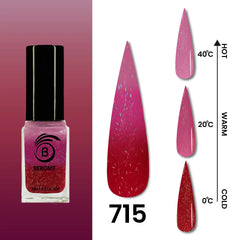
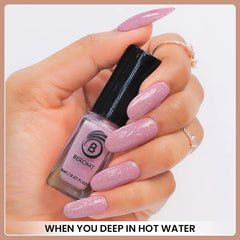
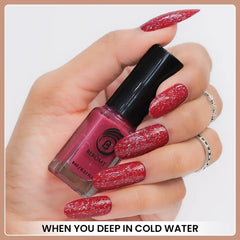
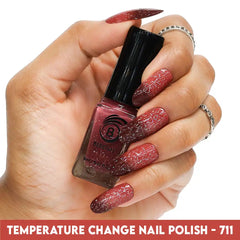
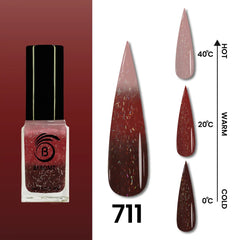
NOTE: You will receive this similar shade of nailpolish bottle(according to your current weather) other images are reference graphic images to explain effect and color shifts.
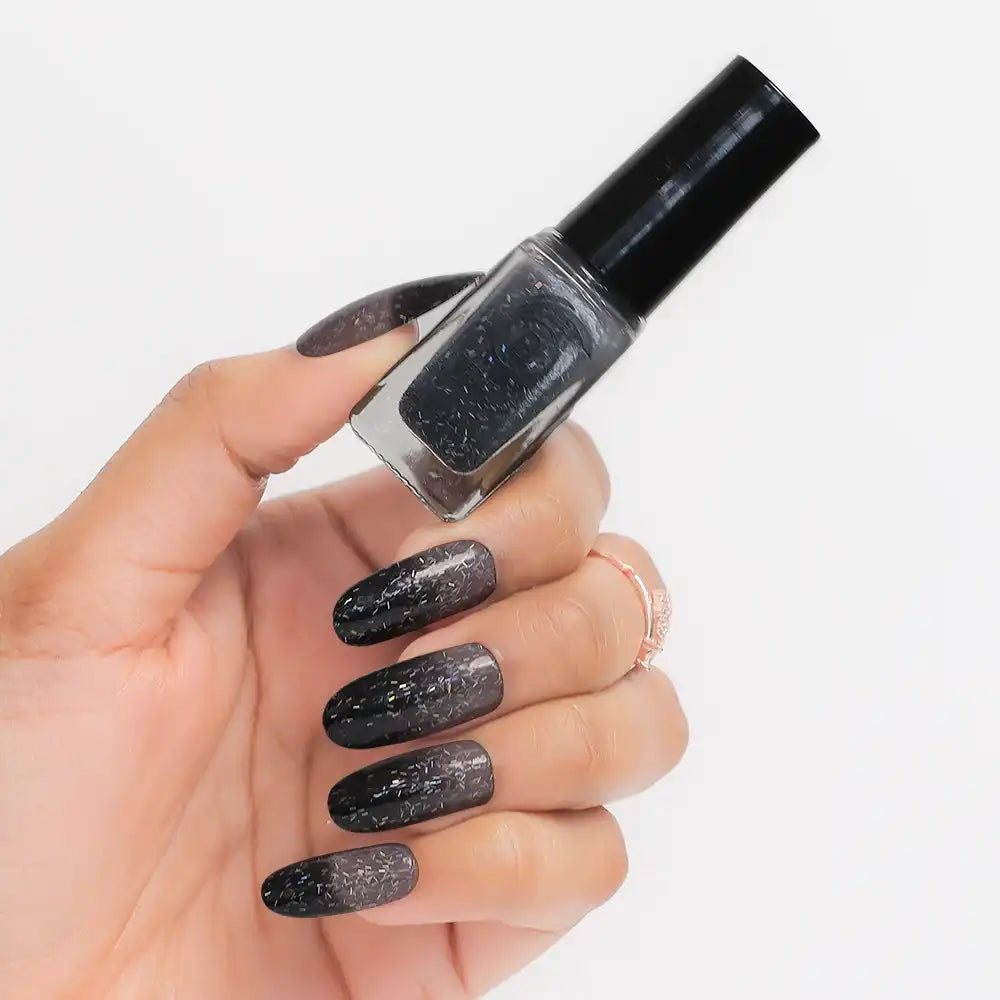
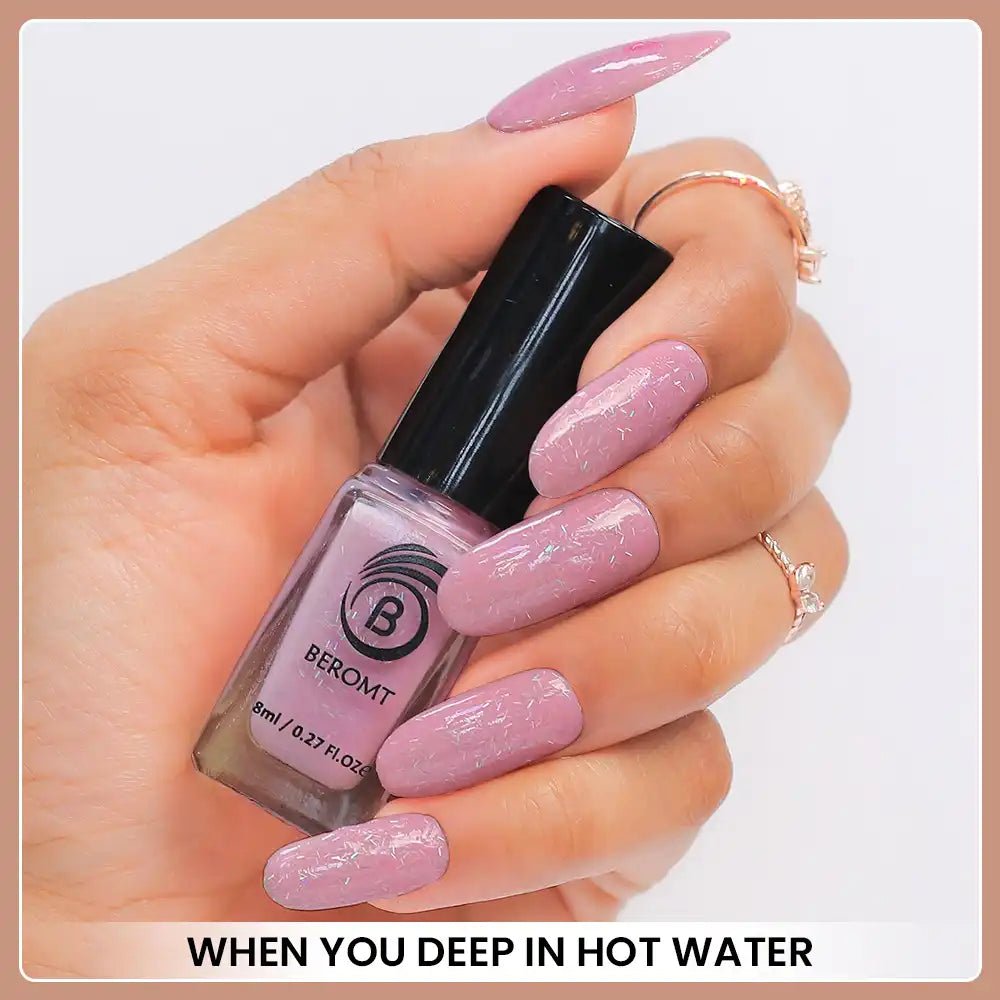
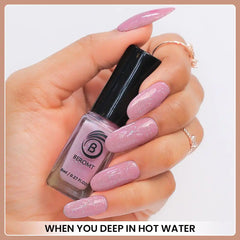
Rapunzel’s magical long hair were capable of literally anything and with her grace we are happy to present you Rapunzel Temperature Change Nail Polish. This enticing Disney Princess will put a spell on your nails and they will be changing color from alluring lavender to lustrous pink.
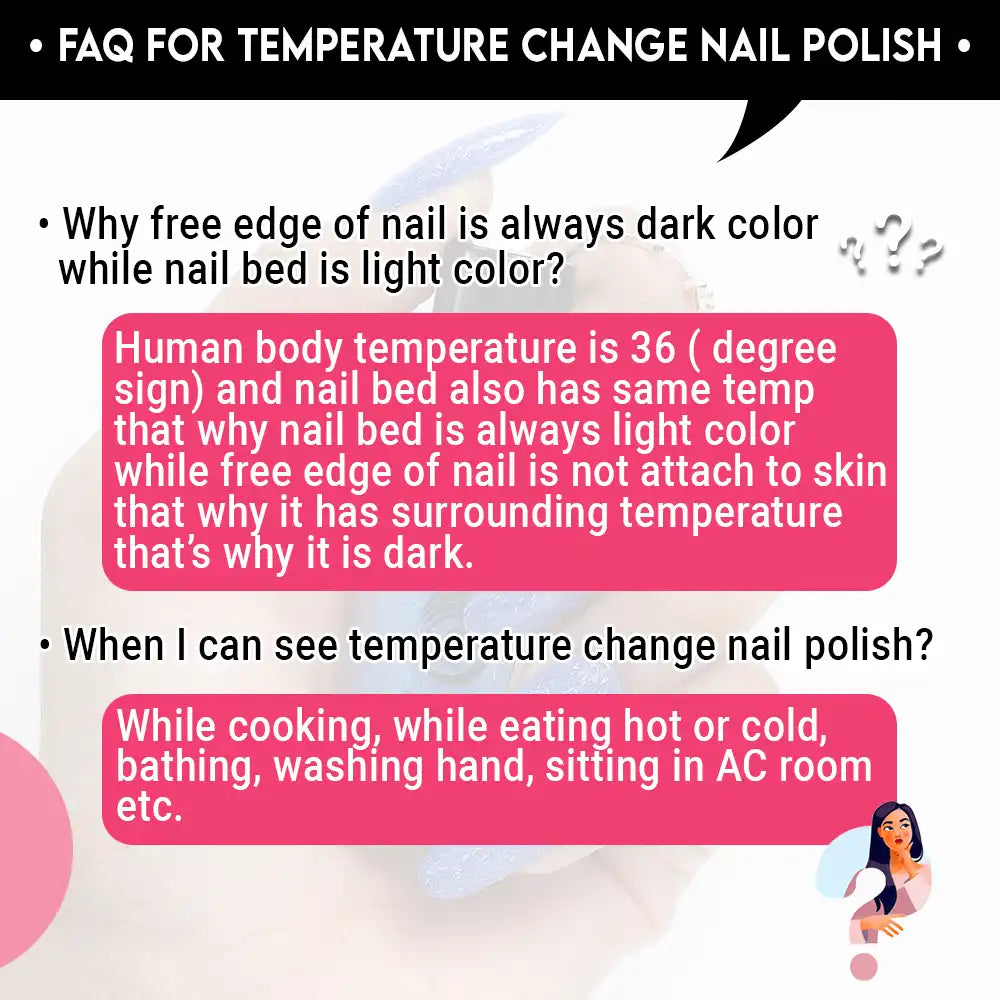
How do thermal polishes work?
Temperature change nail polish change its color due to this chemical which is leuco dyes.
Leuco dye is made of 3 ingredients
- Dye – This is a colored chemical which can undergo a reversible reaction, combining with a H+ion to become colorless.
- Weak acid– This is a colorless chemical, which can also undergo a reversible reaction, combining with the H+ ion.
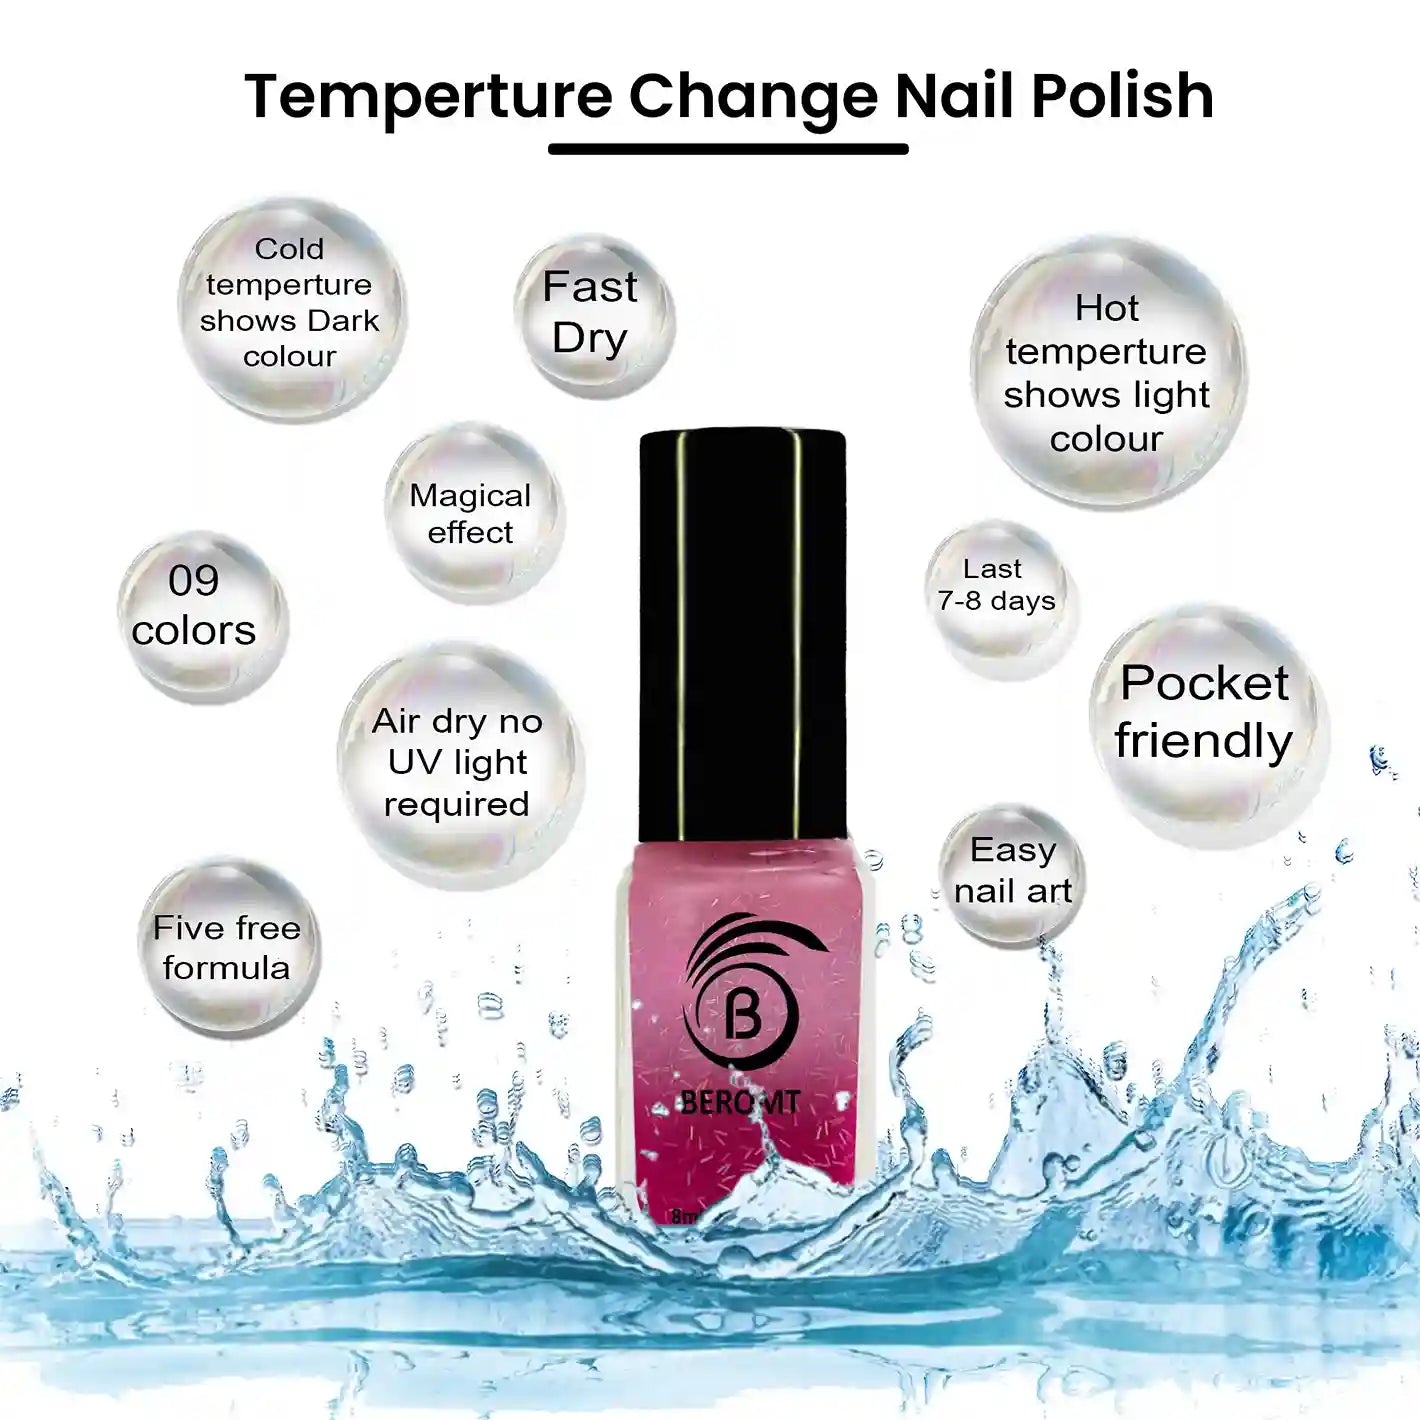
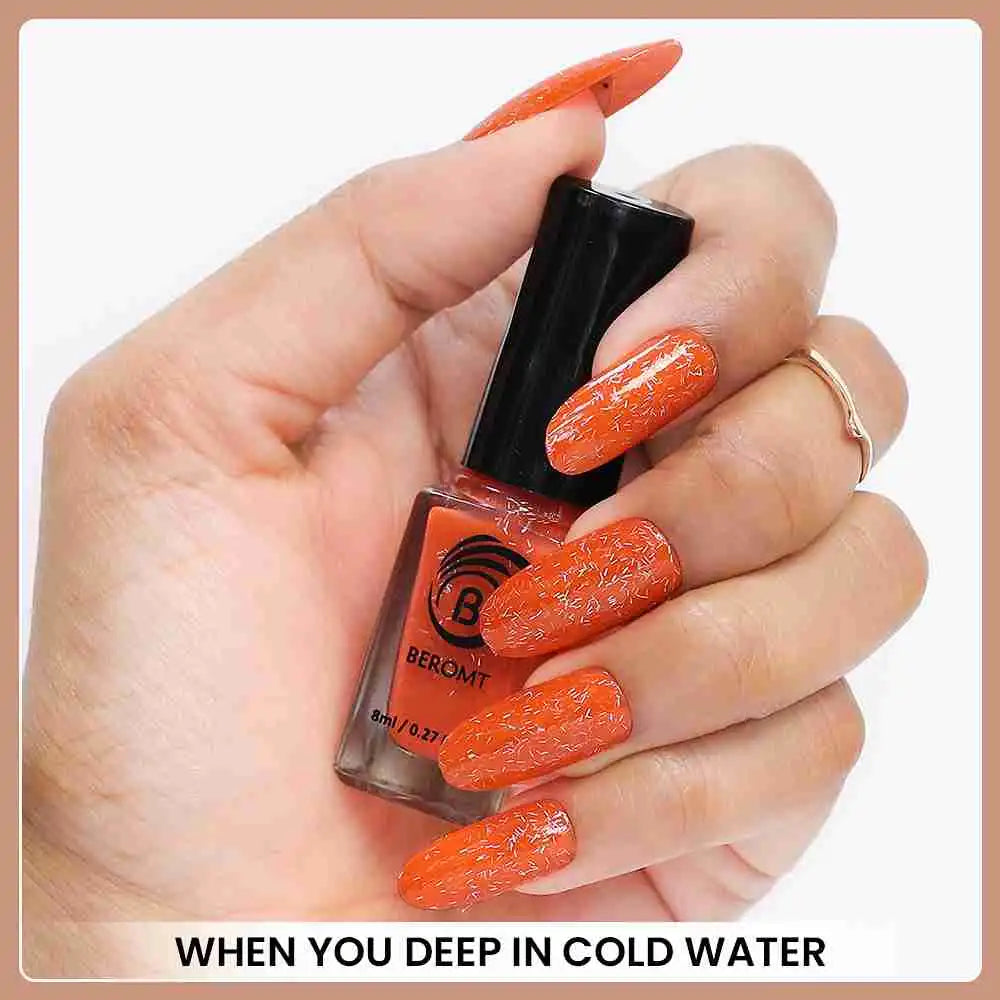
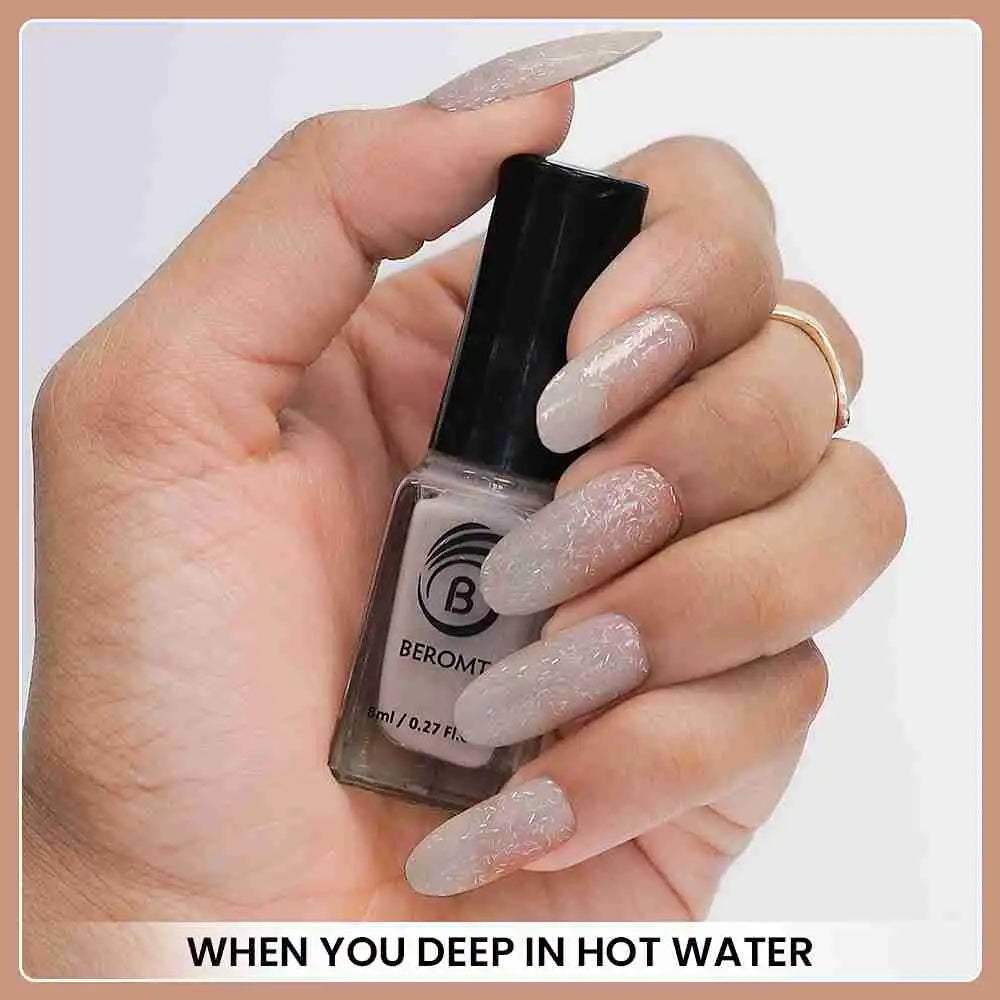
- 3. Base Nail polish – When the Nail polish is in cold temperature, the H+prefers to stick to the weak acid due to that nail polish color changes to dark, whereas when the nail polish is in hot temperature, the H+prefers to stick to the dye due to that the nail polish changes to colorless/different color
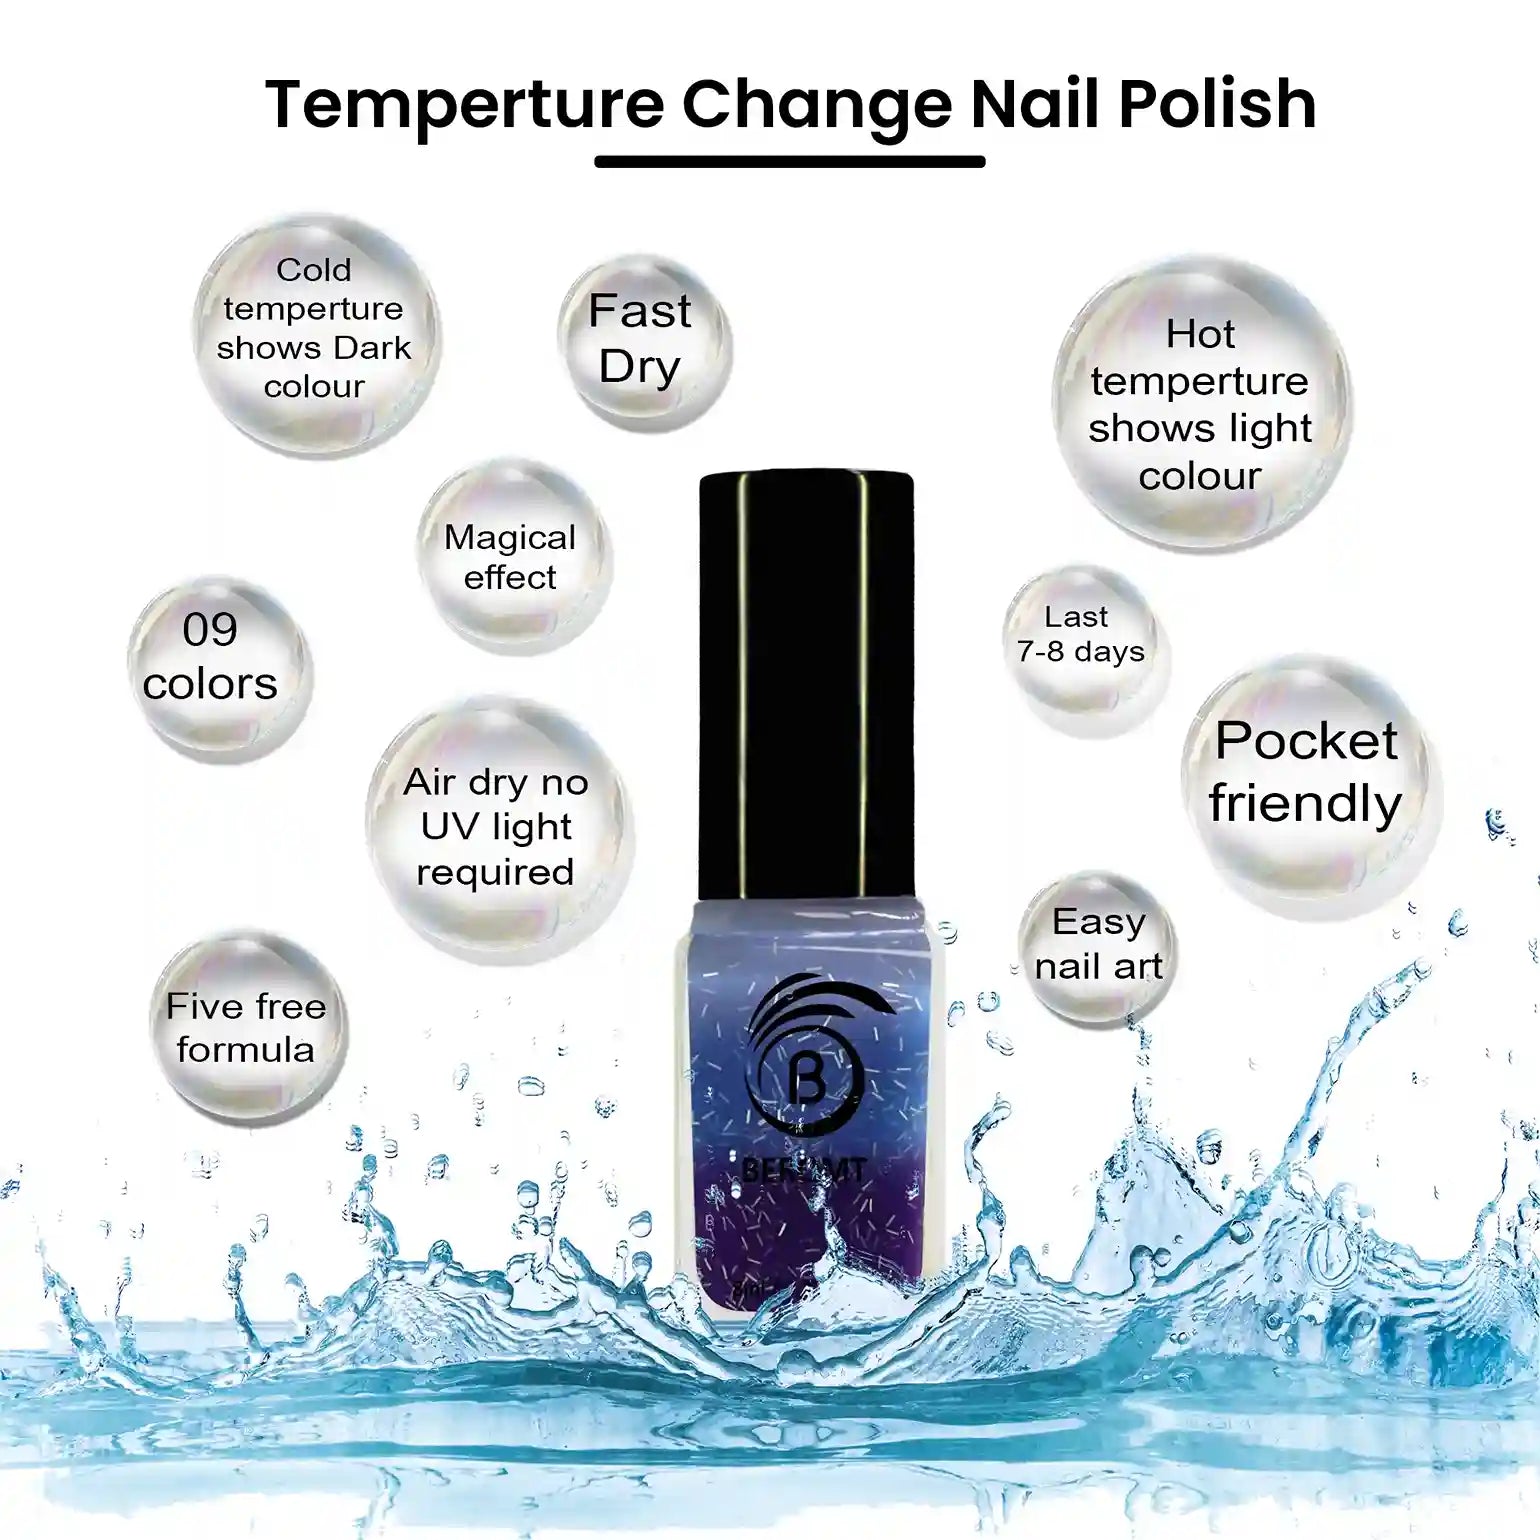
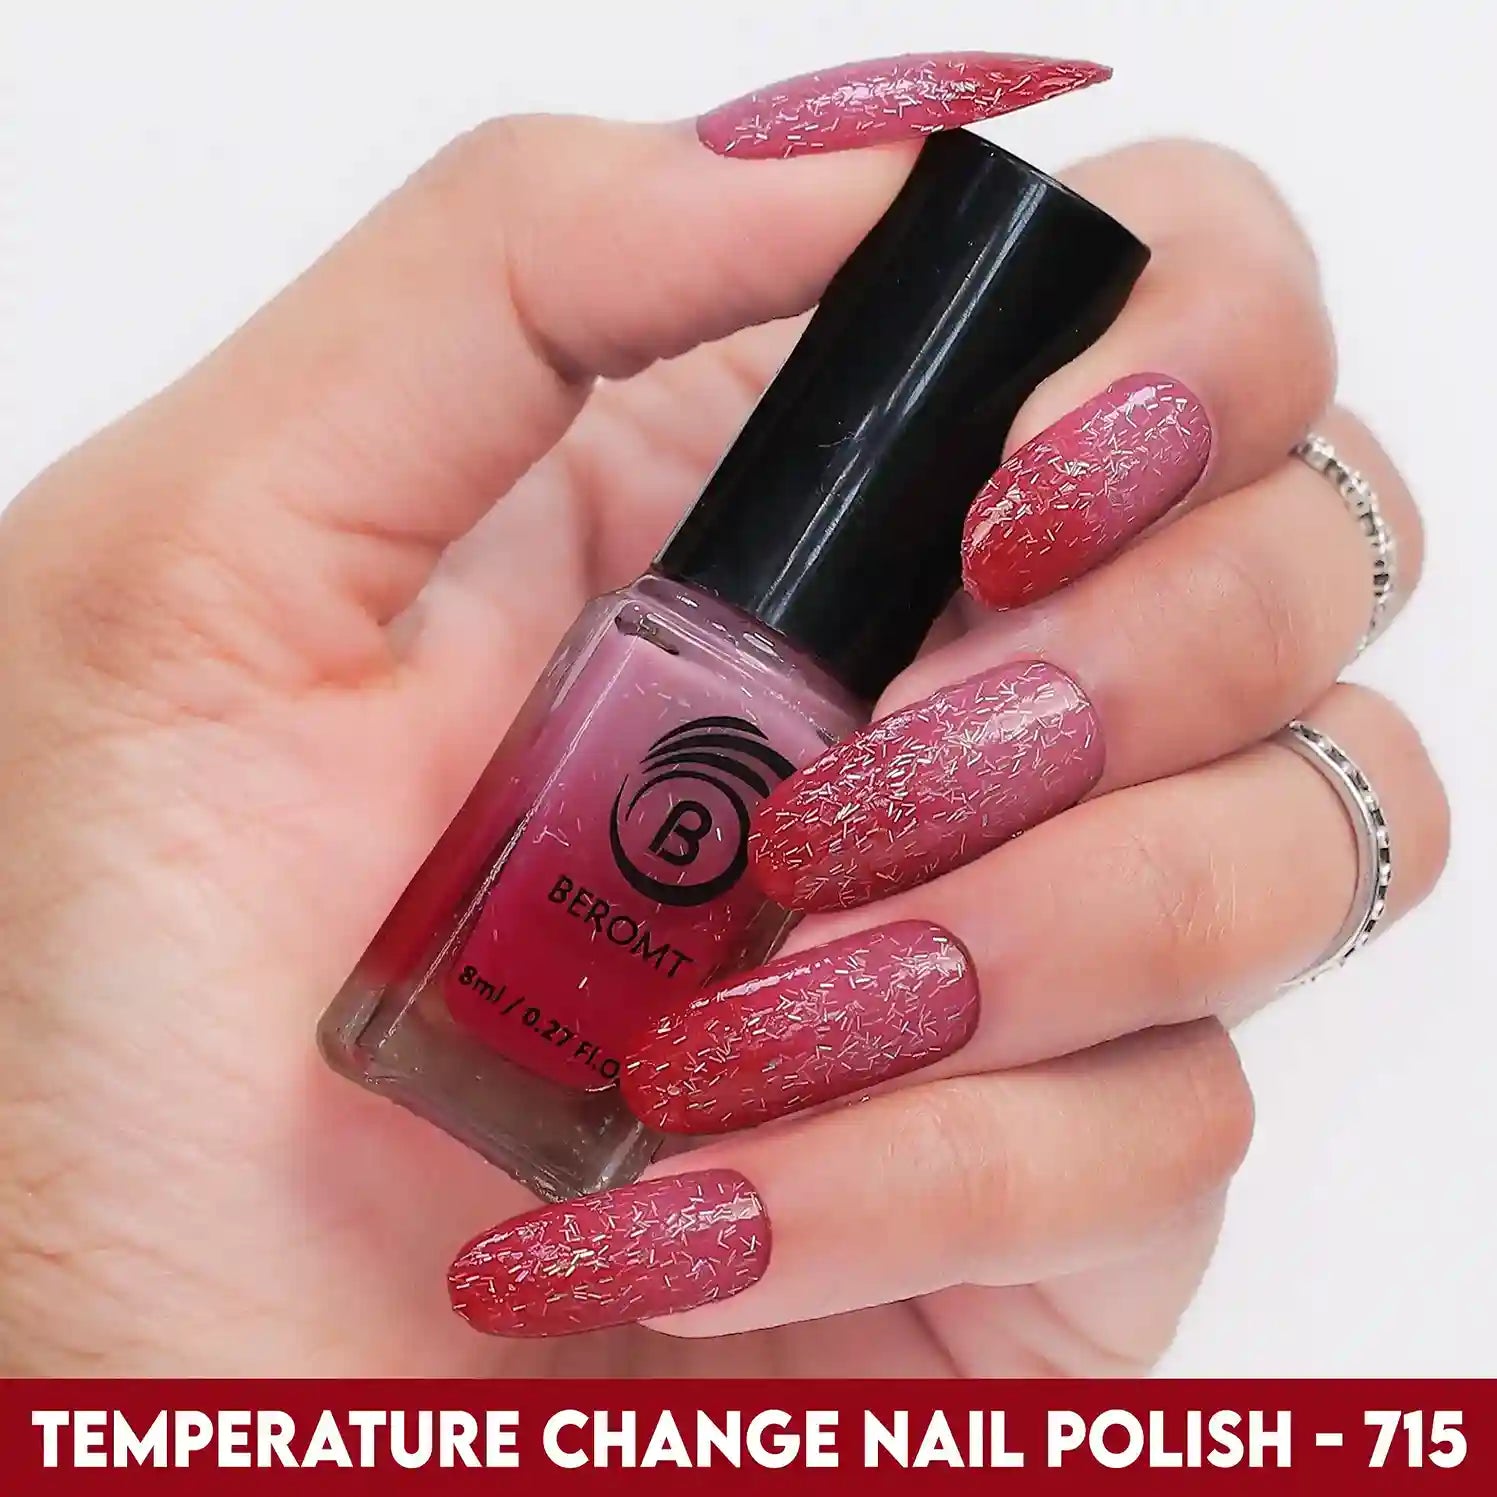
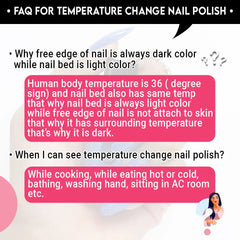
Temperature Change Nail Polishes also known as thermal polishes will give a multiple color changing experience to those with long nails, but even short nails will see changes while holding an iced coffee, sipping a warm tea or while washing your hands. You’ll always be in the mood to slay with these color-changing nail polishes. An enticing charmer which will lure you into wearing it right away. The jaw-dropping change of color is acquired by the changing body temperature.
Key Features:
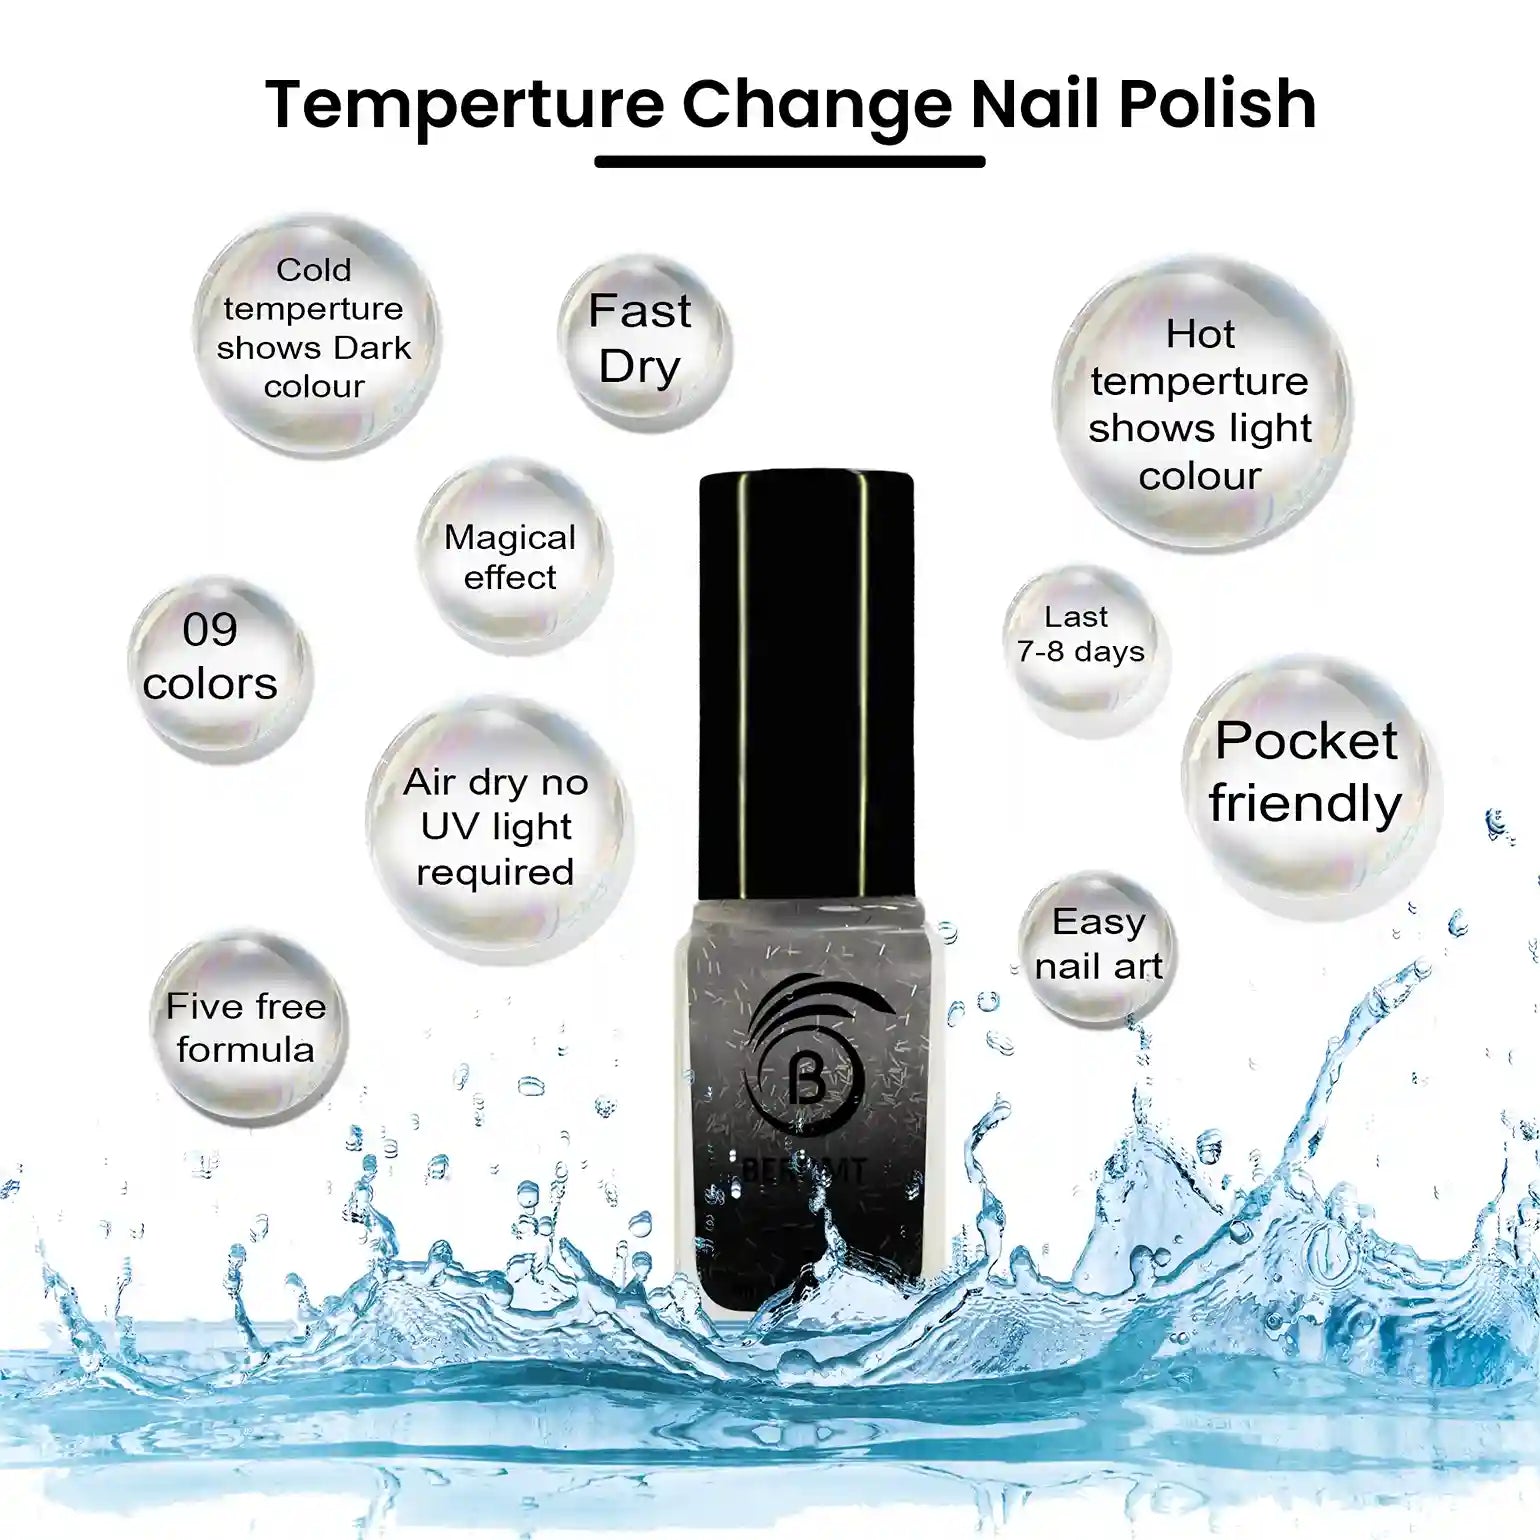
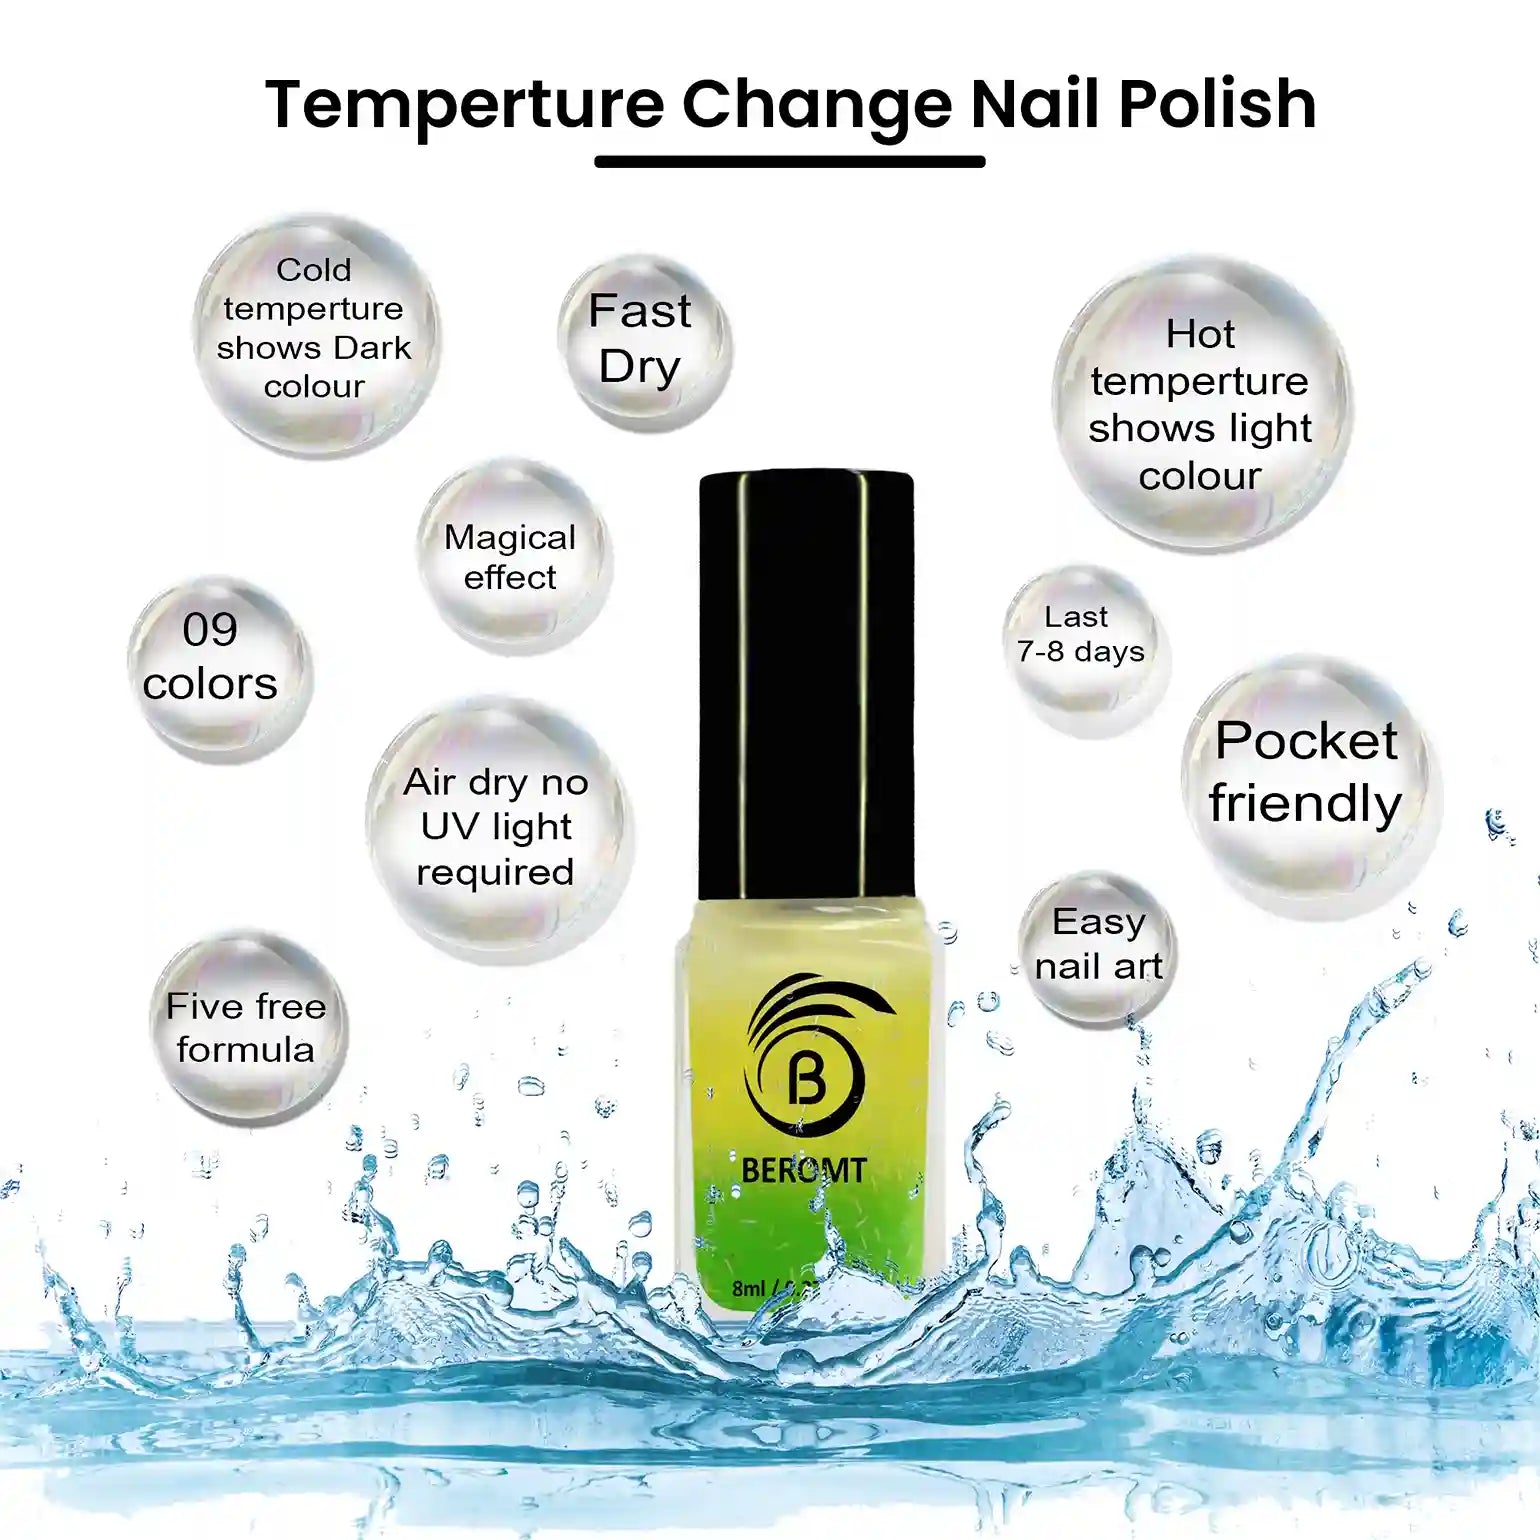
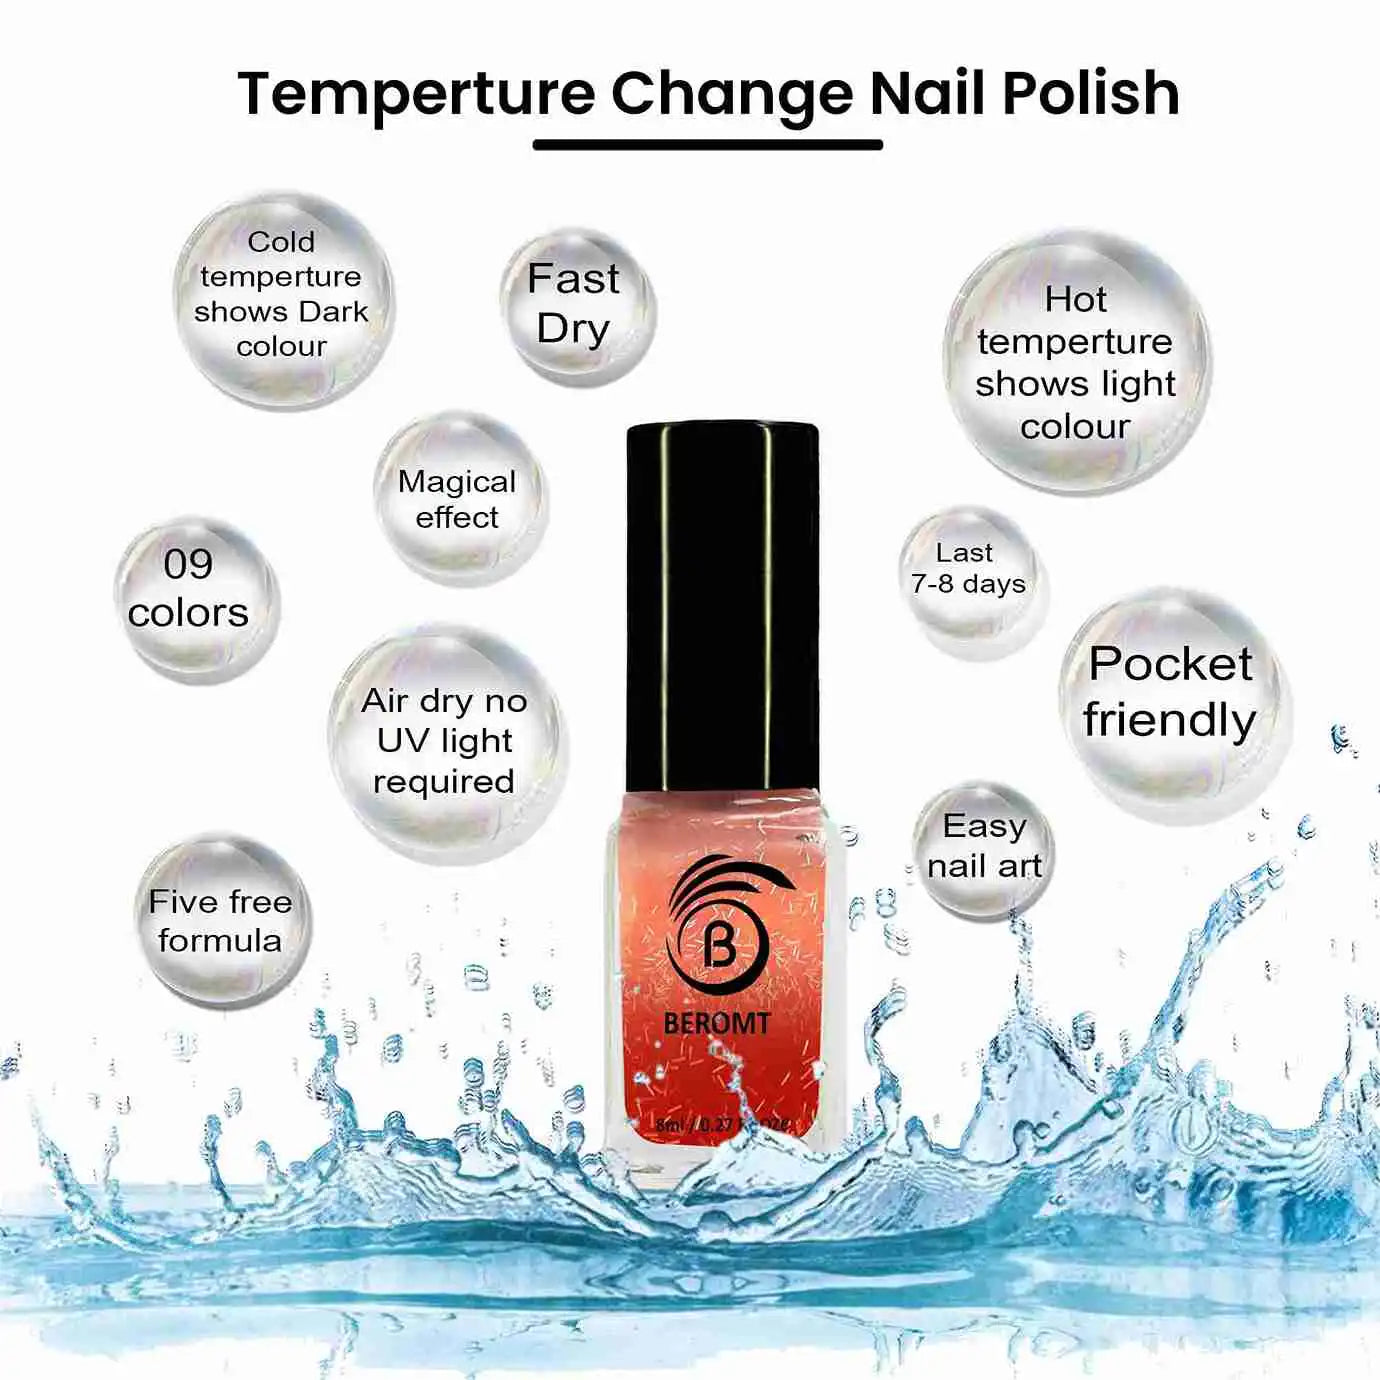
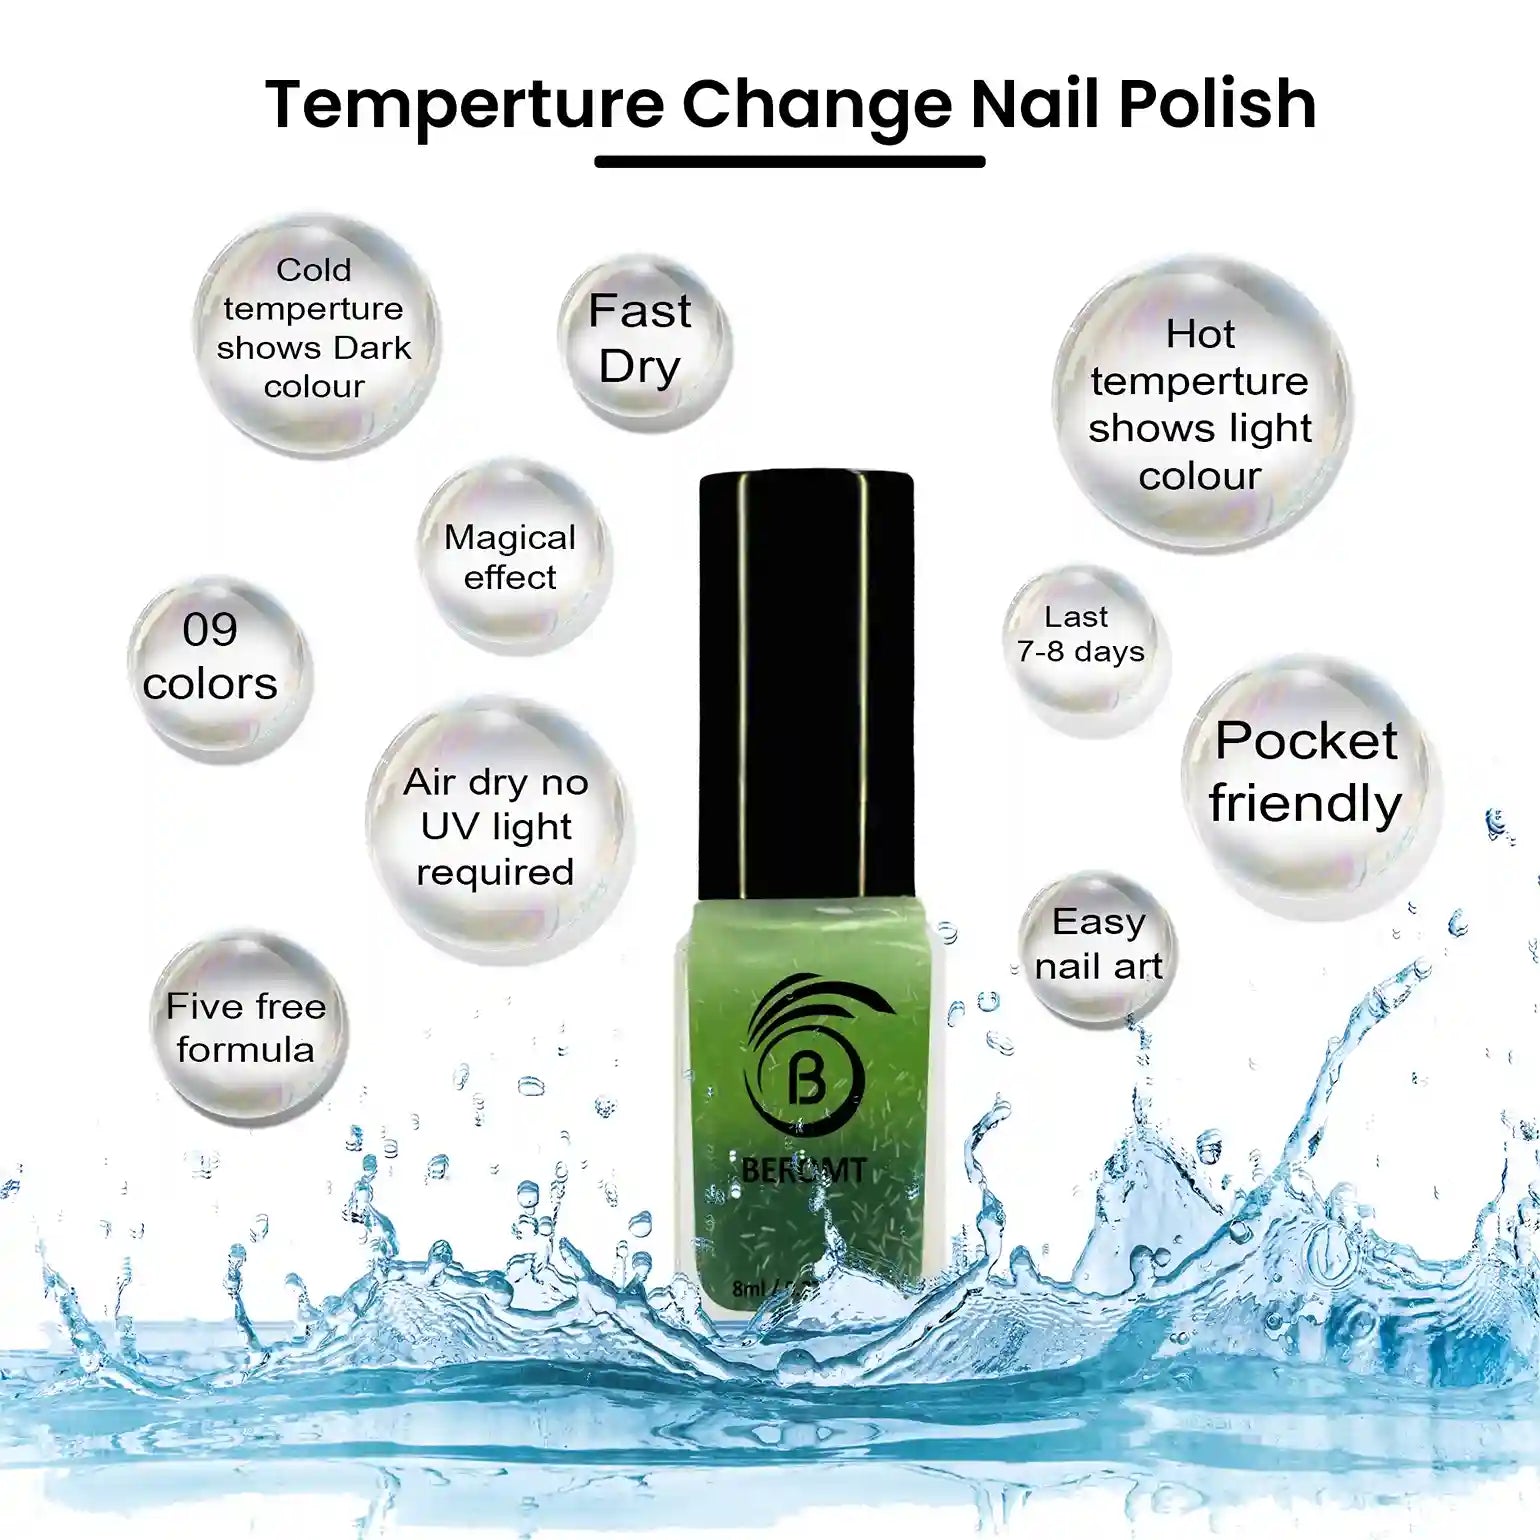
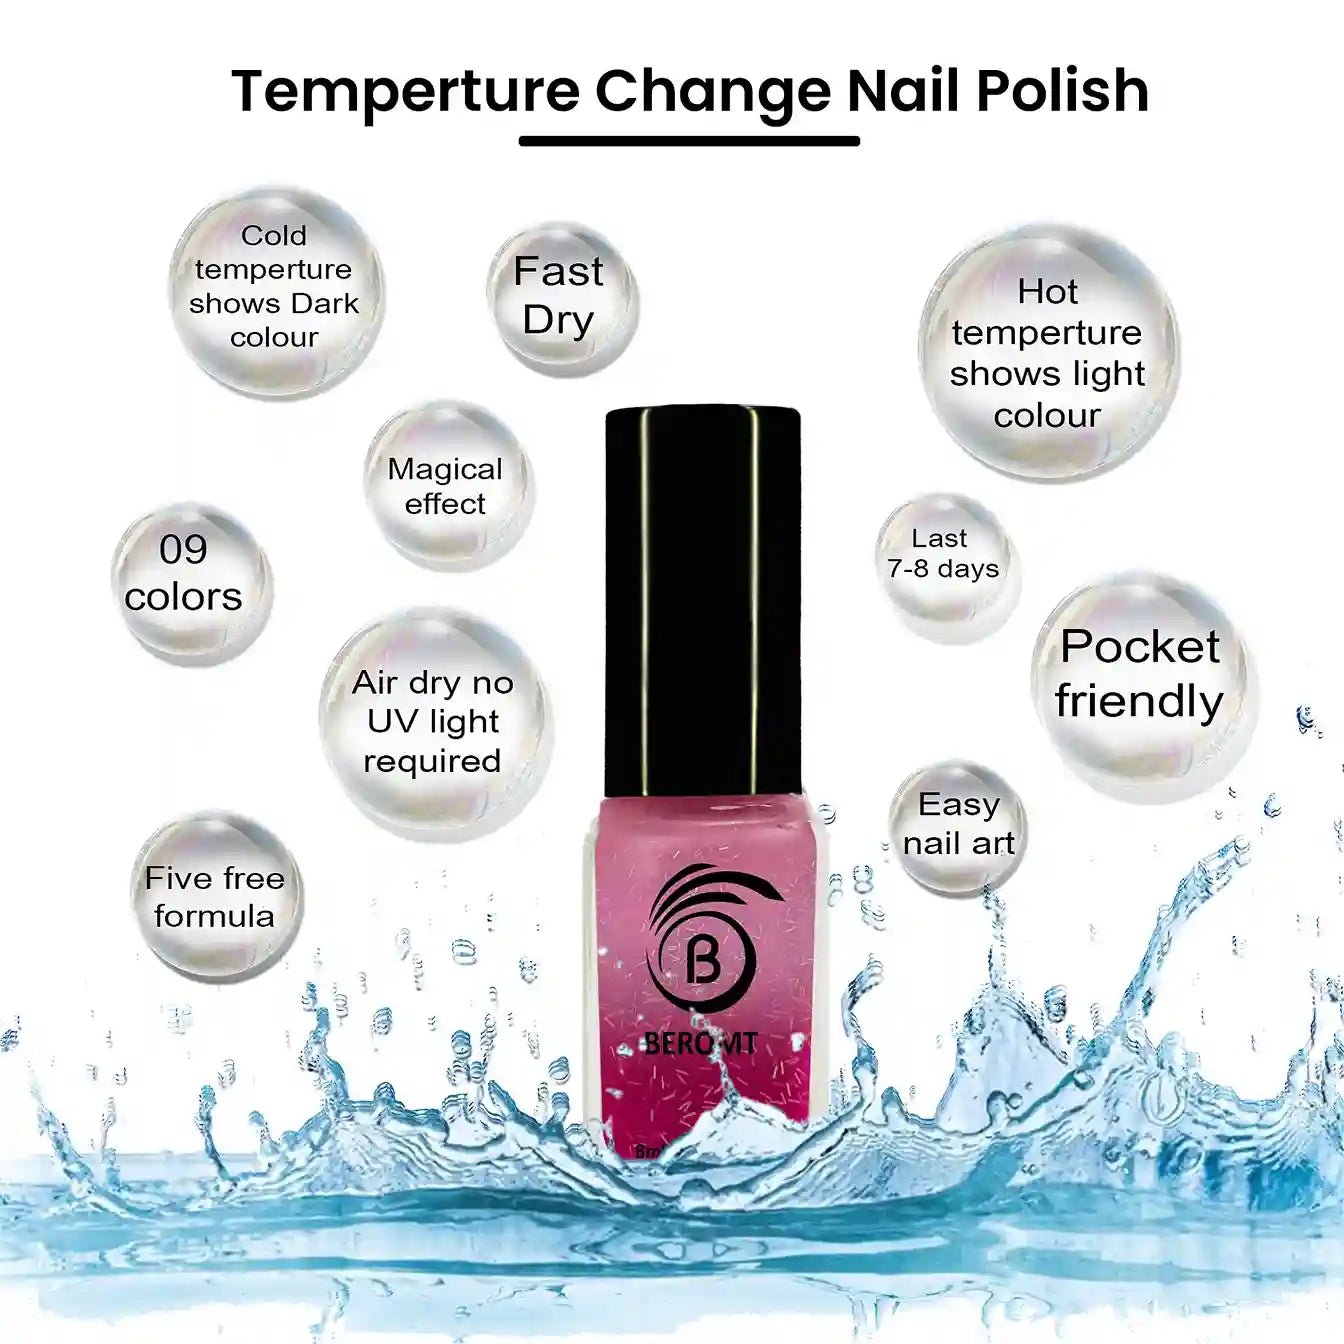
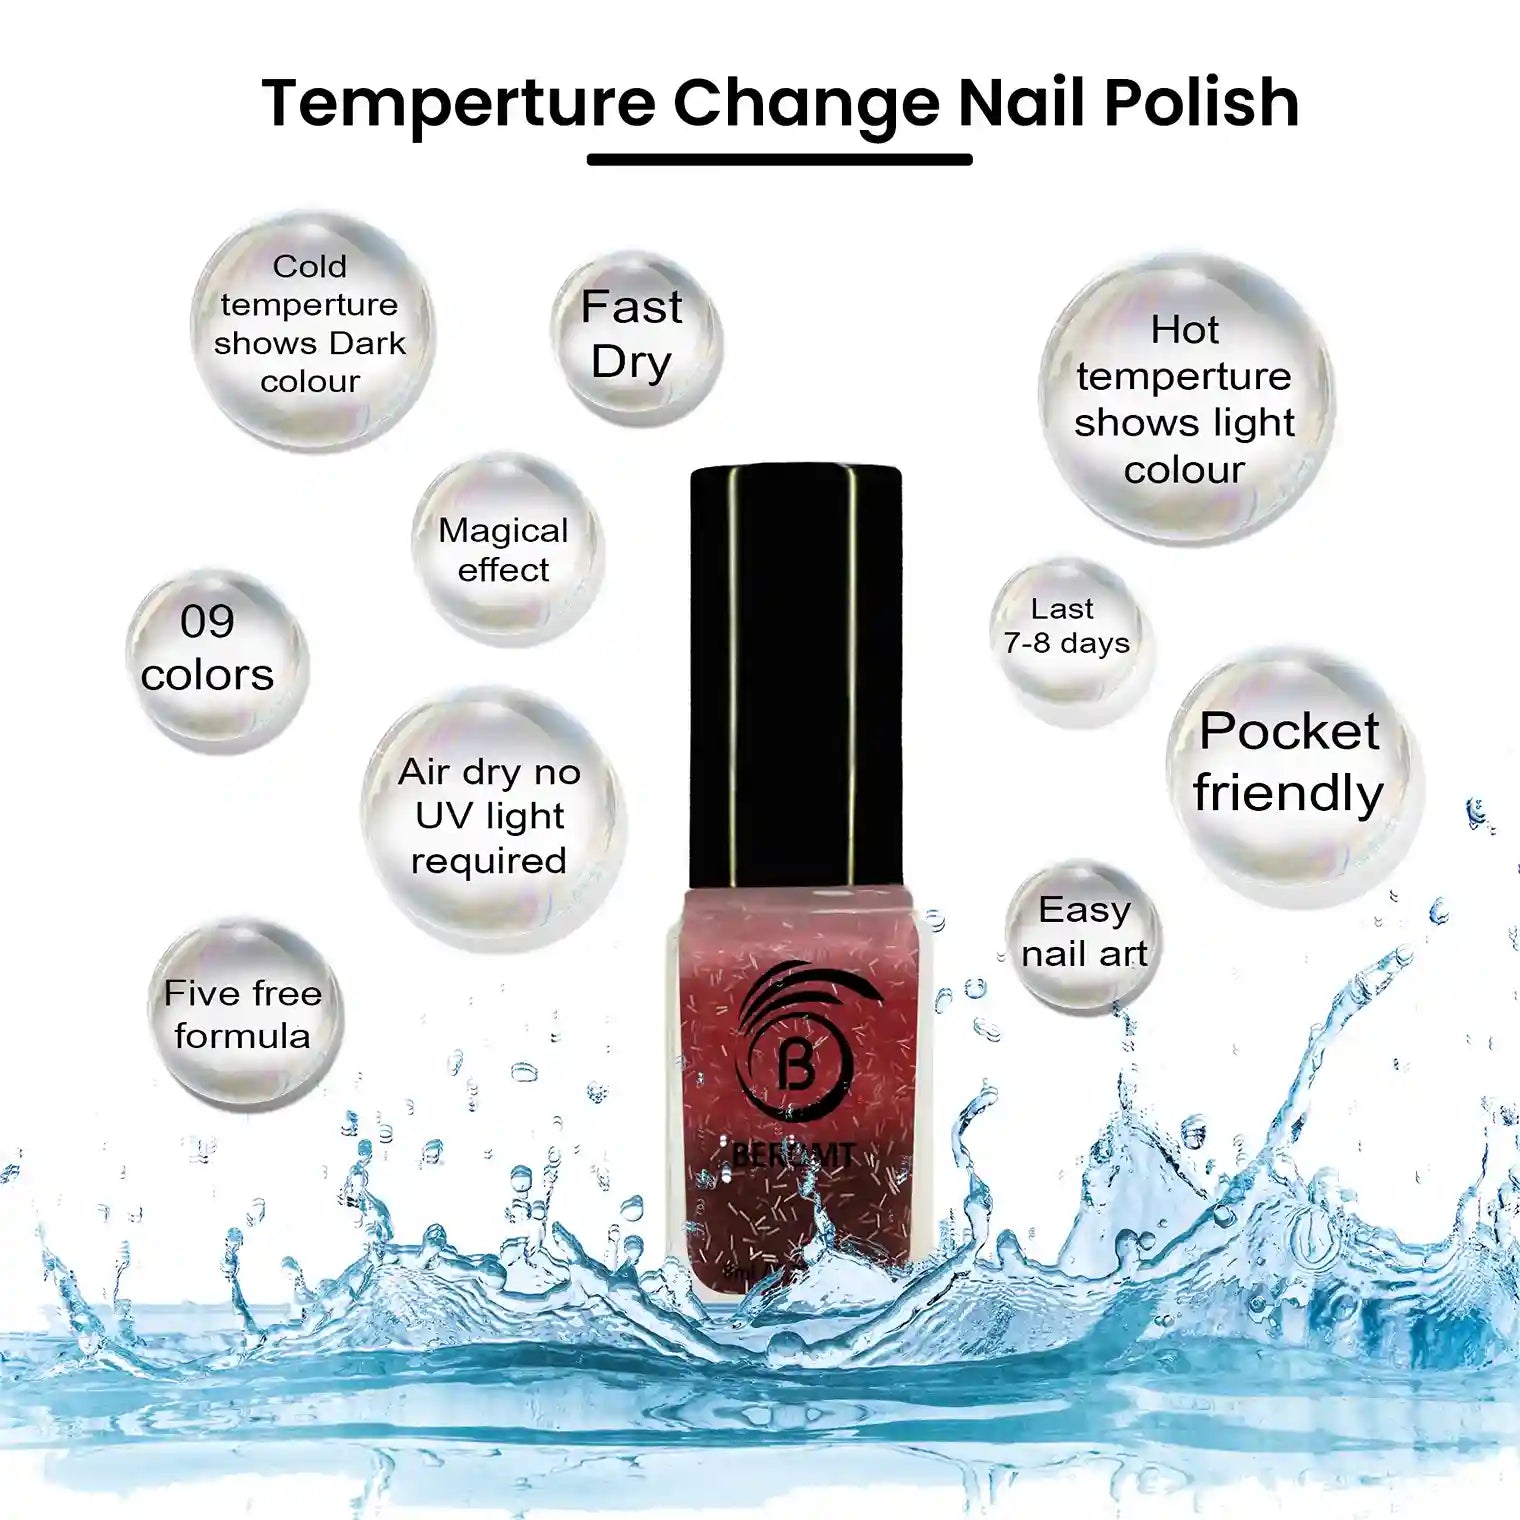
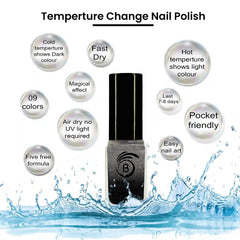
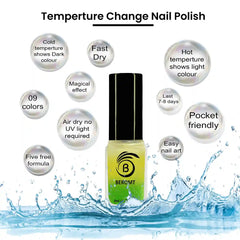
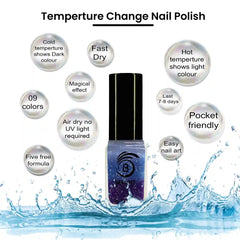
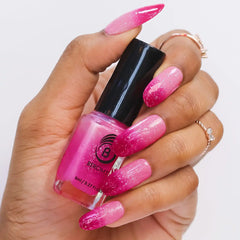
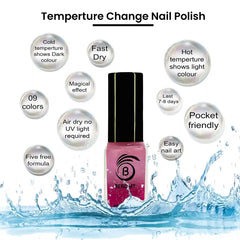
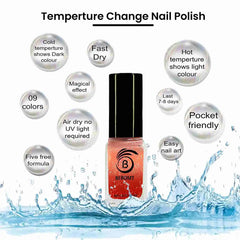
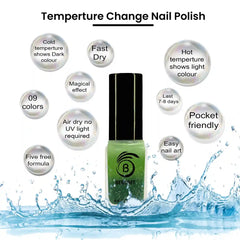
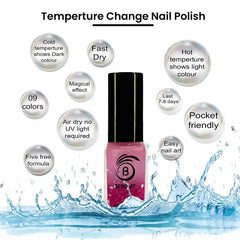
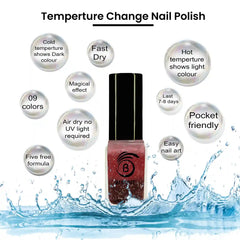
- Get effortless Ombre effect by this beautiful temperature change polishes which are absolutely long-lasting and 5 free formula.
- One-step color and shine formula dries in about a minute so you can grab, apply and dry on the fly.
- Maximum Coverage and Opaque in 3 coats. Suitable for professional salon beauty shop and at home personal use. No need to cure nail polish in UV or LED light. Normal Nail polish application with air dry.
- All Beromt Nail Polishes come with a round cut brush which is great for a full-proof, perfect manicure shape around the cuticles without too much effort. This brush allows quick application.
- All Beromt Nail Polishes contain 2 stainless steel agitator balls that move up and down as well as latterly through the fluid and ensure that the nail polish is thoroughly mixed.
Details-
- Brand name- Beromt
- Product name- TEMPERATURE CHANGE NAIL POLISH
- Expiry- 06/2028
- Quantity- 08 ml / 0.27 FL 0Ze
Disclaimer: Product images may vary slightly due to screen resolution and graphics.
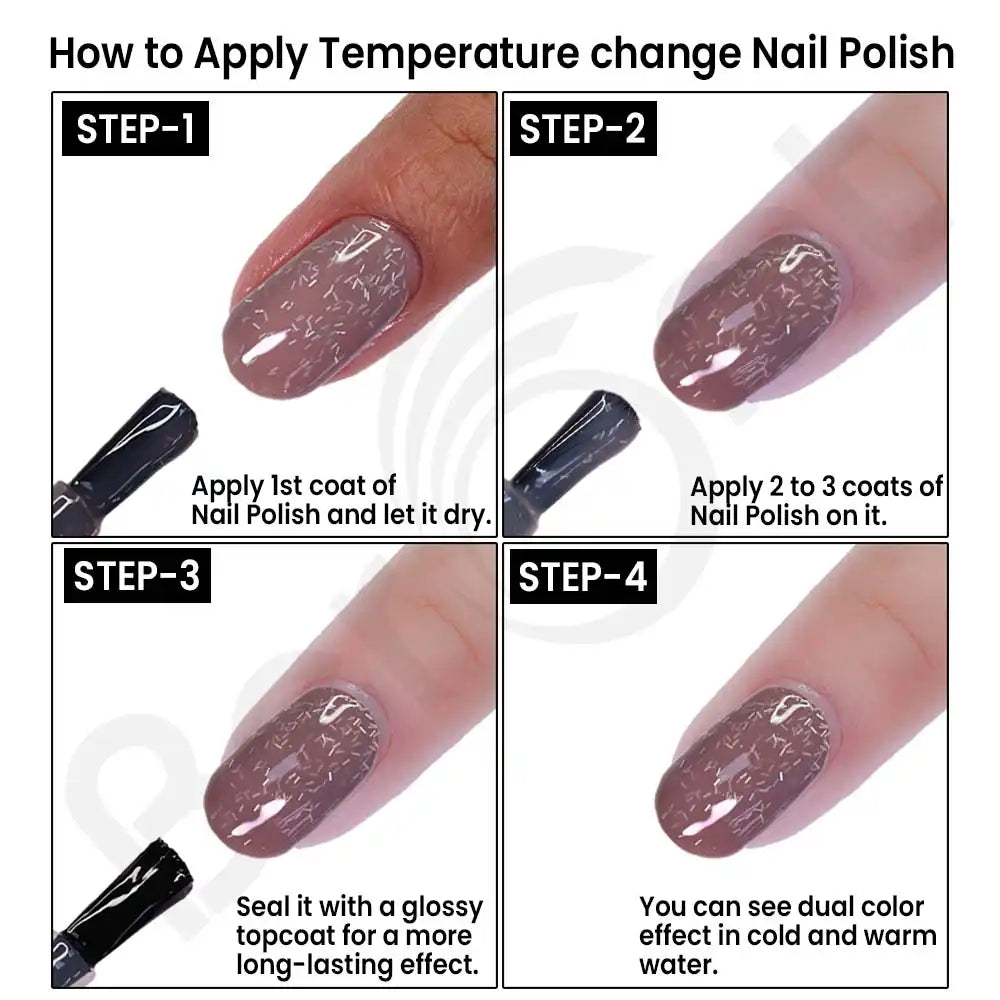
Step 1: Preparation
Clean Your Nails:
Start by ensuring your nails are clean and free from any old nail polish. Use a nail polish remover to clear any residues.
Shape Your Nails:
File your nails to your desired shape and smooth out the edges.
Buff Your Nails:
Gently buff the surface of your nails to remove any ridges and create a smooth base.
Apply a Base Coat:
Use a base coat to protect your natural nails and provide a smooth surface for the nail polish. Let it dry completely.
Step 2: Apply the Temperature Change Nail Polish
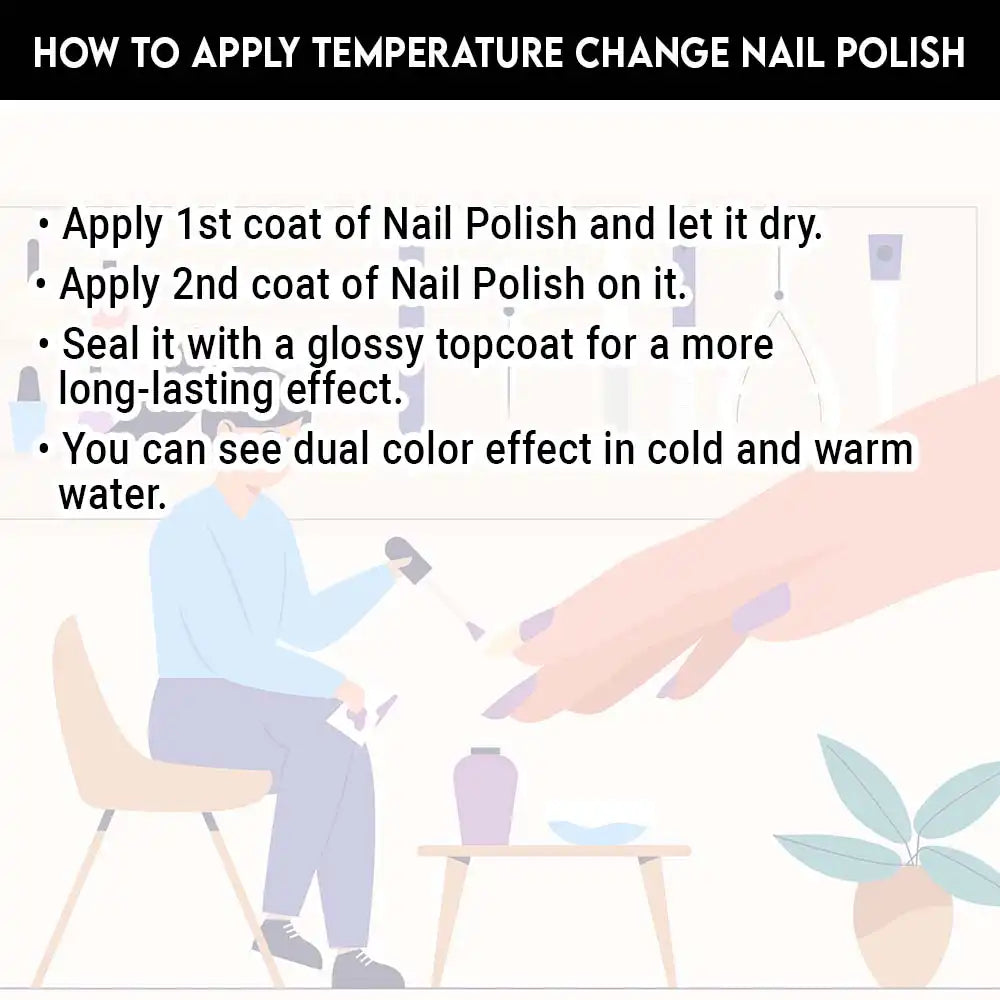
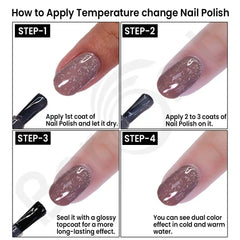
First Coat:
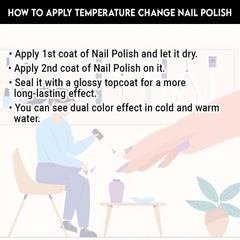
Apply the first coat of the temperature-change nail polish. Ensure you cover the entire nail evenly. Let it dry completely before proceeding to the next step.
Second Coat:
Apply a second coat of the temperature-change nail polish to achieve better coverage. Allow it to dry completely.
Additional Coats:
For optimal effect and color depth, apply a third and fourth coat if necessary. Ensure each coat is dry before applying the next.
Step 3: Seal with a Top Coat
Apply a Glossy Top Coat:
Once the nail polish is completely dry, apply a glossy top coat . This step will seal in the temperature change polish, add extra shine, and extend the longevity of your manicure.
Dry Completely:
Let the top coat dry completely to avoid smudges or dents
Step 4: Enjoy the Color Changing Effect
Dual Color Effect:
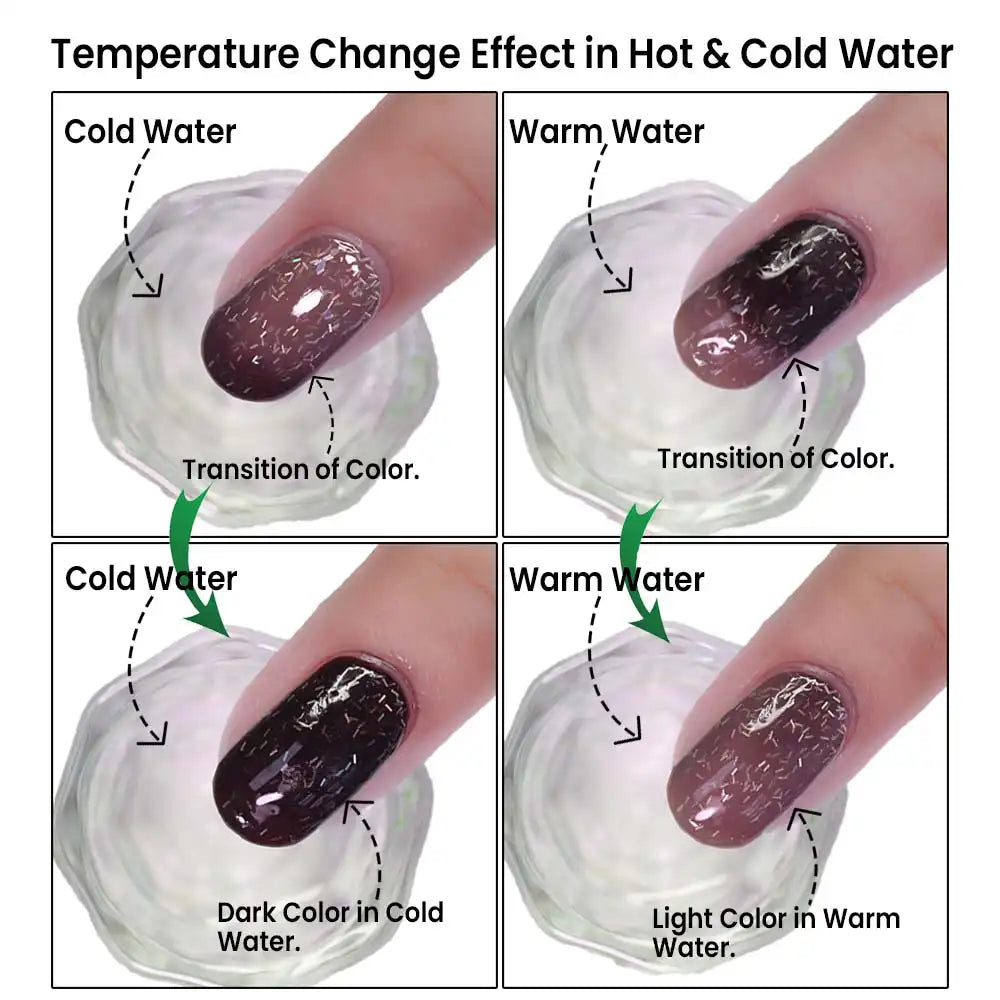
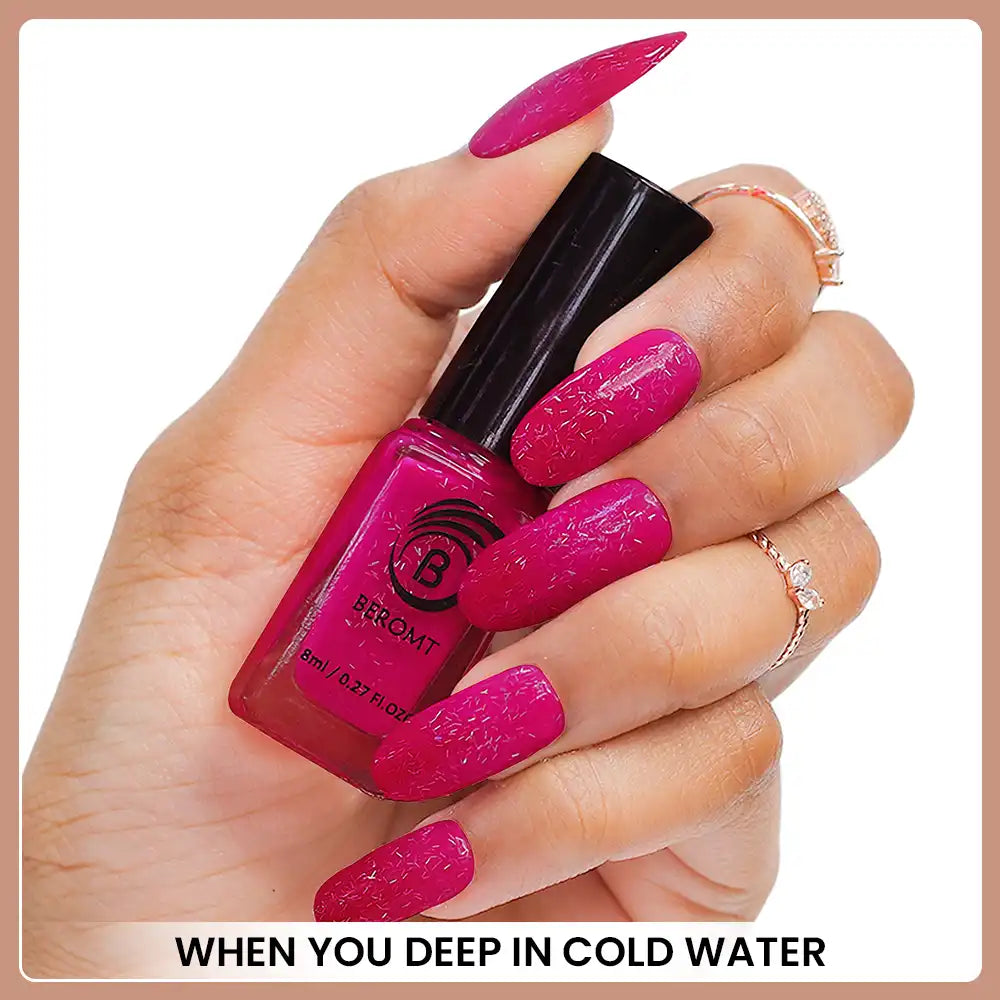
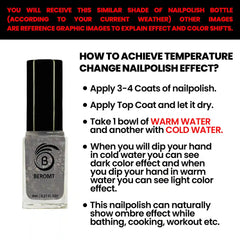
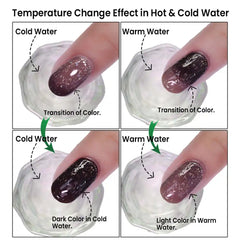
To observe the temperature change effect, prepare two bowls: one with warm water and the other with cold water.
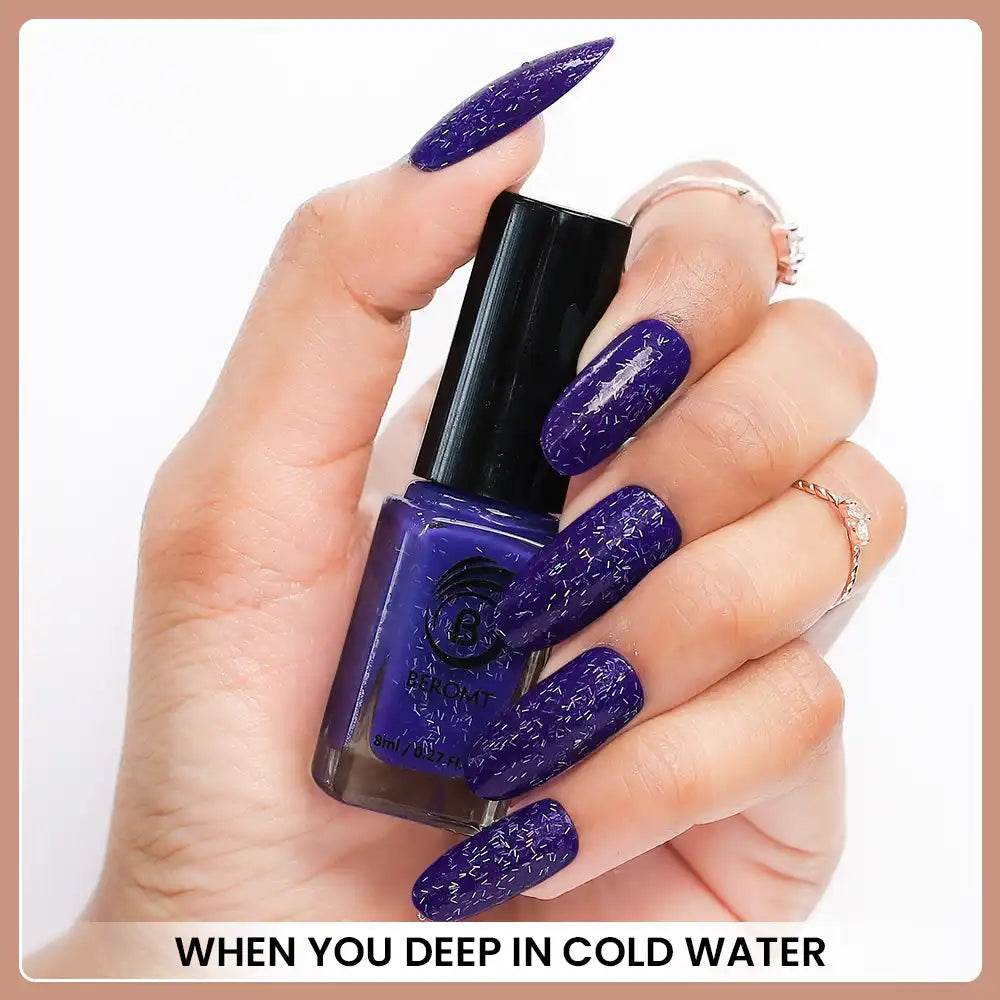
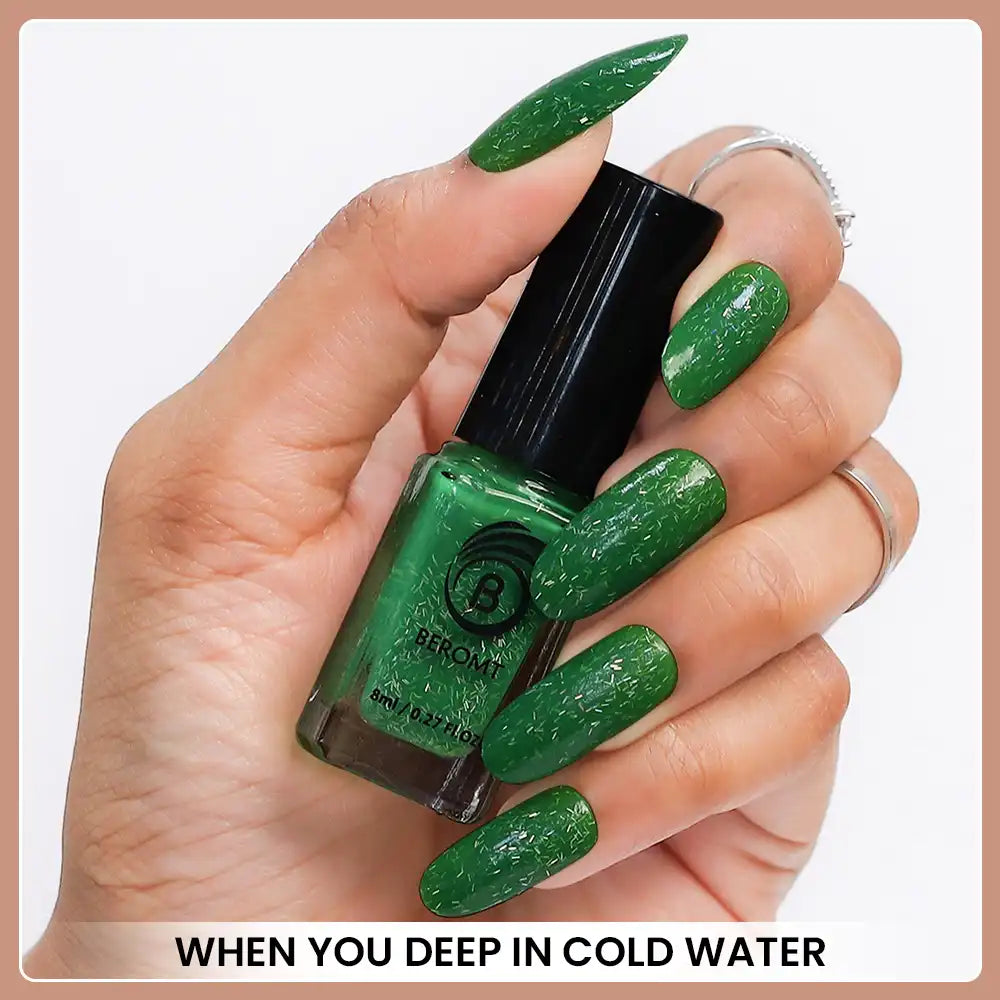
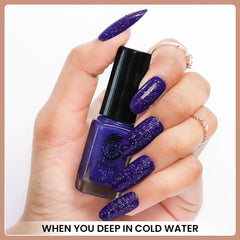
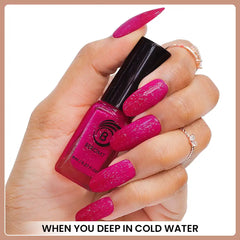
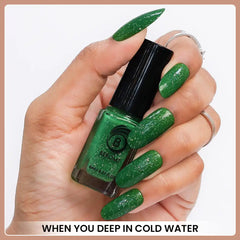
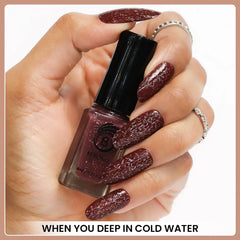
Cold Water: Dip your hand in the bowl of cold water. You will see a darker color effect on your nails.
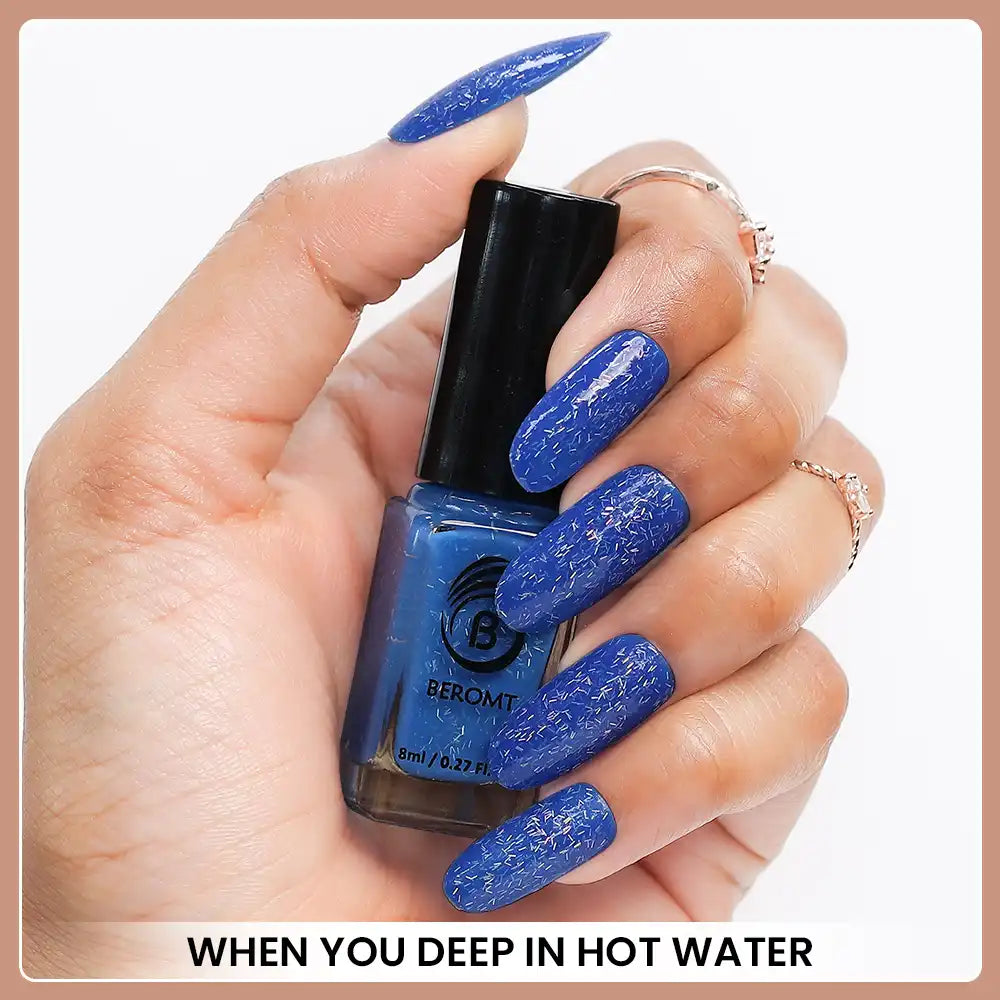
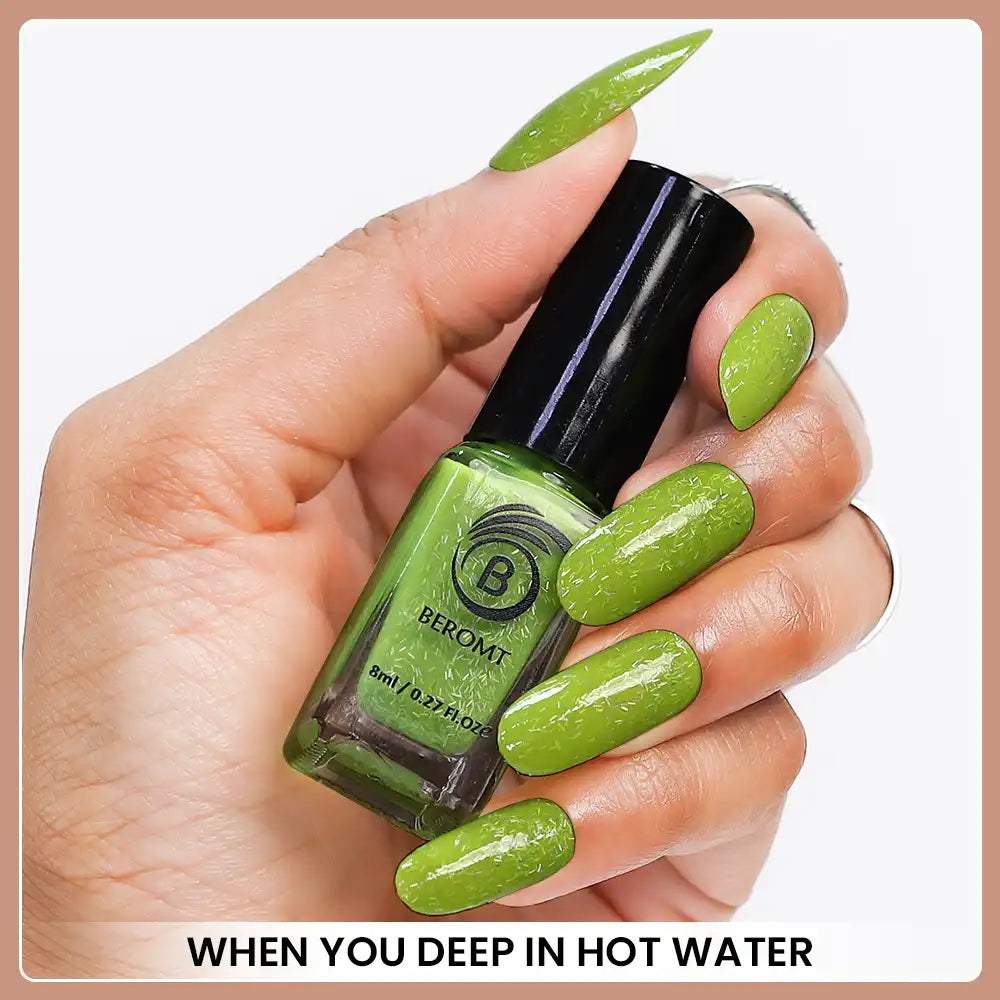
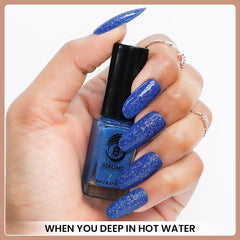
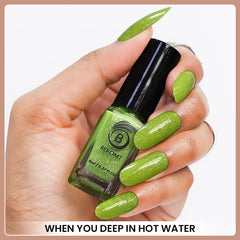
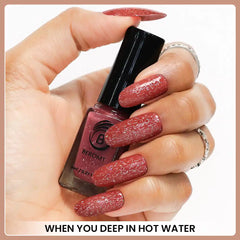
Warm Water: Dip your hand in the bowl of warm water. You will notice a lighter color effect on your nails.
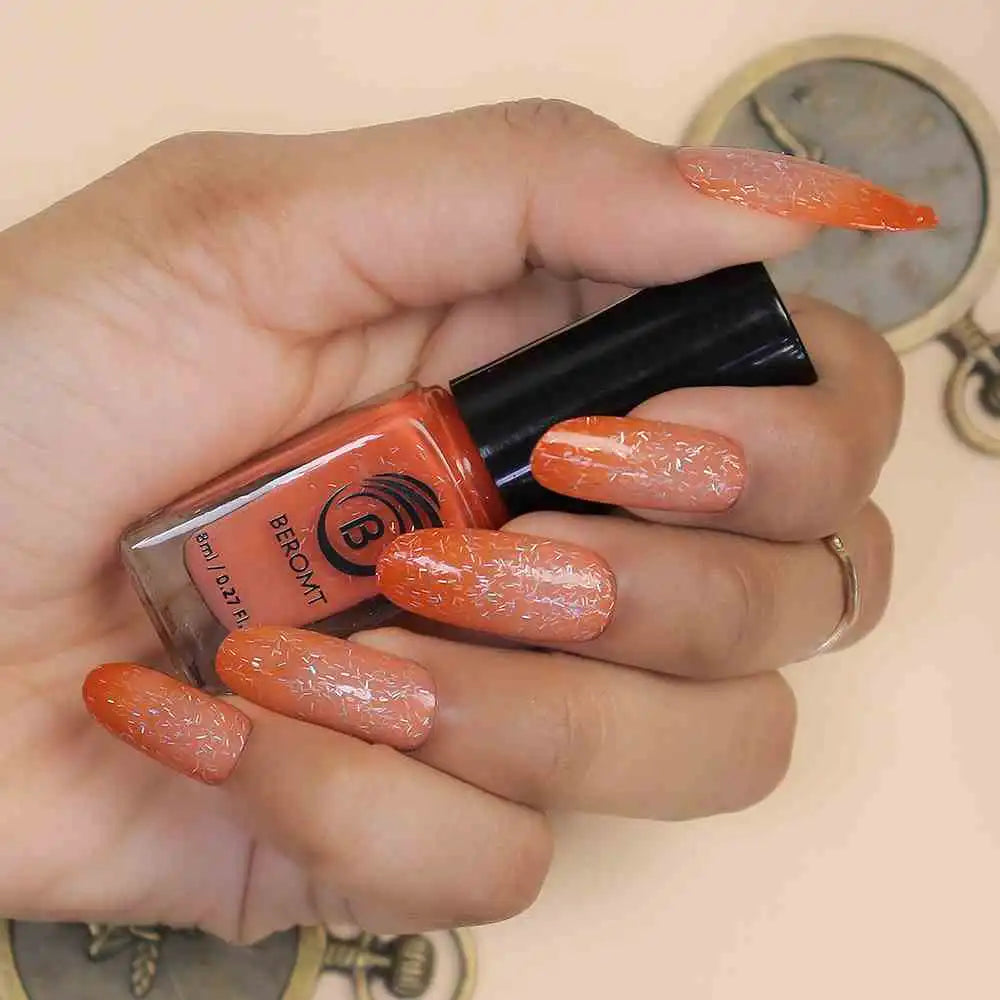
Natural Ombre Effect:
The nail polish will naturally show a beautiful ombre effect during daily activities like bathing, cooking, and working out due to temperature variations.
1. Can I apply nail art or decals over your Temperature Change Nail Polish?
Yes, you can apply nail art or decals over our Temperature Change Nail Polish once it has fully dried. The color-changing effect of the polish will add an extra dimension to your nail art designs, creating a dynamic and eye-catching manicure.
2. Will the color change of your Temperature Change Nail Polish fade over time?
The color-changing effect of our Temperature Change Nail Polish is long-lasting and should remain vibrant for the duration of your manicure. However, prolonged exposure to sunlight or harsh chemicals may affect the longevity of the color change. To maintain the vibrancy of the color shift, we recommend using a quality matte top coat to seal in the polish and protect it from external factors.
3. How quickly does your Temperature Change Nail Polish react to temperature changes?
Our Temperature Change Nail Polish reacts quickly to temperature changes, providing an instant color shift within seconds of exposure to warmer or cooler temperatures. This allows you to enjoy the dynamic color-changing effect throughout the day, whether indoors or outdoors.
4. Can I use your Temperature Change Nail Polish on artificial nails or nail extensions?
Yes, our Temperature Change Nail Polish can be used on natural nails as well as artificial nails or nail extensions. The color-changing effect will still occur regardless of the nail type, allowing you to enjoy the dynamic manicure on any nail surface.
5. How do I remove your Temperature Change Nail Polish effectively?
To remove our Temperature Change Nail Polish, use a regular nail polish remover and cotton pads or balls. Gently saturate the cotton with the remover and hold it against the nail for a few seconds to allow the polish to soften. Then, wipe away the polish in a gentle, sweeping motion, repeating as necessary until all traces of the polish are removed.
6. when your nail polish getting thick can I add remover to make it correct consistency?
We don't recommend adding Beromt nail polish remover to thin out thickened nail polish. Doing so can alter the formula and affect the quality and performance of the polish. Instead, we suggest you can using a Beromt nail polish thinner, which is specifically designed to restore the correct consistency without compromising the polish's integrity. Simply follow the instructions on the thinner bottle for best results. If you have any questions or concerns, please feel free to contact our customer support team for assistance.
7. Can i use any nail polish remover to remove your nail polish?
Yes, we recommend you can use any regular nail polish remover to remove nail polish but we suggest you can use Beromt nail polish remover. Simply apply the remover to a cotton pad or ball and gently wipe it over your nails until the polish is completely removed. However, for glitter or gel polishes, you might need a remover specifically formulated for those types of polishes for more effective removal. If you have any questions or need recommendations, feel free to reach out to our customer support team.
8. How can I protect my nails from any nail polish?
Base coat: Apply a base coat to create a barrier between the nail and polish, preventing staining and brittleness.
9. I love matte effect polishes can I use any matte top coat on your polishes?
Yes, you can use any matte top coat over our nail polishes to achieve a matte effect. Applying a matte top coat over our polishes will transform the finish from glossy to matte, giving you the desired look. Just ensure that our nail polish is completely dry before applying the matte top coat for best results. Enjoy experimenting with different finishes to customize your nail look!
10. Can I do nail arts by your nail polish?
Yes, Beromt nail polish is perfect for creating stunning nail art designs! Our wide range of vibrant colors and high-quality formula make it ideal for all kinds of nail art techniques, from simple designs to intricate patterns. Whether you're into freehand painting, stamping, or using nail art tools, our polish provides excellent coverage and long-lasting results. Get creative and experiment with different colors and techniques to achieve your desired nail art look. Feel free to explore our website for inspiration, and don't hesitate to contact our customer support team if you have any questions or need assistance with your nail art endeavors!
11. Do your nail art brushes work with all types of nail polish?
Our nail art brushes are compatible with most types of nail polish, including regular, gel, and acrylic formulas. Whether you're creating intricate designs or simple accents, our brushes provide precise control and smooth application for stunning results.
12. Do you offer sets of nail art brushes?
Yes, we offer a variety of nail art brush sets tailored to different preferences and skill levels. These sets often include a selection of brushes suitable for various techniques, making it convenient for beginners and seasoned nail artists like to experiment with different designs.
13. Can I reuse nail art stickers?
While some nail art stickers may be reusable, most are designed for single-use application. To prolong the life of your stickers, carefully remove them from your nails after wear and store them on their original backing sheet in a cool, dry place for future use.
14. Can I apply nail art stickers over gel polish?
Yes, you can apply nail art stickers over gel polish. Ensure that the gel polish is fully cured and has a tacky surface before applying the stickers. Press them on to the nail gently, then seal with a top coat and cure under a UV or LED lamp for a flawless finish.
15. Does your top coat work with all types of nail polish?
Yes, our top coat is compatible with all types of nail polish, including regular, gel, and acrylic formulas. Whether you prefer glossy or matte finishes, our top coat provides a durable and long-lasting seal that helps protect your manicure and keep it looking fresh for days.
16. Can I use your top coat to refresh my manicure between polish changes?
Yes, you can use our top coat to refresh your manicure between polish changes. Simply apply a thin layer of top coat over your existing nail polish to revive the shine and extend the life of your manicure. This helps maintain your nails' appearance and protects them from everyday wear and tear.
-Related Products-
-Recently Viewed Products-
- Choosing a selection results in a full page refresh.


